Tuesday, November 28, 2006

Here we go again.

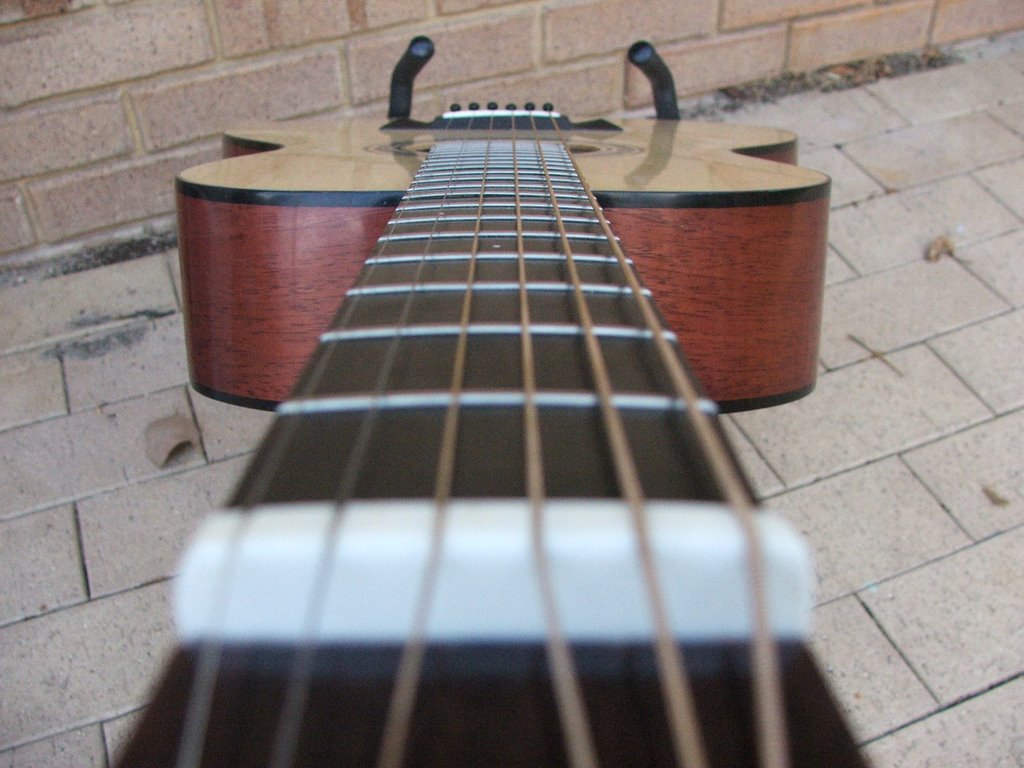
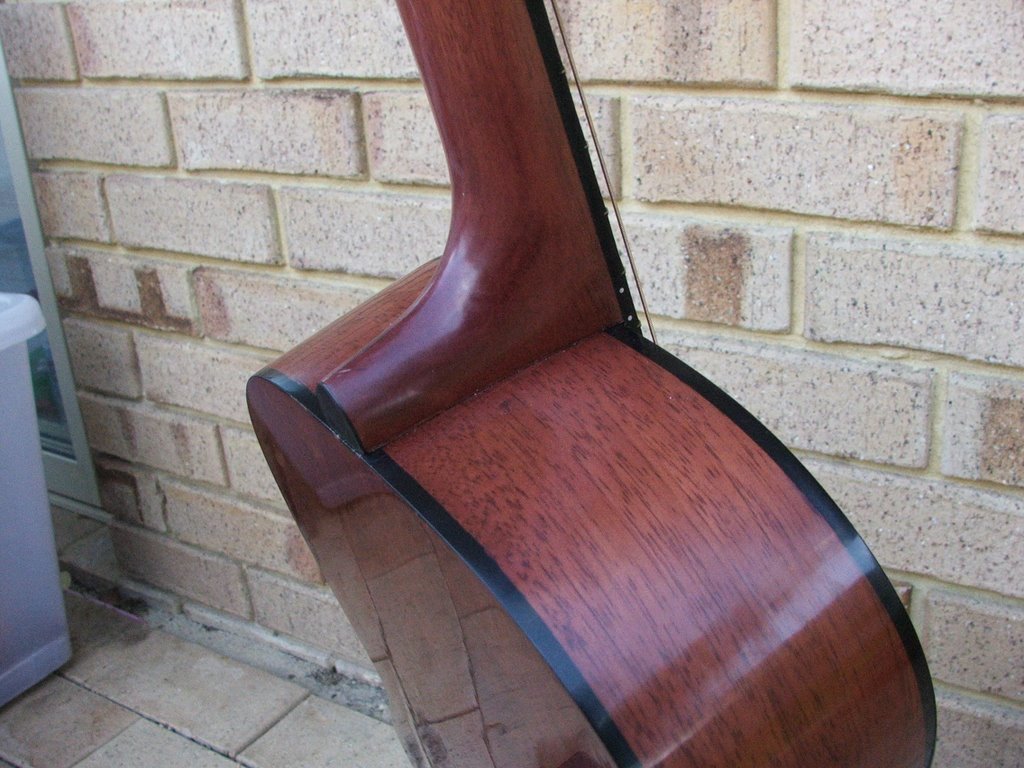
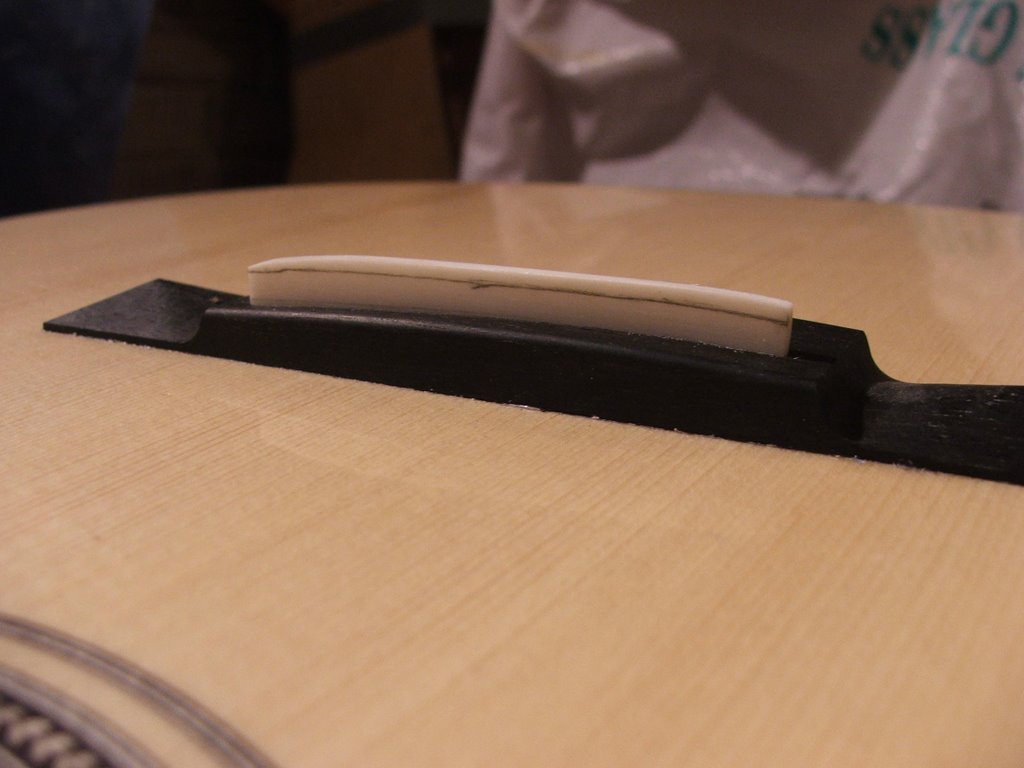
I have all but finished the OOO. I've let it settle and slowly worked the saddle down, getting close to an acceptable action height.

The big news is that I have ordered my second kit, basically the drednought that I worked up on the LMI Kit Wizard. The plan is that by the time it arrives in the post, settles to my climate etc, I will have the OOO complete.

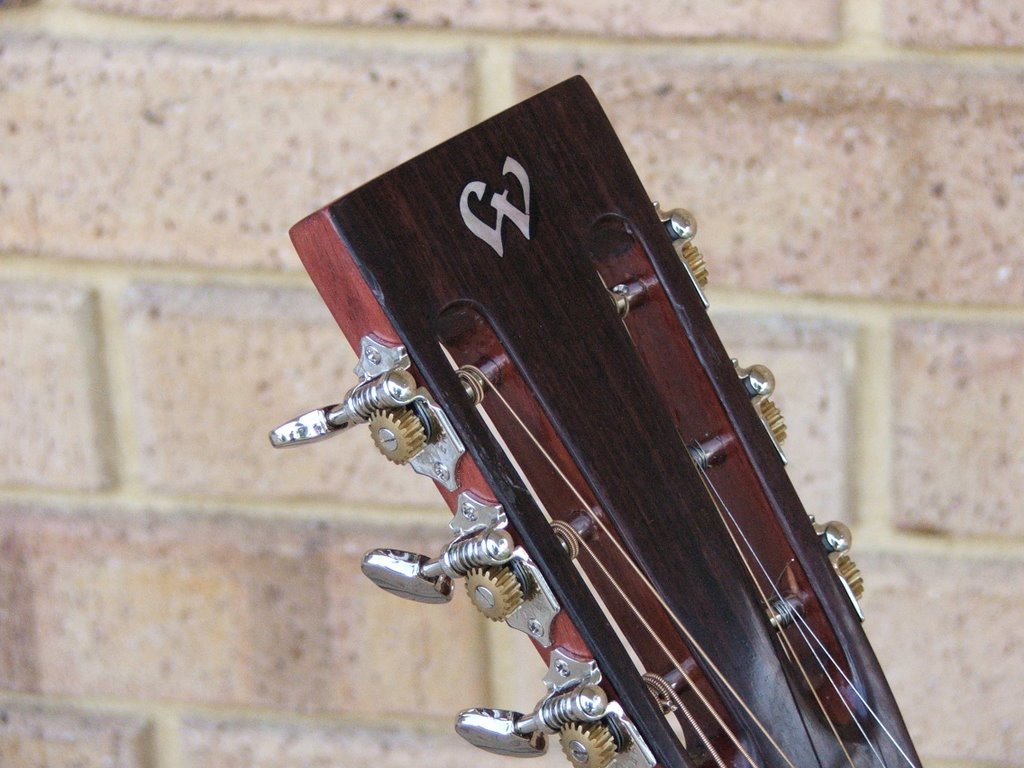
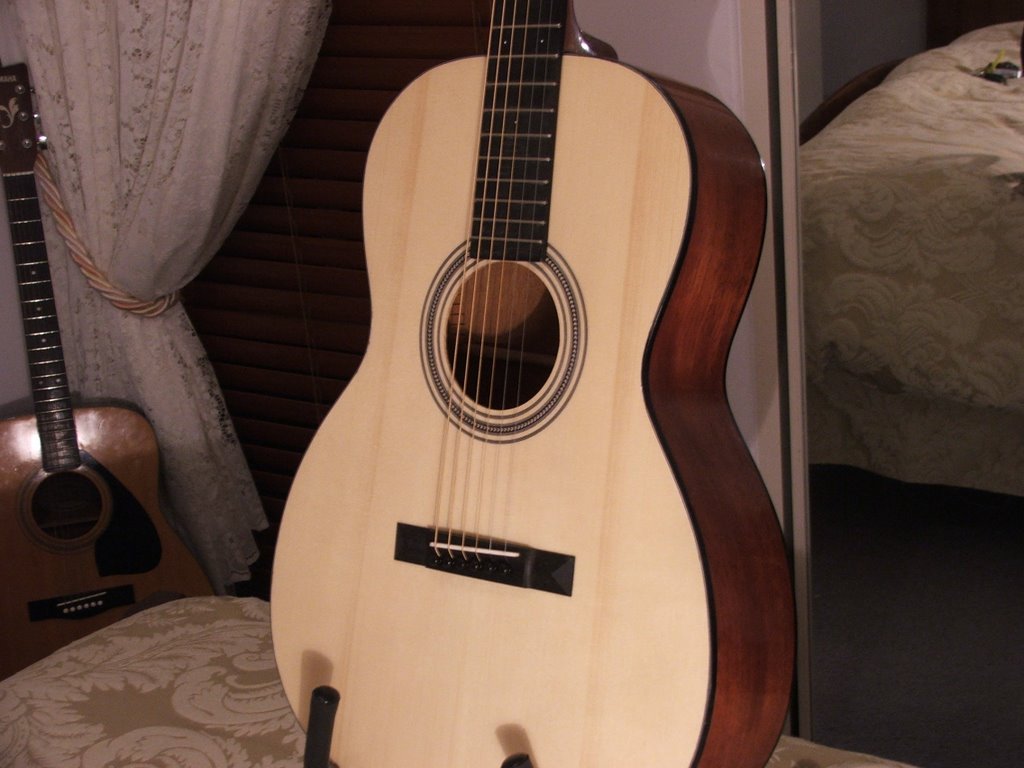
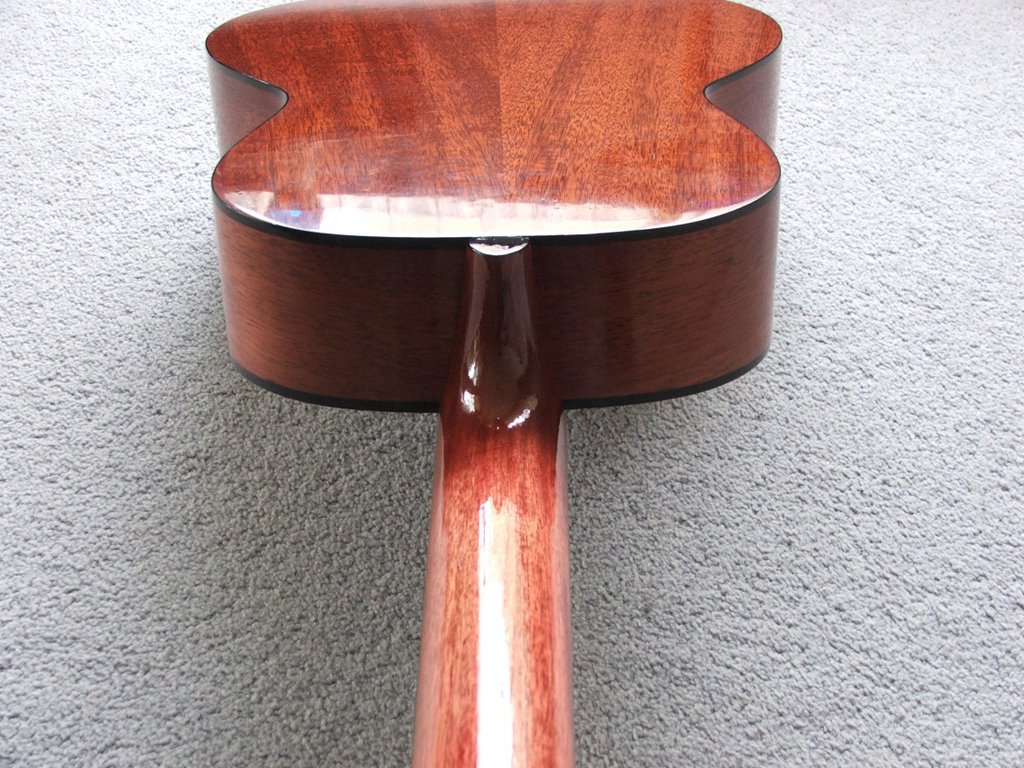
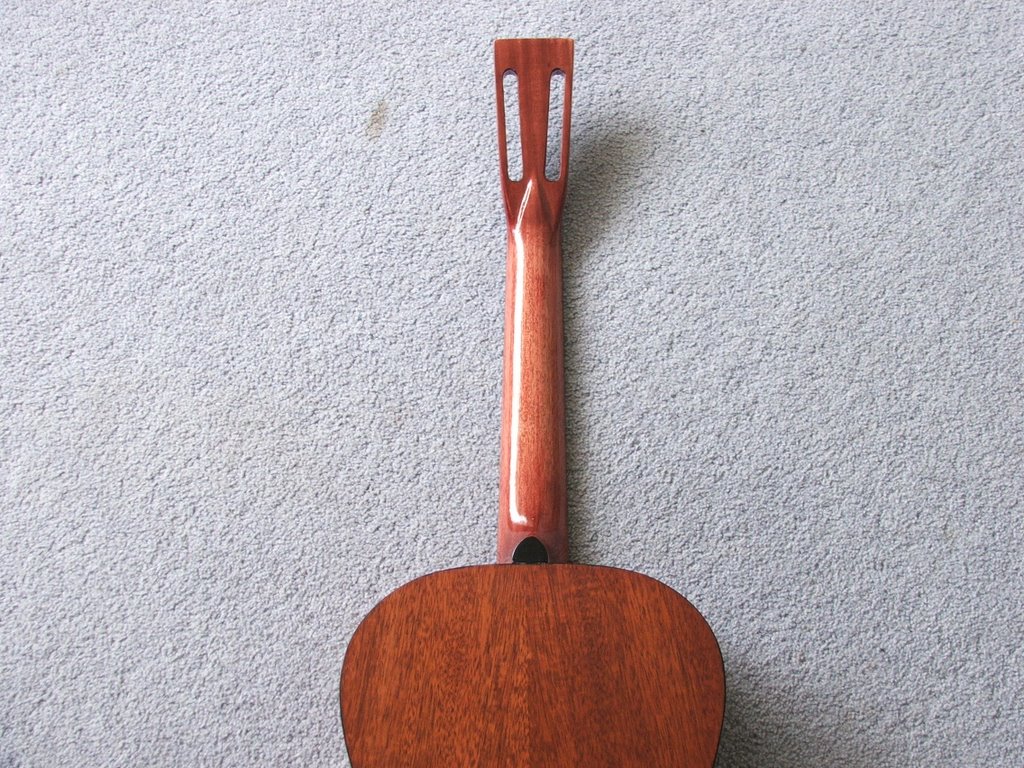
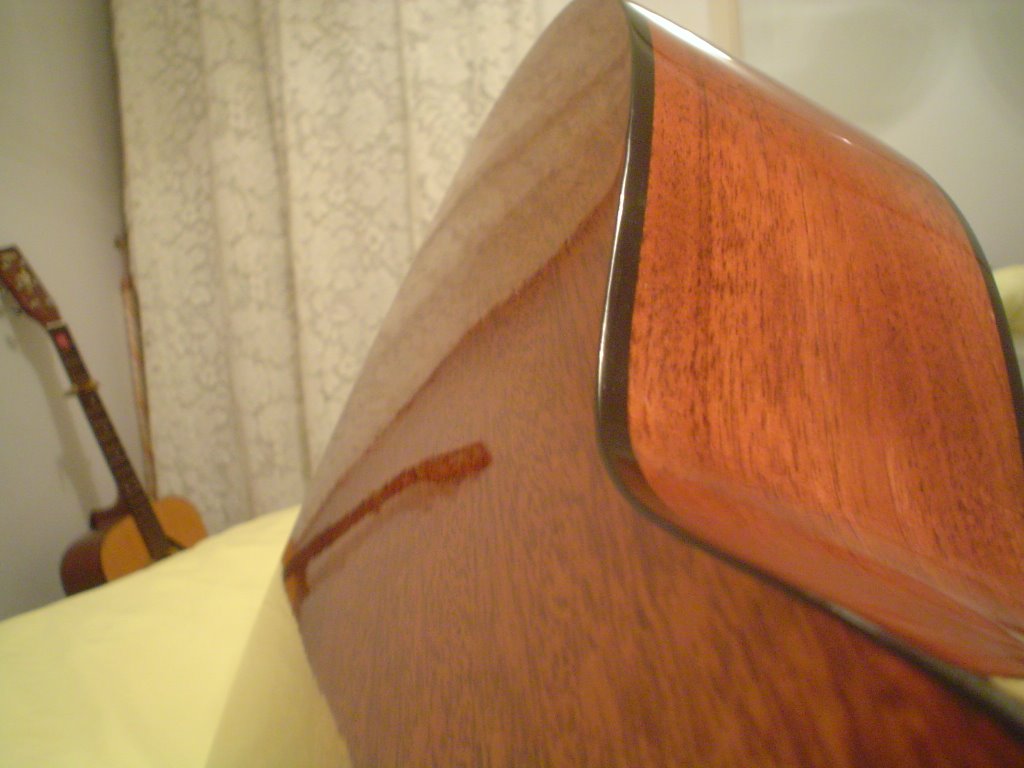
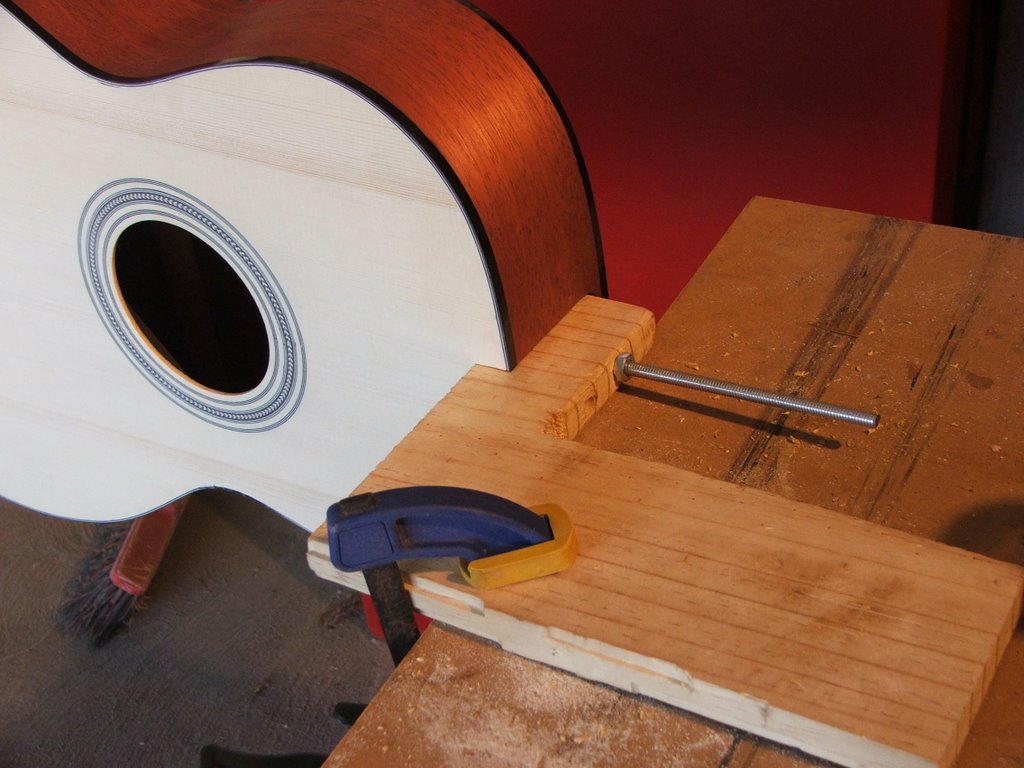
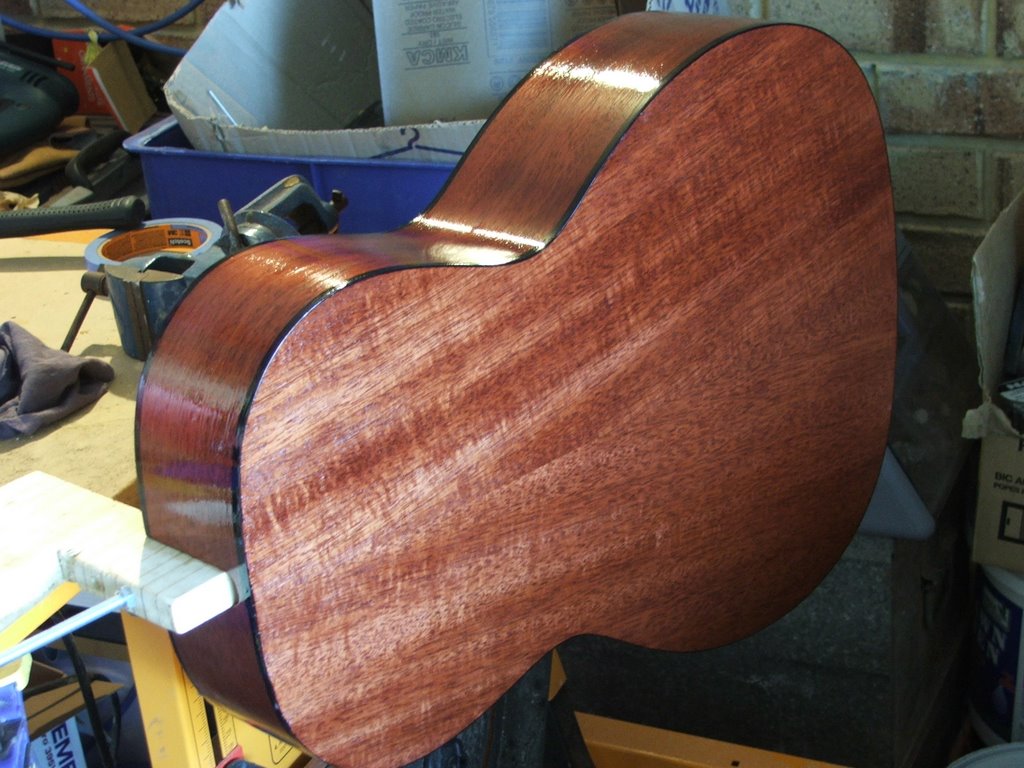
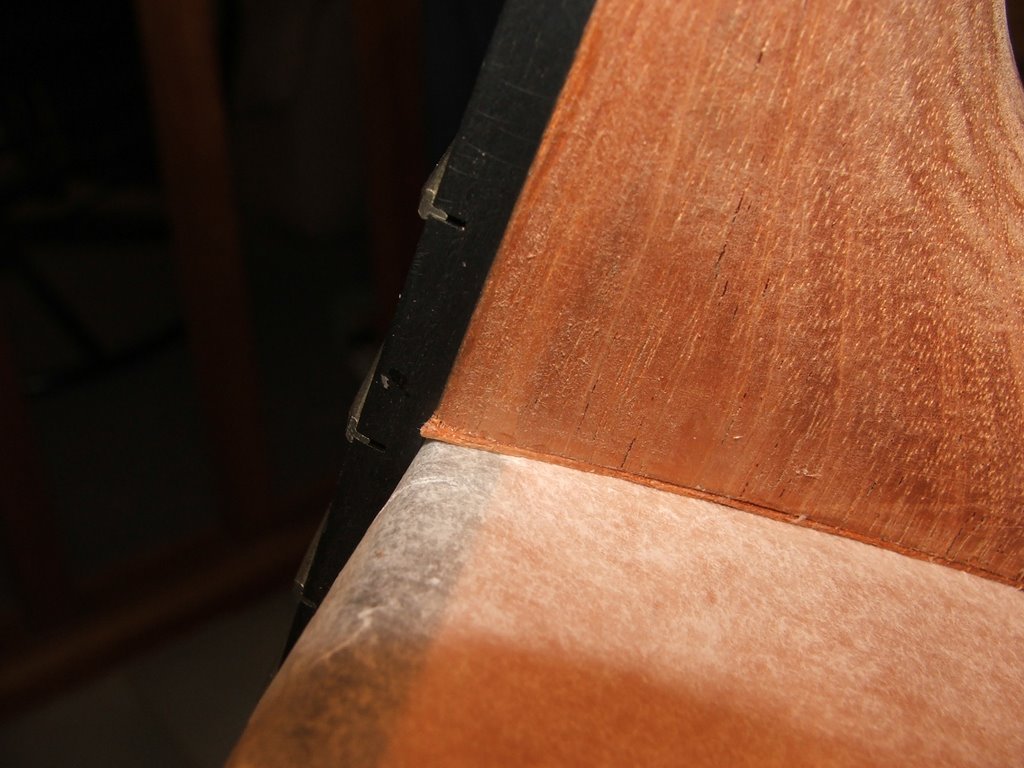
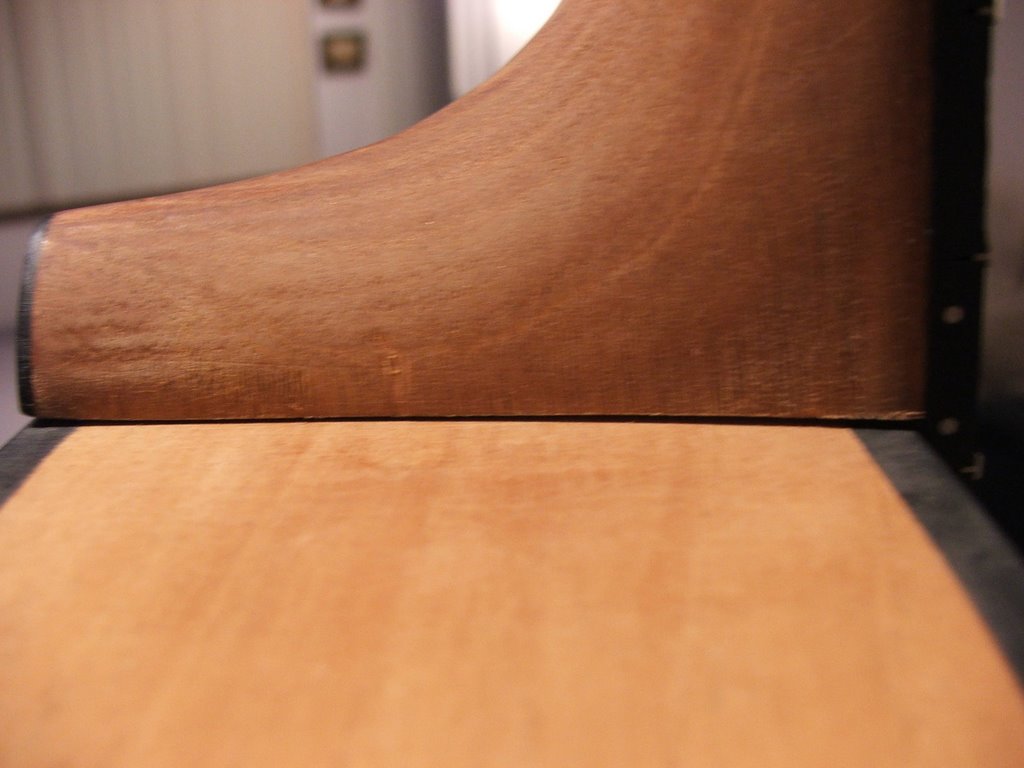
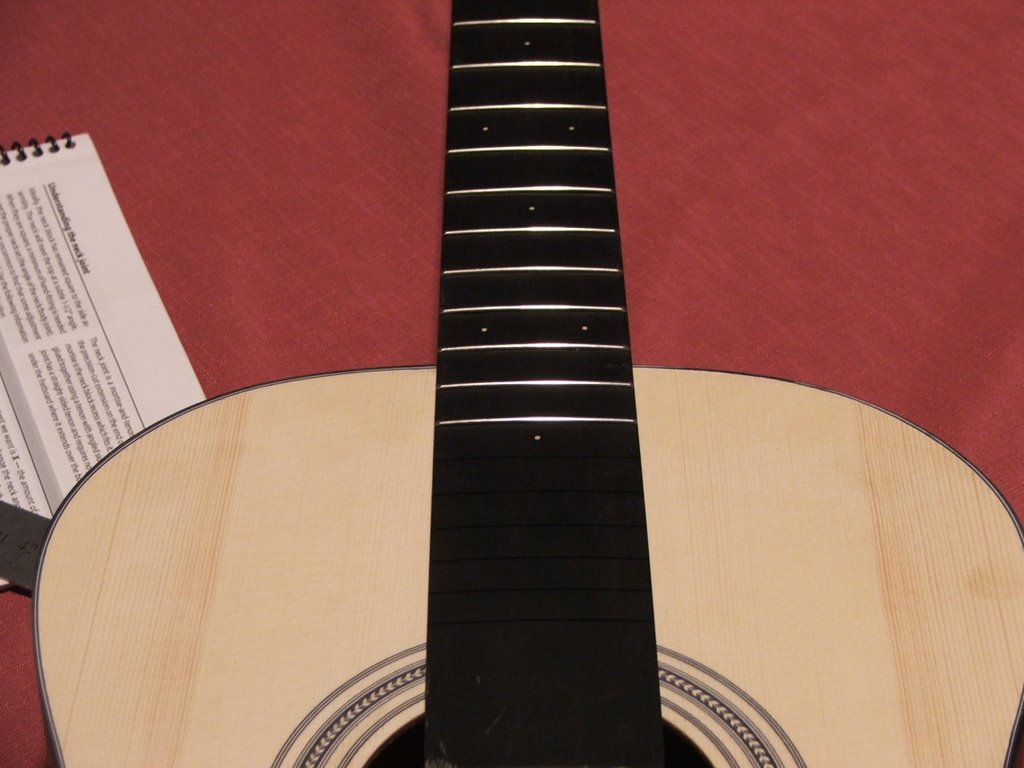
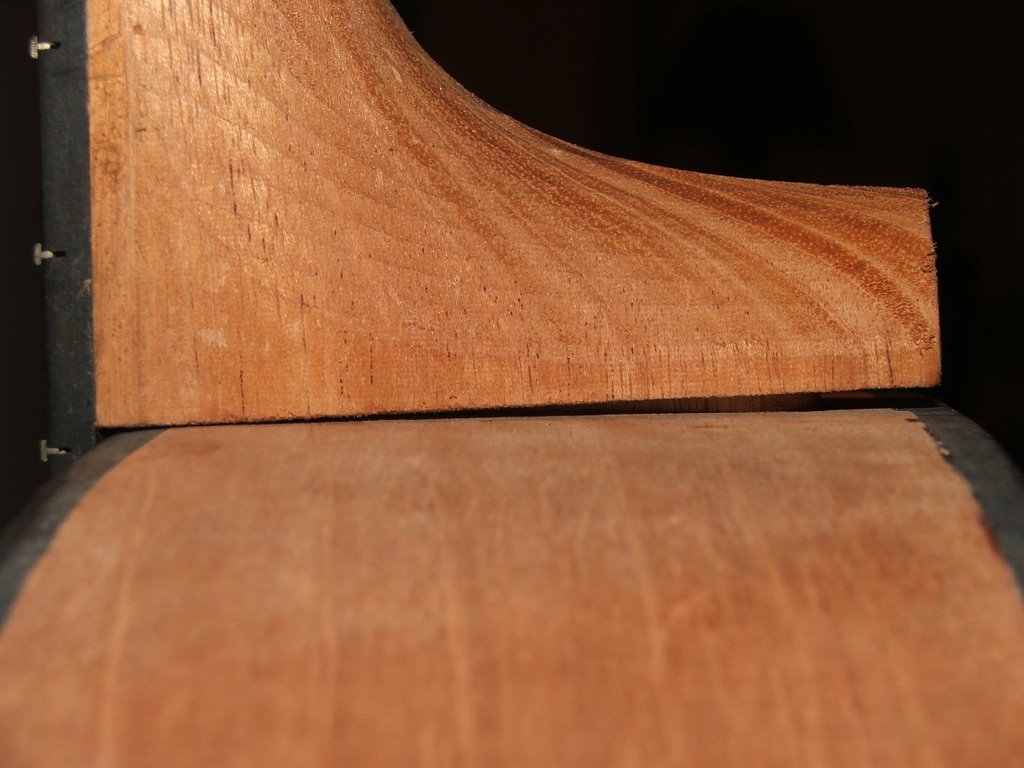
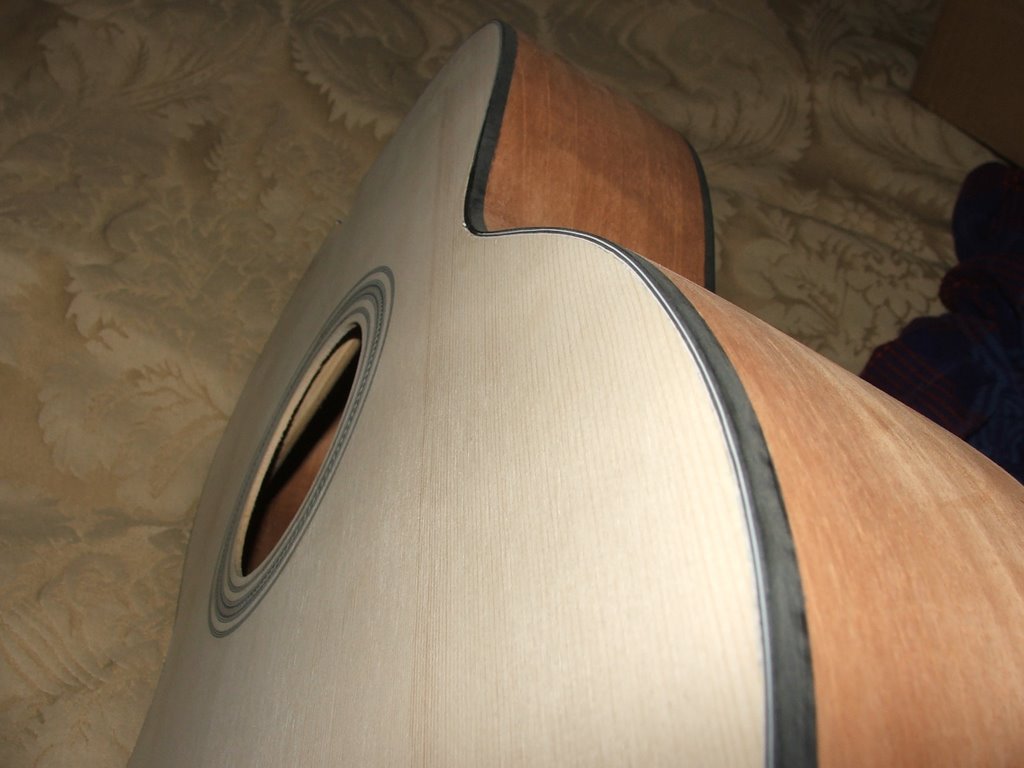
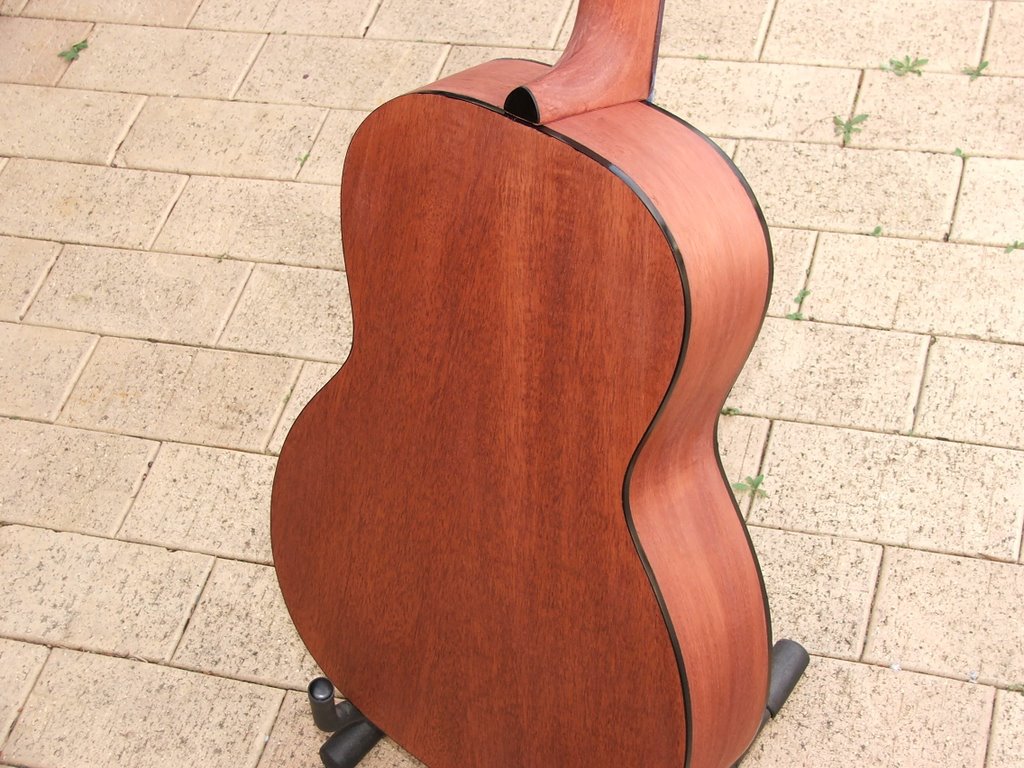
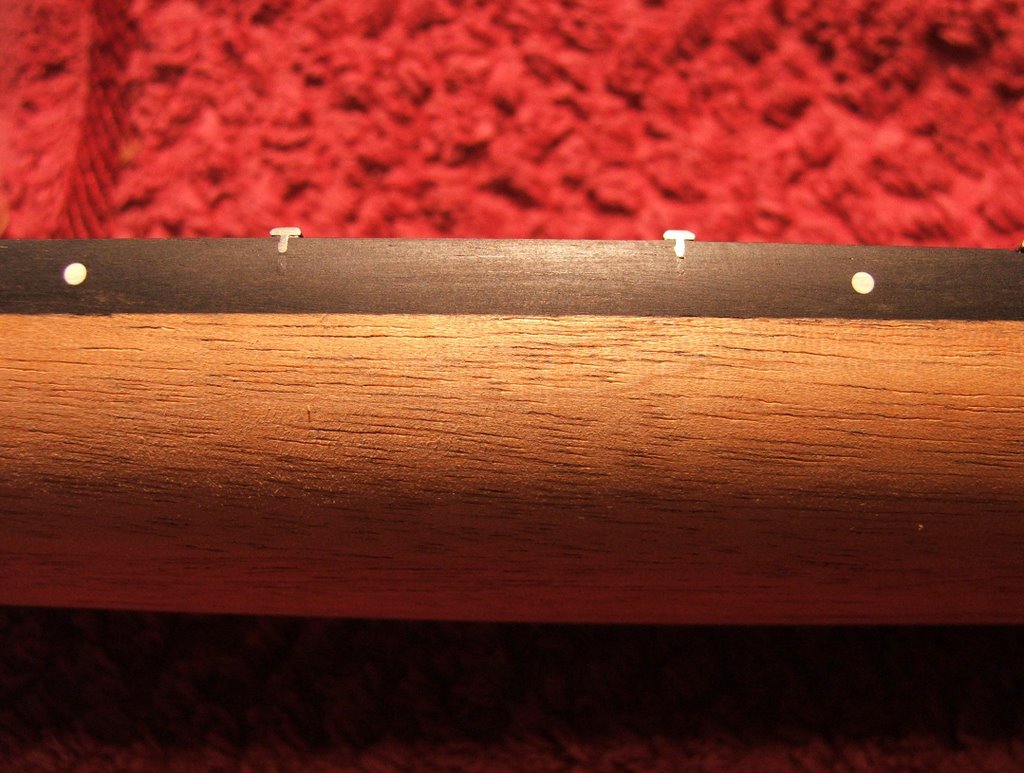
Still before I get too far ahead of myself, here are some photos I took yesterday. Warts and all, I haven't polished the guitar or worked the angles and lighting to have you belive I have a fantastic finish.


One day soon I will redo the finish on the headstock - it just doesn't rate in my list of priorities at the moment - Playing the guitar does.

Wednesday, November 22, 2006

Reflection

Okay, so here is the rough enough answers. I had a count back and can tell you that I spent AUD $1,387.45 building this guitar. I still don’t know if I consider that to be extreme. Had I not been able to gain access to a lot of my father’s tools, this would have been a whole lot more. Then again, on the flip side, I bought a lot of new tools, expenses that I will not have to spend on the next guitar

From adding up the blog entries, I have spent 112 days and 89 hours on the construction the guitar so far. Rounding up and down I would say that it will take the average hack (like me) about 100 hours to complete their first guitar.

Food for thought.

Tuesday, November 21, 2006

The dust is starting to settle

Okay so I got home today and worked out that my enthusiasm late last night was not really that warranted. I am still very happy but I still have a little way to go to get the instrument to settle.

My rant about the action being acceptable was purely a lie, it is not. The guitar is playable but still a long way away from being pleasurable. Not bad at the nut end but way too high at the saddle. Still that won't be too hard to fix up.

I have not touched the truss road yet and I have some reading on that subject to do. I have roughly sawed in the grooves into the nut and I have a nice distance between the strings.

Still, when all is said and done - I built a guitar.

Time taken : 1 hour
Tools used : saw, pencil, string winder
AU$'s spent : Nil

Monday, November 20, 2006

It's a guitar

I've done it. I've played it. I've heard it. I am happy.

I've been flying tonight. I got home from work and took the clamps of the bridge, I drilled the bridge pin holes and then used a tapered file to seat the pins.

Then I roughed out the saddle and put on the E strings... and then I put on the other four strings... threw a capo on the second fret and roughed out the spaces between the strings.... tuned it up about 3/4 pitch and started to play.


I love it. It sounds just as good as my Yamaha right now. The action is just as good as my Yamaha right now. I am amazed how simple it was to play even through the strings were sitting on rough height saddles and nut.


Somehow I need to get to sleep. I would play all night but I sanded off the end of my fingers whilst rubbing down the saddle.

Time taken : 3 hours
Tools used : clamps, drill, sandpaper, clamps, vice, rulers, files, pencil.
AU$'s spent : $9.95 set of strings

Sunday, November 19, 2006

Wow

This is amazing.

Time taken :
Tools used :
AU$'s spent :

Mixed Emotions

Today I did the sanding and polishing of the neck, added on the tuning machines and fitted the bridge.

For some reason, and I have no idea why, the KTM-9 blistered on the headstock. The finish is useless in one small spot. It is a cosmetic issue really but you can see it easily and it sucks up the "wow factor" when you look at the guitar. I think I can spot fix it later but I am going to push forward for now. I need to hear this guitar.

I stripped back the finish on the soundboard and glue on the bridge. The process was a little daunting but I think that I have it in the right position without too much trouble at all.

Time taken : 2 hours
Tools used : sand paper, polish, drill, buffer, rules tape, paint stripper.
AU$'s spent : Nil

Thursday, November 16, 2006

Off comes the masking tape

Tired of waiting. I've had the neck out in the sunlight (warmth) a fair bit and all looked hard so I took the masking tape off the fretboard tonight. Not exactly disappointed but I am sure I could have achieved better results with a better technique.

My only problem is establishing the angle were the finish ends and the fretboard surface starts.

I tried using a sanding block to rub back the edge of the masking tape but the fret edges were causing difficulties. I ended up sliding a razor blade along the fretboard surface. The final product is not that bad however I can really see were the masking tape fell lower than the fretboard even though it was only a couple of millimeters here and there.

Before I try that again, I will be seeking ideas how people mask, and more importantly, remove the masking tape.

Time taken : I hour
Tools used : scalpel
AU$'s spent : Nil

Wednesday, November 15, 2006

Tick Tock, Tick Tock

I am tired of waiting for the KTM-9 to dry. I wanna keep going.

On Sunday I went down to Bunnings and explained to a staff member my needs in making a caul or three in order to clamp (and drill) the bridge into place. I was suggested to try Selleys Knead It. The product is basically a putty that you work in your hand, making it softer as you go, it will then from to any shape you want. Once left to set, it sets rock hard.


So, I protected the bridge with plastic wrap and went to work, making three cauls. I am impressed with the results. Clean and very hard

Time taken : 30 minutes
Tools used : Selleys Knead It
AU$'s spent : $14.95

Thursday, November 09, 2006

Still fence sitting

I just can't commit. There is no doubt that I want to make a dreadnaught next but after playing around with the LMI Kit Wizard, the end price (for what I want) is AUD$722.53... and that isn't really an "all the fruit" package.

Now compare that with the StewMac Mahogany Dreadnaught at AUD$467.21 (plus cost of tuners)

Should I have another practive or just start making what I want and hope that I forget about the AUD$255.32 difference?

Is 3/4 of a thousand dollars too much to pay for a hobby? I have December off work and wanted to have the wood acclimatised and ready to go by then.

Time taken :
Tools used :
AU$'s spent :

Sunday, November 05, 2006

What am I doing?

Should I be researching my next guitar before I have even finished this one? I haven't picked up a guitar (to play) in about 100 days, what would I do with another one? What am I going to do with myself over the next couple of weeks, whilst I wait for the finish to cure... I could have started on my next one...

What if this one turns out sounding like an elastic band stretched over a wet cardboard box?

Do I really need to spend all that money of building something flash or should I just try another basic kit.

Planning - Phase II

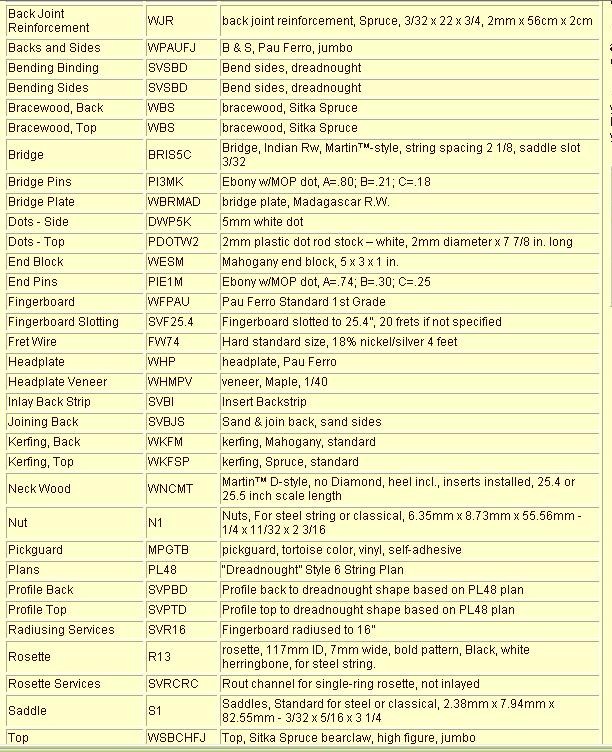
LMI's Kit Wizard has become my own little dream factory. I've changed a dozen things a thousand times. Hours of unproductive fun. I wish they had more pictures of the woods and bindings etc, a true novice like myself can not picture the final product.

This is what I am leaning towards at the moment... Either that or a straight out Drednought kit from StewMac.


Click on the picutre and then expand - so you can read it.

What are your thoughts? Have I forgotten anything (other than the trus rod)?

Saturday, November 04, 2006

Photos as requested

Keeping in mind that I have not rubbed back and polished the neck at all, and the body needs a little more attention. This is the way she is looking at this time.


I am itching to keep going but I NOW think there is merit in letting KTM-9 harden over the following weeks... just like it explains in the instructions.

Time taken :
Tools used :
AU$'s spent

Friday, November 03, 2006

Finish Finished

Or at least I hope so. Four days of finishing have past. In total I have 16 coats. Thats four coats a day, a light 360 grit sand back, then start again. It looks good but this time I will wait at least two weeks before I start taking of the tape.

Any way, I have put the KTM-9 up on the shelf until I am ready to finish the next one. I reckon you could finish three guitars with a quart of KTM-9. I have no hesitation in using this product or recommending it to other first time builders. I know I have nothing to compare it with by I am getting a finish that I would never have expected.

Time taken : another hour in total
Tools used : KTM-9
AU$'s spent : Nil

Wednesday, November 01, 2006

Second Finish

Yesterday I put on four thin coats of KTM-9 and then this afternoon, I gave it a very light rub back - to bare wood again. I added in a tiny bit of the stain to the effected area, hiding it well. Then tonight I applied another four coats.

Seems to be coming along okay.

Time taken : 1 hour in total
Tools used : Paint brush KTM-9 360 grit paper
AU$'s spent : Nil

Monday, October 30, 2006

Day 92

That's right! I've been on this buid for getting close to a third of the year. And, I think I've been making fairly good time. Don't ever think that you'll wizz you way through the first build. I have no doubt that my second (and following ones) will be quicker as I will have a number of different processes going at the same time instead of following the pages in the manual

I'm feeling good about the buil again. Today I put on the two coats of stain again. Tomorrow I will start putting on the KTM-9 again. To think, I had planned to have this all done by mid November.

Still I am glad that I took the time and effort to restart the neck. I think it is better this time around. Practice makes presentable

Time taken : 1 hour
Tools used : sandpaper, stain, rags
AU$'s spent : Nil

Sunday, October 29, 2006

Neck Setting - Again

Well I think I might be back on track. It’s not pretty but I have sanded back the neck and started again. That silly Martin diamond – I almost sanded the whole thing off. Then I went crazy making new shims and resetting the neck again. This time I (finger) tightly bolted the neck on before I took any measurements. I also tidied up a few of those blemishes that I have been frowning at since I started finishing the neck.

I took to my beautiful finish with paint stripper so that I will one day have a gluing surface under the fret board.

It’s late now but so I have stopped, tomorrow I might sand a little fret board relief into the top, like Kenneth Michael suggests.

Time taken : 4 hours
Tools used : sandpaper, craft knife, steel rules, superglue, mahogany
AU$'s spent : Nil

Friday, October 27, 2006

I give up.

Because I like to play with things I positioned the bridge today, taped it down and checked my neckset. It's out. The gap is about twice as much as I remember. What's going on? Angry Angry Angry

Time taken : Nil
Tools used : Nil
AU$'s spent : Nil

Thursday, October 26, 2006

More reading ahead

I've been sitting here thinking. I will have to strip it and start again. I might go back to reading about Tru-Oil and the like. Then again, I am now thinking that I did not leave the finish to cure long enough before leveling and final sanding.


Time taken :
Tools used :
AU$'s spent :

I don't want to talk about it

but I will.

Once again I am reminded that I am a novice, a fool and a cocky idiot. As mentioned yesterday, I was on a high turning out this sort of result on the body...


So today, I start on the neck. Somehow, and I still have no idea how, I managed to sand through the KTM-9, it must have been so very thin. How did I manage to get through a dozen or so coats? I rubbed back the body fairly vigorously, trying to get out all of the shine, trying to make it as flat as possible and I think that I ended up with a great result. So today, I just took off mindlessly, following the same steps and then I look down and I see... light coloured mahogany.

THEN! I say to myself, "Self, you could hide that with a tiny bit of stain on a cotton wool tip, only you will know Self." - Drongo - Alcohol based stain EATS plastic KTM-9.

THEN! I notice that there are two spots on the fretboard edge that appear to have once been air bubbles under the KTM-9. I don't know, they weren't there/visable before.

THEN! I think "Let's try and buff that tiny spot out" so I start, following the same steps as I did on the body and... with a slip of the hand, I let the chuck of a high speed spinning drill drag along the neck, leaving two great big scratches.

THEN! I pull off the masking tape. No matter how slow, gentle or controlled I tried to be, I pulled the KTM away as well. Let me tell you - It is thick. I don't get it.

I have sort of calmed down - I can not find my memory card at the moment (honest) but I promise I will show you all the mistakes ASAP. That neck will have to be stripped back and done again... one day.

At the moment, I am thinking about moving on and coming back to it.... after I've heard the guitar - I CAN NOT WAIT. I can't foresee any steps from here on in that will prevent me from going back and re-finishing the neck.

Time taken : 1 hour
Tools used : drill, buff, wood polishing compound, sandpaper,
AU$'s spent : Nil

Wednesday, October 25, 2006

Gee. I'm good

Now I am not saying that I am a pro but I am really impressed with my result. I rubbed the body back to nearly flat with 360 grit paper and then wet-n-dry at 1200 grit and then again at 2000 grit.

By that stage I thought that I was almost back to bare wood, it looked too my eye there did not appear to be any KTM-9 left and I started to worry.

Then I took to the body with a polishing compound and buff on the electric drill and up it came. Lovely flat shine. I'll show you the photos once I've completed the body and the neck. Stay tuned.

Time taken : 2 hours
Tools used : Electric Drill, cloth buff, polishing compound
AU$'s spent : $18.95 polishing compound, $28.00 cloth buff, $8.00 sand paper

Saturday, October 21, 2006

Getting closer to the finish finish

Craig has asked for an update about the finishing process so I thought I would post a few progressive photos. I am starting to get the hang on brushing on the KTM-9. I am confident that the thinking of less is best is the way to go. I was trying to get thick and well covering layers of lacquer on each time but I have found that the bubbles or drips that go along with the thicker coats are harder to deal with once they have dried.

I also found that the KTM tacks off rather quickly and touching the area again can result in disaster. The latest coats have been thin, light and imperfect but I no longer have drips or air bubbles.

I have now applied about ten or twelve coats now and rubbed back the higher points with 340 paper about every 3 or 4 coats. I’ve also noted that the sand paper doesn’t seem to last very long – which was surprising. I am most likely using the wrong type of paper.

The photos below I took today and I am thinking that tonight, I will sand the surfaces back until there is no shine left of the surface. Please keep in mind that with these photos I have tried to take images which show the flaws in the finish. I have turned the piece so that all the brush marks and thin parts are visible.

In general I am happy with my first effort at finishing. Those that have seen the guitar have all commented on how good the product looks. Maybe next time (planning is underway) I will spray but I think that brushing KTM-9 is suitable for the home builder to brush on.


Time taken :
Tools used :
AU$'s spent :

Tuesday, October 17, 2006

Closer to the end

Another few coats of KTM-9 went on tonight but a majority of the evening has been taken up because I finally gathered the courage to add up the total $AUD I have spent whilst making this guitar. It is an interesting amount. I will report as to the cost, tools used and number of hours soon.

Time taken :
Tools used :
AU$'s spent :

Monday, October 16, 2006

Finishing Woes

I am getting frustrated, basically because I have no idea what I am doing. I have all but lost count of how many coats of KTM-9 I have brushed on, I'll say seven. The first few went on really well, smooth and with next to no brush marks.

It may be because the surface is less absorptive now but no matter how I let the body "rest", I am getting bubbles where the finish pools, following gravity. I have tried brushing thinner but I find that as I brush the coat thinner, the lacquer gets tacky and then the brush marks increase and/or I get small pieces of lacquer rolling up into tiny gel like balls.

When I try to take back the hardened bubbles, I end up bursting through and it leaves a concaved surface.

I am sure this all has more to do with operator error as opposed to it being an issue with the product. I scuffed back with 340 grit after the first three coats. I think I might start moving up through the higher number grade papers tomorrow.

If any of the readers out there have brushed on KTM-9 before, I love to know what steps you took and how you finished it all off. Please leave a comment.

Time taken : About 2 hours, it doesn't take long for each coat.
Tools used : brush, KTM-9, sand paper
AU$'s spent : Nil
Monday, October 09, 2006

Spray Handles

In answer to Greg's question, I have used the broken waste clamp as a spray handle. I used one of the 8 inch rods from the clamps I had made to glue down the top and bottom to attached the clamp to the neck block. It has worked out well, I have a small clamp that rotates as well, this enables me to turn the body as I apply the finish. The neck I have simply attached to a length of wood.


I have scuffed back the first coat of lacquer and applied another two layers on top since. It seems to be all coming along nicely. Touch wood

Time taken : 30 minutes
Tools used : brushes, KTM-9, sandpaper
AU$'s spent : Nil
Friday, October 06, 2006

The Finish Goes On

Perhaps it won't be the best finish put on by an novice, but I have decided to press ahead and just start with the KTM-9 finish - and I am brushing it on.


Obviously the blog will slow down for a while now as it would be a bit pointless to tell you all about each coat and the days of drying in between

Time taken : 30 minutes
Tools used : brush, KTM-9
AU$'s spent : Nil

Tuesday, October 03, 2006

I'm an idiot

I read the instruction manual, I read the bit where it said "mask the sound board" and in a lot of respects I did. I masked of about three edges all the way around, heaps. It worked fine for the first three applications of the stain and then tonight I had a totally brain melt down and for some reason I thought it would support the guitar by placing a couple of stain covered fingers in the middle of the sound board.

I am an idiot.

This idiot has also been think about setting the neck again... considering how much sanding I have done to the neck block area etc. Did not dare look at it tonight. Left the workshop fairly angry tonight.

Time taken : 10 minutes
Tools used : stain, rag, stupidity
AU$'s spent : nil

Moving right along

I got stuck into all that white wood filler with the sand paper and took it all back to bare wood again. The only places that the filler remains is where I made horrible (but little) mistakes, places where there was a gap between the wood and the binding for example.

Then I put back on the first coat of stain.

You really notice how your technique improves the second time around. You can practice and practice on scrap wood but there is something different about putting wood stain onto your guitar... it seems a lot more "fluid"

The wood putty coloured up okay - it was just a brighter pink.

Might get the second coat of stain on before bed tonight. Honestly, If I could have, if the build was flawless, I would not stain the mahogany. When I wet the wood to raise the grain, that is the way I would like the wood to look the whole time. I can however acknowledge that the stain will hide some of those little marks and knocks that I have pick up along the way.

Time taken : 2 hours
Tools used : sandpaper, electric sander, stain
AU$'s spent : nil

Monday, October 02, 2006

Back to Square One

I remember a couple of weeks ago, when I was setting the neck, and getting it all wrong. I was getting close to putting the whole thing into the chipper. Tonight I am ready to put myself in.

I was feeling really comfortable with the way the finishing was progressing. I still felt that there was a little too much red, but already the colour (Australians spell colour correctly) was growing on me.


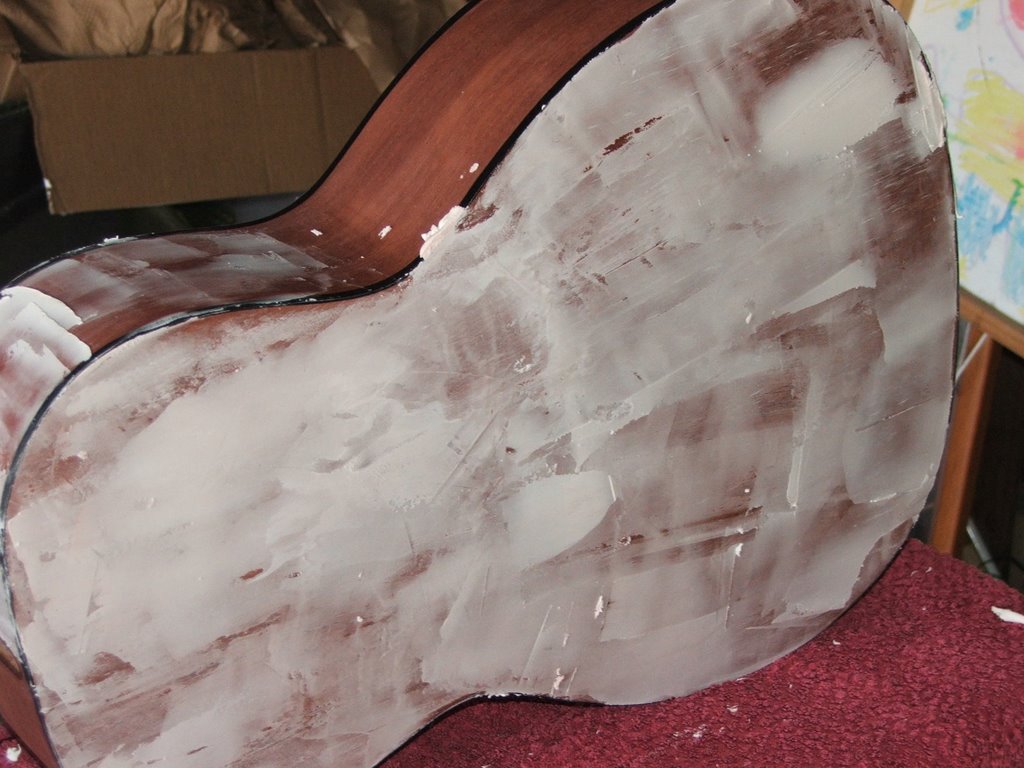
Then, I moved on to the pore filling and this is where I have totally mucked up – this is where the master wood workers would have been good to have around.

Now, I’ve never used pore/wood filler before. I’ve heard and read that on most occasions they are easy to sand back and the instructions on the product I used simply said something like “spread with a plastic scraper”. I went in thinking that I couldn’t really overdose on the filler. I thought that if I used too much I could simply sand it back.

To compound this – Neutral is not – It is white – and it looks really bad on mahogany.


As soon as I started sanding it back, I started wearing off the stain on the edges. I could see that I was going to leave the surface

My only option now is to rub it all back and start again. Great – No doubt next I’ll sand right though. Did I ever mention that I love sanding?

Time taken : 1.5 hours
Tools used : plastic spatula, wood filler, sand paper
AU$'s spent : Nil
Sunday, October 01, 2006

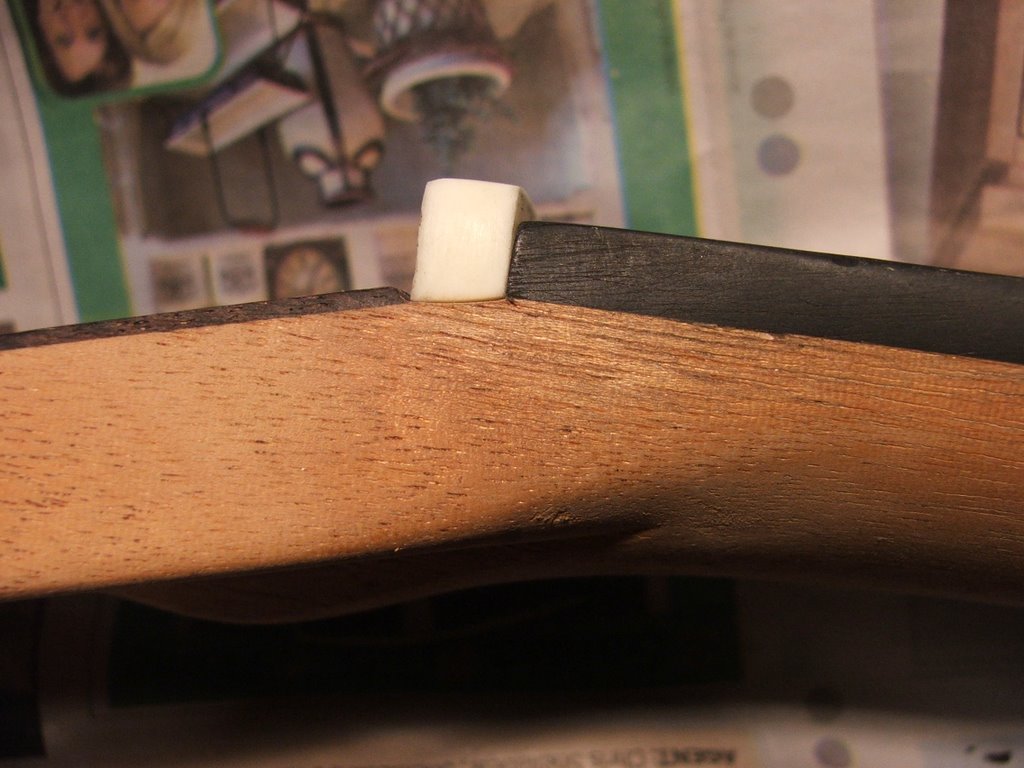
A second coat

Tonight I put on a second coat of the stain in an attempt to darken the redness - there was almost a pinkish tinge that I wanted to darken over. Gee I wish I could have pressed pause when I put on the second coat. When it was wet, the stain had a kind of honeycomb appearance about it... and then it faded away as it dried.

Just to remind me that I don't know what I am doing, the second coat has highlighted glue marks that I couldn't see before - nothing major, just annoying.

Time taken : 10 minutes
Tools used : Stain, rag, glove
AU$'s spent : nil

Saturday, September 30, 2006

The Stain Goes On

Okay - Which one of you forgot to mention that stains dissolve rubber glove? What is the point in wearing them when the rubber breaks down in the first five minutes. My finger tips are now nicely stained as well.

Although striking, I am not really happy with the result. I put the stain on really thin and even though it looked okay when it was wet, it is drying too light in some places and it appears patchy.

I am concerned that a second application may make it too dark.


Time taken : half an hour
Tools used : masking tape, stain, thinner, rag, glass jar, rubber gloves
AU$'s spent : nil

Wednesday, September 27, 2006

Creating the nut


I spent last night shaping the nut and getting it into place. I had not idea how I was going to make the 15 degree angle, using the old school protractor. I ended up using a flat piece of scrap with sand paper on it and another block underneath to raise the scrap to the angle of the neck. I then used my highly calibrated eye to hold the nut straight up and down whilst rubbing in the angle.

That ended up being quite rough so I cut slithers of sand paper and finished the nut by pulling the sandpaper between the neck and the nut.


Time taken : 2 hours
Tools used : sand paper, scrap wood, chisel, pencil
AU$'s spent : nil

Sunday, September 24, 2006

I don't like sanding - but I like the results

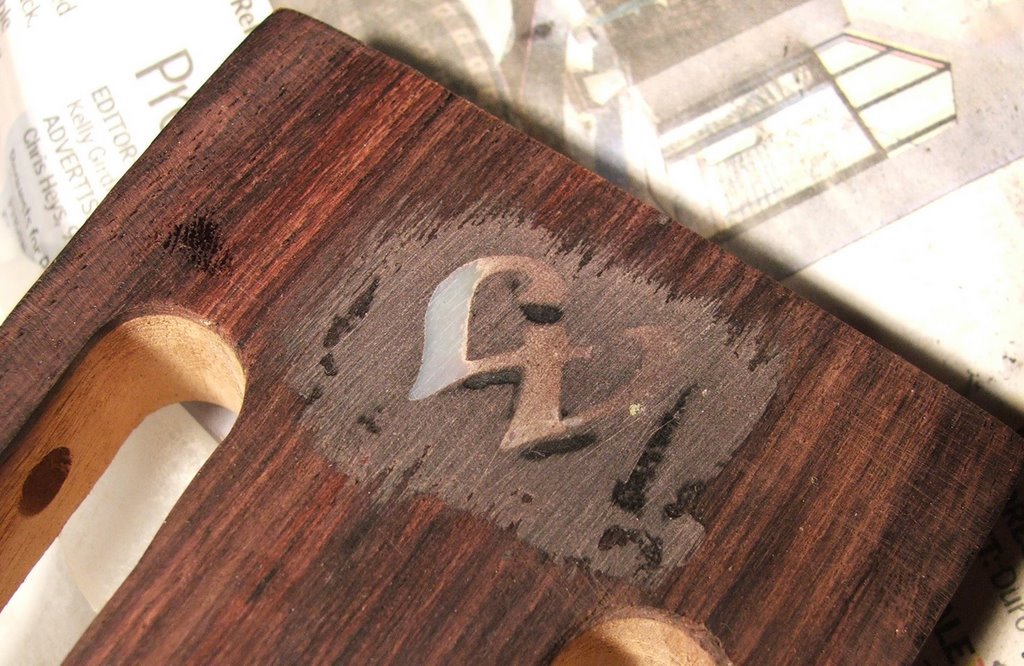
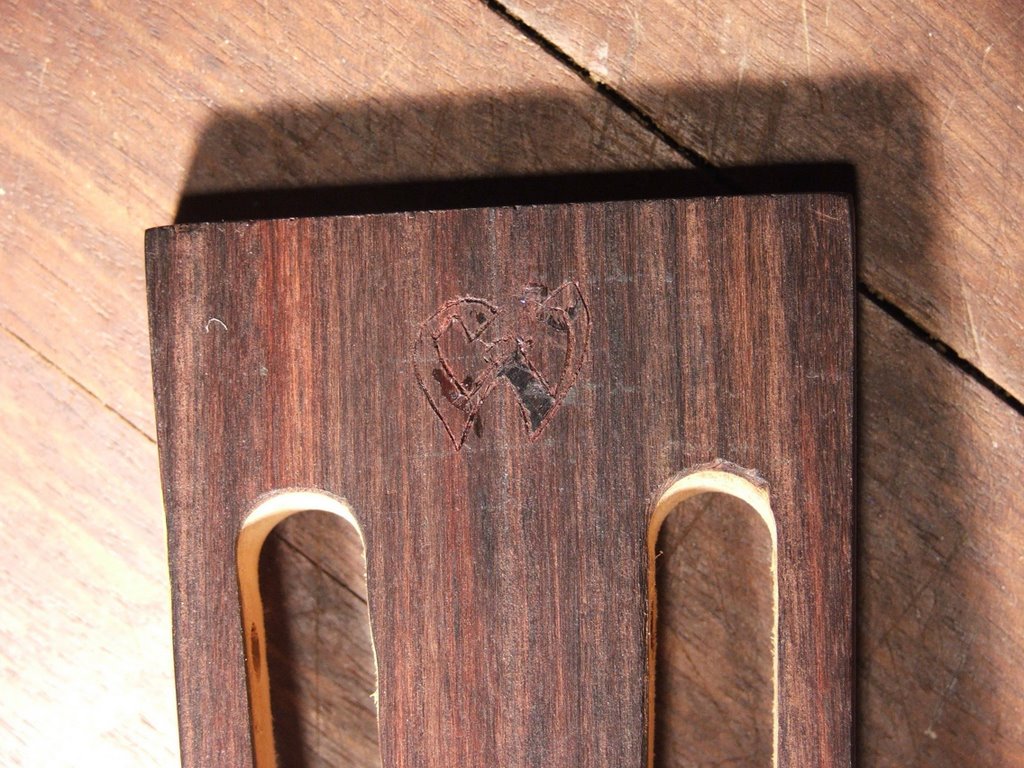
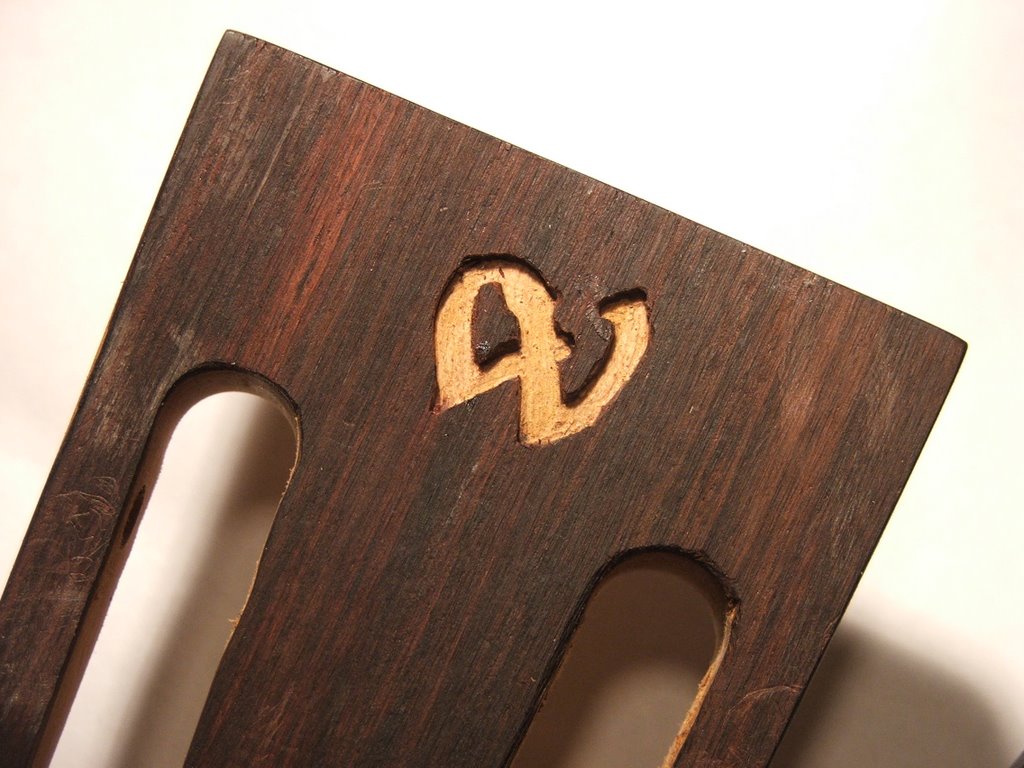
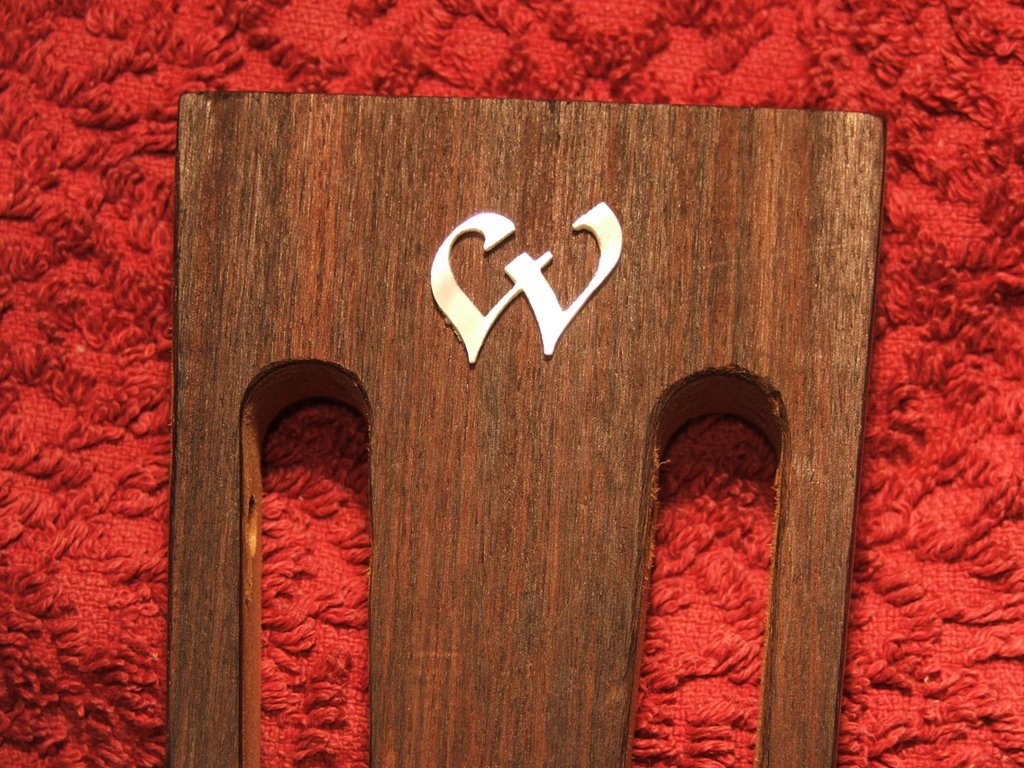
The inlay is done and I am fairly happy with my first ever effort. It would have worked out so much better had I of not dropped and shattered the pearl and if I had of glued it down before adding the epoxy. Notes for next time.


Now these photos give you an up close, warts and all view of the result. To the naked eye at arms length, it is not really visible at all. I recommend a simple inlay to everyone making a guitar. It is not as difficult as I have most likely made it sound and even huge mistakes like mine come up okay. If I was to do it again, I would firstly, forget all about trying to make my own design and then remember to respect how delicate that pearl stuff is. Next time, I am going to get some dentist drill bits to put into the Dremel. I think the smaller the piece the better. I was trying to go very slow but still managed to botch it up because the cutting edge of the bit was not as deep as the groove required. I was actually cutting a few mm (or smaller) past the line, underneath, but from above I could still see the line.


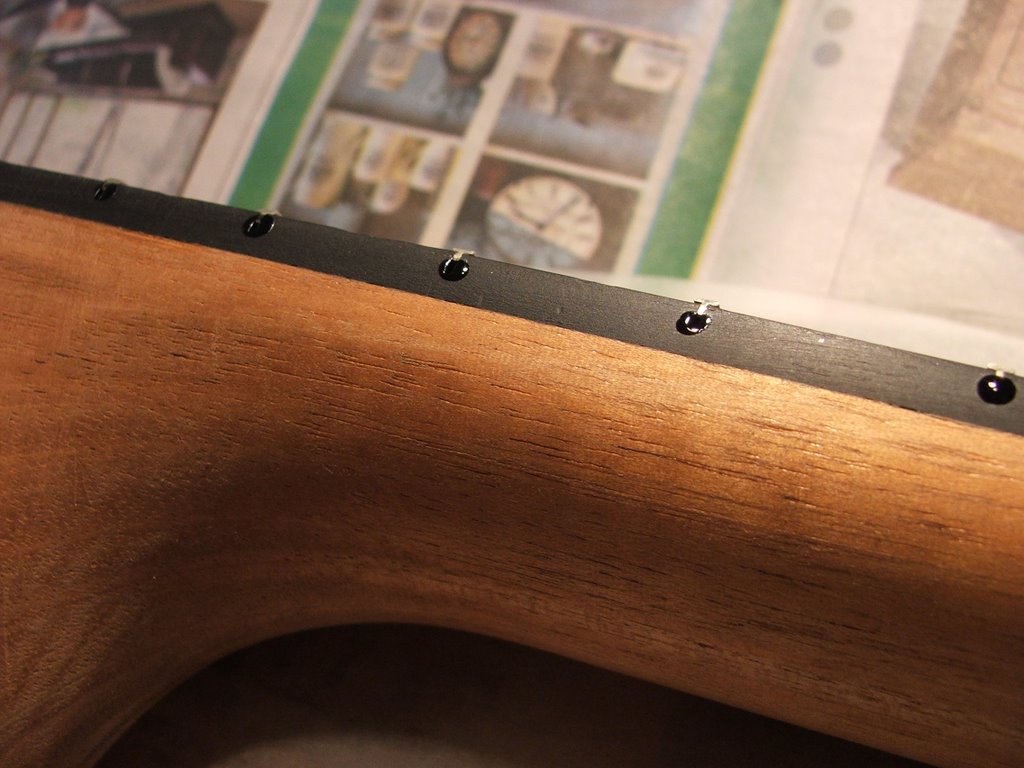
The frets also came up quite well and I think that most of the cover up work is done.


I am getting closer and closer to that finishing stage.

Time taken : .5 hours
Tools used : sandpaper, electric sander
AU$'s spent : Nil

Saturday, September 23, 2006

Filling the Frets

This morning I started to sand back the epoxy of the inlay. I didn't finish it off totally, I'll get to that tomorrow as I have some time for a big out doors sanding session. I am starting to think it will come out okay.


Tonight I filled the gaps under the frets. The first time I tried using the black superglue but being about as thick as water, it just rolled down into the slot and left the gap there.

I had put aside a whole heap of fretboard dust from when I was "shooting the board" I mixed that into the clear epoxy and being thicker that appears to have worked quite well.


My ambition may have out weighed my ability. While I had the fret board coloured epoxy out, I thought to myself, "Why don't I hide some of those file marks on the sides" Time will tell.

Time taken : 1 hour
Tools used : black super glue, epoxy, toothpick, pin, sandpaper.
AU$'s spent : Nil
Thursday, September 21, 2006

Inlay Goes On

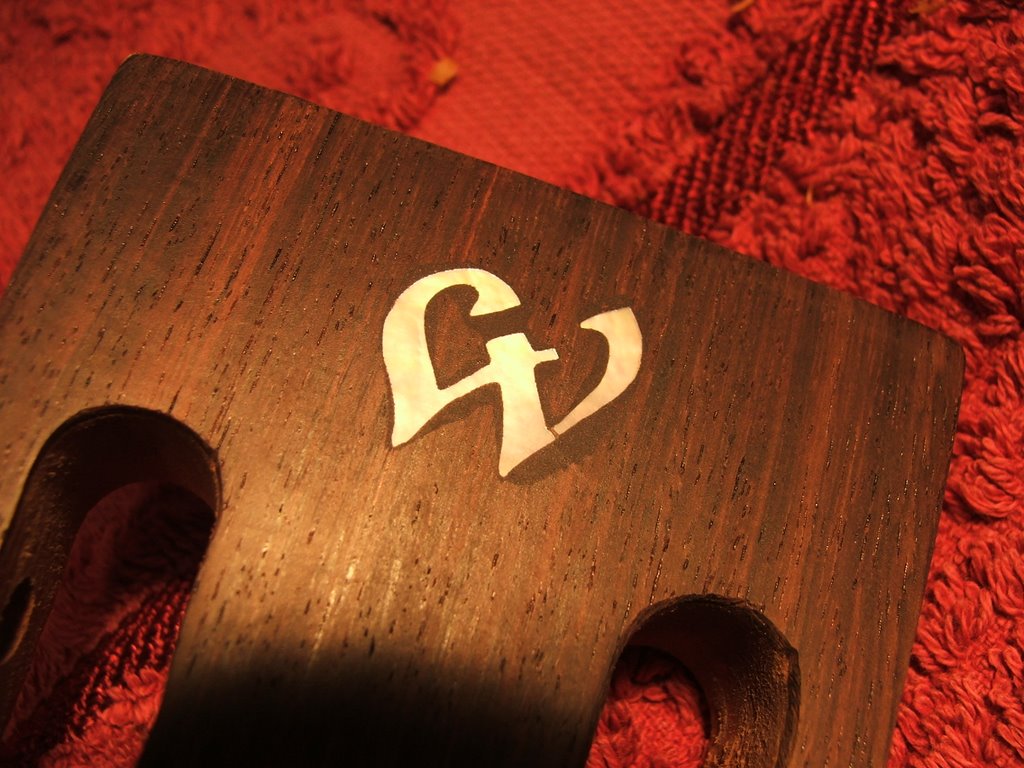
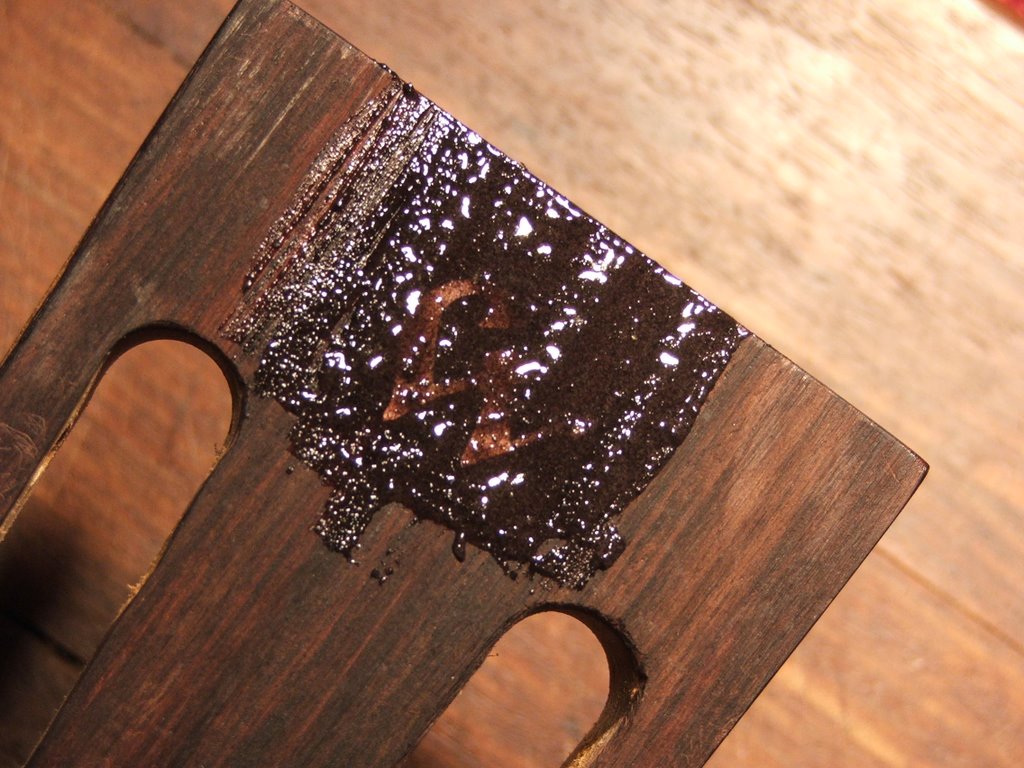
What have I done? Only time will tell. I may have just ruined the appearance of my guitar, then again it may come out okay. I've added a few more photos of this step, just to give a better idea of what I did.

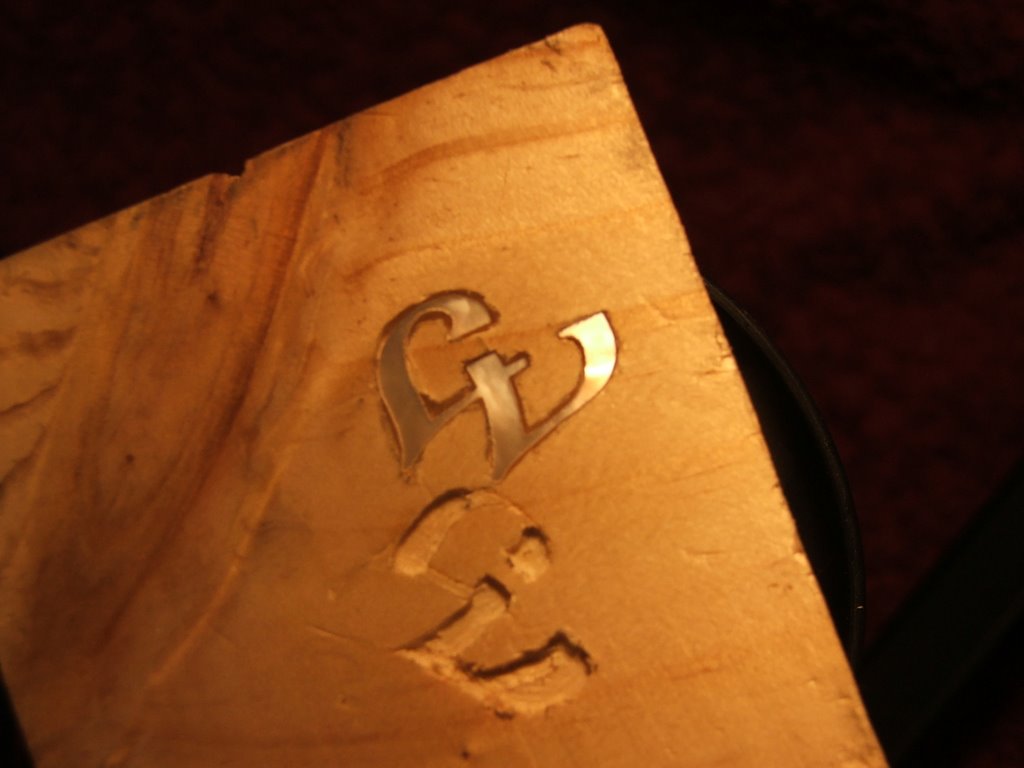
I started out by super gluing the pearl in place and then used a craft knife to trace around the outside, leaving me with an outline.

It was during this process that I dropped the inlay on the ground and it shattered into two.... and my blood pressure started to climb.


Then it all went totally pair shaped. The edges of the pearl were not square and although I spent ages, taking my time, working the edges out, I still managed to stuff it up, taking away wood in the wrong places.


Needless to say, my blood was beginning to boil.


Not being able to take a backwards step, I was left with only one option. I got the sandpaper out and rubbed down scraps left over from the overlay and then mixed some clear expoxy and tinted it with the dust.


The plan is that when I rub it back tomorrow, it'll be perfect and you'll never be able to notice that the job was completed by a mere amateur.

Ten minutes after the last photo I thought to myself, "I should have glued that down, I hope the expoxy holds it in place"

Time taken : 2.5 hours
Tools used : craft knife, super glue, epoxy, sandpaper
AU$'s spent : Nil

Tuesday, September 19, 2006

Should I Inlay?

Today the mail arrived and there was the box containing the mother of pearl inlays I had order last week. Luckily, I ordered three letter "W"'s because one of them had a hairline fracture in the face. It was not a mail issue as there was no damage to the box.


I sat down and started trying to inlay the pearl into a piece of scrap pine (much softer than mahogany) with the Dremel and let me tell you, I am no more confidant than I was last week.


I really don't know if I should go ahead and try this out - worried... but then again I've been there before on this project.

I think it would look good if I manage to get it in there somewhat neatly.


Time taken : Nil
Tools used : Dremel, scrap wood, craft knife, pencil
AU$'s spent : Nil
Monday, September 18, 2006

Anymore To Spend?

This might be a little presumptuous of me to say this but I think that I might have spent the last dollar needed to build this guitar... I am certainly not planning on spending any more. Could this be true? I have deliberately not added up the cost - in fear of what the answer will be.

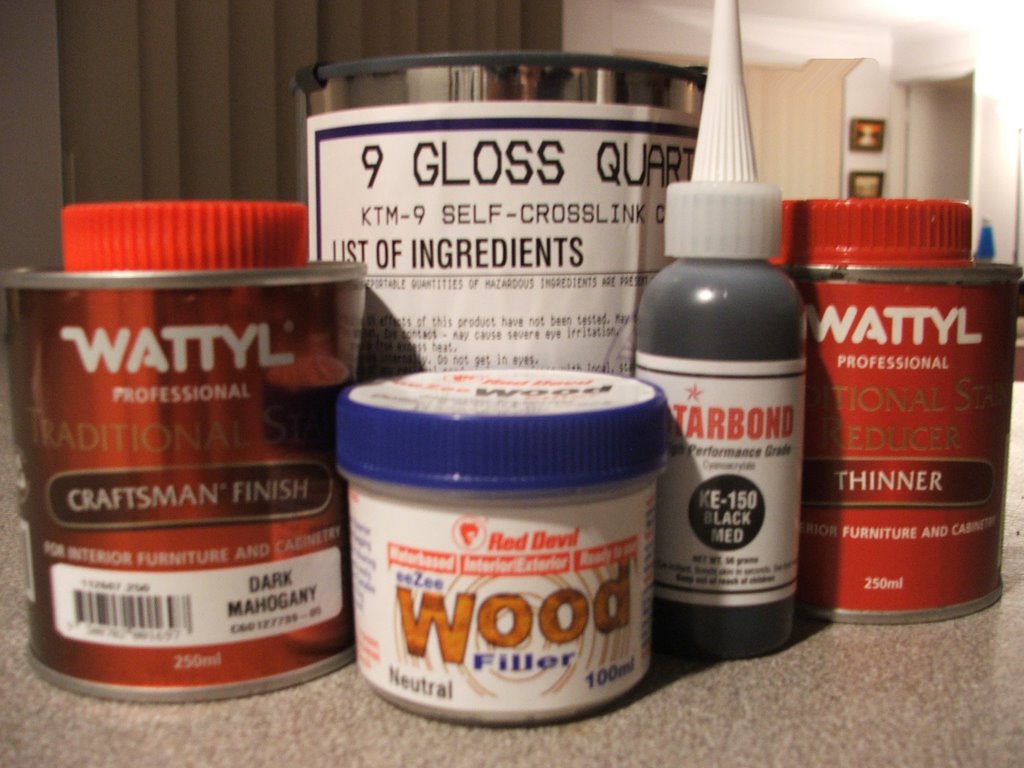
I've grabbed a mahogany stain and a reducer to make it lighter as possible. The folk at Compliant Spray Systems never got back to me so I just bit the bullet and scooped a local product off the shelf, I'll try the neutral Red Devil wood filler.


In other news I set the last frets into the board last night. I had a reminder of my skill level. I whacked my finger with the hammer, jamming in on a fret. I am now sporting a really great blood blister - couldn't even play a guitar tonight if I wanted to.

Time taken : Nil
Tools used : Nil
AU$'s spent : Wattyl Mahogany stain $15.43, Wattyl reducer $9.53, Red Devil Wood Filler $8.10

Sunday, September 17, 2006

I Don't Get It

I'm back on track. Those shims seemed to have worked fairly well, I think that after final sanding and the once the finish is on, the hole mess will be hidden well enough.

However I am left with a burning question. How did it go so wrong? The shims I made were from the same piece of wood, they were the same thickness. I glued one on either side so in theory, the whole neck should be raised and basically the neck set should remain the same.

I was amazed when I checked the side to side and saddle height after taking the wax paper out. The measurements are now even and I am fairly happy with them. I'd like to bring the neck a tiny bit more forward but maybe I should just be happy with what I have at the moment.

Time taken : Nil
Tools used : Nil
AU$'s spent : Nil
Saturday, September 16, 2006

Making Things Right

I've been thinking and worked out that the only way I could start to fix the problem is by shimming the cheeks on the neck and thereby putting some space in between the neck and the block again - no matter how slight that would space will be.

In the Stewmac bolt on kit, you also receive the mahongany that would have been required for the shims for the dovetail, this is the wood I used. Basically I traced the profile of cheeks and then made a shim about 5mm wide - the width of the shim. I glued them in place, leaving a slight overhang to sand back and blend in the neck, and using wax paper I used the body of the guitar and pressure on the bolts for clamping.


Hope it works.

Time taken : 20 minutes
Tools used : glue, craft knife
AU$'s spent : nil

Thursday, September 14, 2006

Driving Me Crazy

I am tearing my hair out! I get the side to side right, then I muck that up trying to get the tilt right. I bought the sides down so much that I ended up with a hump in middle of the heal on the neck... level that and then the side to side AND the tilt were out.... almost back at square one. At this rate, I am not going to have a neck left after another twenty nights of shaving it away. I am getting very angry. The edges of the neck are not even touching the sides. I've been pushing down on the neck so much that I have pressed flat smooth places on to the sides. I will not settle for a high action - I hate high actions.

I'm wild - I am sure that the bottom of the tenon is now touching on mortise within the neck block (Is that the right way around?) and any further adjustments I make will just make the joint looser, messier and even harder to set.


Notice how the 12th fret is now lower than the edge of the body.

Frustrated, angry, confused and doubting my ability. I give up tonight.

Time taken : 2.5 Hours
Tools used : same as last night
AU$'s spent : Nil (but I'd pay to have that neck perfect).
Wednesday, September 13, 2006

Neck Is Just About Set

I spent my time tonight slowly etching away, adjusting the neck, trying to get it set right. I think I have it fairly close. I’ve reached that point where I think, should I go any further? I’ll leave it and take another look with a set of fresh eyes tomorrow.

I must say, I expected that the neck joint would have been tighter, but this seems to be a common complaint – I had a few millimeters of sideways movement, allowing twist. I found that the measurements would change without taking any wood off.

Next time around, I don’t think I do too much sanding before setting the next, except obviously the areas that affect the measurements. – I’ve whacked my guitar a few dozen times with my straight edge tonight.

Still either way, in the corner of the room, there is a construction that definitively looks like a guitar.

Time taken : 3 hours
Tools used : chisel, sand paper, craft knifes, straight edge, rulers
AU$'s spent : Nil
Tuesday, September 12, 2006

An Aussie Alternative

Wow. I've heard of this Enduro product for pore filling before finishing. The folk from Compliant Spray Systems have quoted me $65-$85 in freight to get it Down Under. Is that US dollars or AUD?... gee I hope is Peso. The product itself only cost US$16 odd dollars to buy.

I think there has to be a suitable local product - can anyone help?

Time taken : Nil - Not yet
Tools used : Nil
AU$'s spent : Nil

Monday, September 11, 2006

Slowly Does It

I watched the video a couple of times, read the book over and over and then started to chisel out the "cheeks" on the end of the neck heel. I've tried and tried to sharpen chisels but I am really bad at it. I ended up reverting to my craft knife kit, making the cuts smaller and therefore the mistakes less.


Tomorrow I will start shaving and sanding back the sides to get the centre line and then take some wood off the top on each side to try and bring the neck angle forward.

Wish me luck?

Time taken : 2 hours
Tools used :
AU$'s spent :

Sunday, September 10, 2006

Scared

Okay so I am now scared. It has suddenly occurred to me that I can live without inlay or wonky binding, I will learn to love that small nick I took out of the fretboard when I dropped a chisel, I may even put up with a bad finish if that should happen. I have worked out that this next step, setting the neck, will be the one I can ill afford to muck up – every time I go to play the guitar I will feel a bad action. I am scared.

Time taken : Nil
Tools used : Nil
AU$'s spent : NIl

Saturday, September 09, 2006

Buy Buy Buy

My little plan of having some inlay on the headstock has taken a slight detour. Making your own inlay from blank pearl is really hard - unless (I guess) you have all the equipment, which I do not. I spent a fair bit of time today trying to file, cut, trim and Dremel out some shapes that I have had in mind.

I have all but given up. I have ordered a couple of mother of pearl letters from Luthier Supply which will be my fall back plan. I am going to continue to try and make my own design but, not all is lost.

I've also settled also on the KTM-9 and placed the order - the freight is more than the cost of the product. U also ordered some black superglue because I can't find it anywhere here in Australia. Now I just have to source the Enduro grain filler. All I seem to be doing lately is spend money.

Odd as it may seem - I spent time tonight researching kits. Can you believe I am day dreaming about the second build already.


I think it's starting to come together well although I am a little worried about how much movement there is the neck joint. Too tired now, I'll worry about it tomorrow afternoon.


Time taken : An hour or so wasted on the useless inlay
Tools used : files, sandpaper, craft knives, dremel
AU$'s spent : $18.36 MOP letters and freight; $126.94 KTM-9, black superglue and freight.

Thursday, September 07, 2006

Flipping and Flopping

I don't own any spray equipment, even if I did I wouldn't know how to use it. I look at rattle cans of Mirotone but they cost $22.95 a can and there isn't really a lot of talk for the product around. I went back to the beginning tonight and discovered I can import KTM-9, just not the recommended epoxy pore filler.

Then there is the waterbased stuff on StewMac.

All week I've been researching finishes, now I am trying to find a substitute filler that I can get on the local market.

Time taken : Nil
Tools used : Nil
AU$'s spent : $9.50 - I bought more sand paper

Tuesday, September 05, 2006

Advice from one that knows

Just when I am about to tear my hair out over finding a local product, I have a ray of sunshine. Last night I simply fired off and email to a luthier that lives and works in Western Australia, Scott Wise. Scott took the time to enquire into the types of wood I was using and then supplied me with a few different options that I can source locally.
One really cool thing I found whilst looking at Scott's site is that he donates one of his guitars each year to the Bridgetown Blues Festival which is (I'd say) our biggest festival, supporting local acts that WA offers.
Thankyou Scott - you have saved me a lot of time and grief.

Time taken : Nil
Tools used : Nil
AU$'s spent : Nil

Fingerboard attached

Most of the sanding of the body has been completed. I can't say it's finished because that would mean that I have to start with the finish... and I still have no idea which product or methods I am going to use.

One thing I am happy is that the initial sectioned appearance remained on the soundboard. I like the subtle effect that the lines cause - It looks like wood. Does that make sense?


I still have to dampen the grain and sand further but I am getting there. I might also bring the binding back further with still a finer grade of paper... I don't know yet.


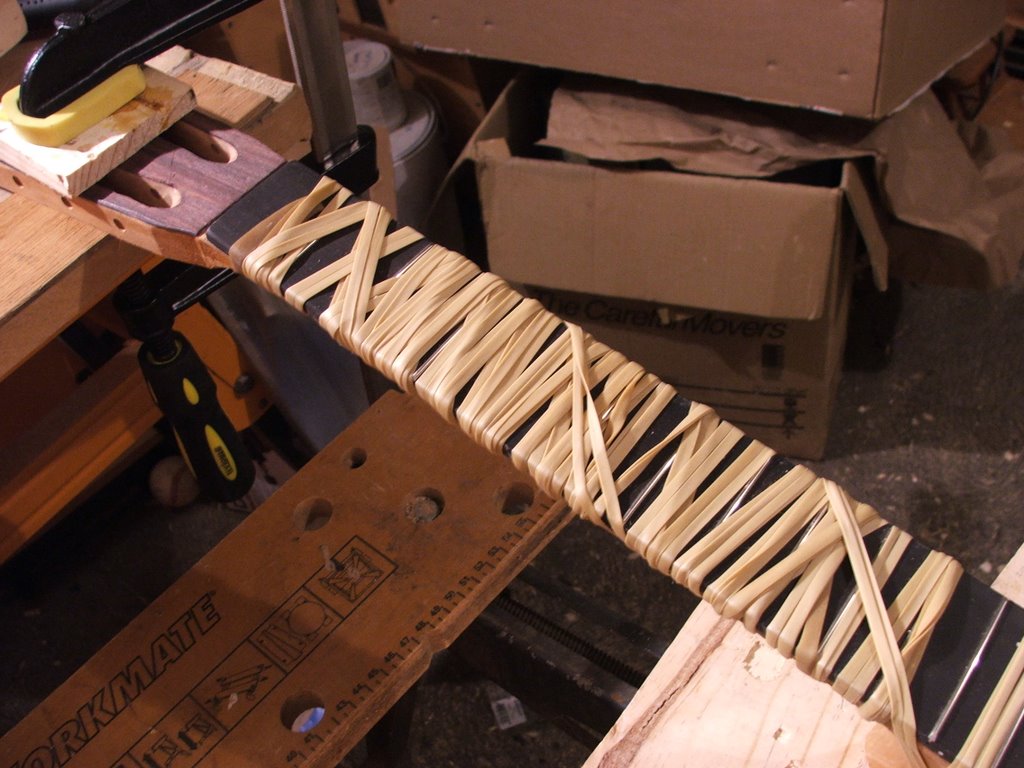
Tonight I glued the fingerboard onto the guitar neck. I'm back to those sleepness nights of wondering and waiting to find out how it'll look when I take off the clamps... in this case the elastic bands."


The blue strip that you can see is a thin piece of masking tape that I hope will stop the glue spilling into the truss rod channel.


My suggestion for others would be start winding the elastic band at the block end and make sure you wind the band as far down as you can. It's not difficult.

Time taken : 1 hour
Tools used : glue, sand paper, electric sander, clamps, scrap wood
AU$'s spent : Nil

Monday, September 04, 2006

Questionable Skills

My general wood working skills (or lack of them) are starting to come to the floor. I've all but sanded the back and sides and I must say that I am generally happy. Besides a couple of remaining marks, which I think were pressure points from clamps, and a few spots where I mucked up the bindings, it doesn't seem to look to bad. I would never have reached the same finish without the electric sander.

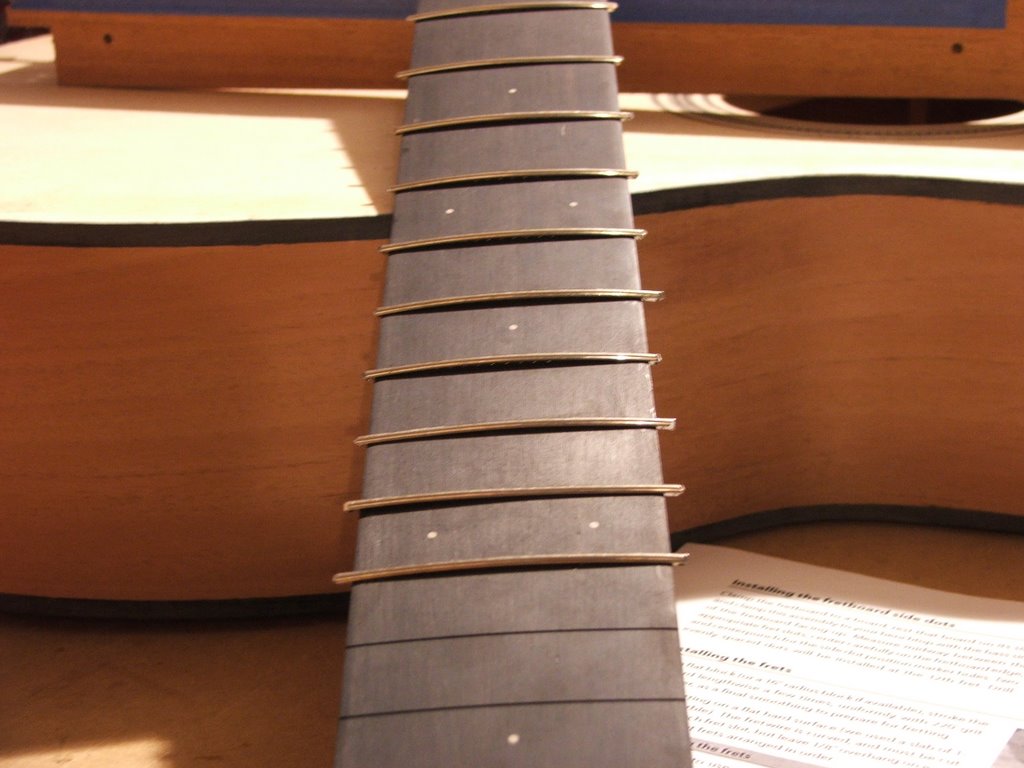
Tonight I finished hammering in the first 14 frets and then I trimmed up the edges and then tried to gently file back the edges. It's fair to say that I botched this up. I dragged the file edge a few times, leaving great big gauges out of the sides... a single stroke and there is a mark that I will not be able to remove. I will hide it - but it will always be there.

I used the sanding board to tidy up the edges and it worked well but gee those frets chew through the sand paper - I've renewed the sand paper and will finish it off tomorrow night.

Time taken : 1.5 hours
Tools used : sandpaper, electric sander, files, clamps, hammer, contact cement
AU$'s spent : Nil

Sunday, September 03, 2006

Sanding and Fretboard work

Fathers Day today, so I didn’t spend too much time in the workshop. Having said that, I achieved a fair bit this evening.

I started the sanding of the guitar body. That idea of covering the soundboard doesn’t last too long, I found that it came away fairly quickly, no matter how gentle I was. I don’t think it’ll be too bad with the mahogany but I will have to think this through further if I make a rosewood back and sides in the future.

Sanding back the body has started to highlight the flaws. There is a little spot on the back where cement dripped and it does not seem that it is going to come out with sanding. I think I have already mentioned that I have very little patience when it comes to sanding. I think tomorrow I will start the process again, this time with the electric sander – does that make me lazy?

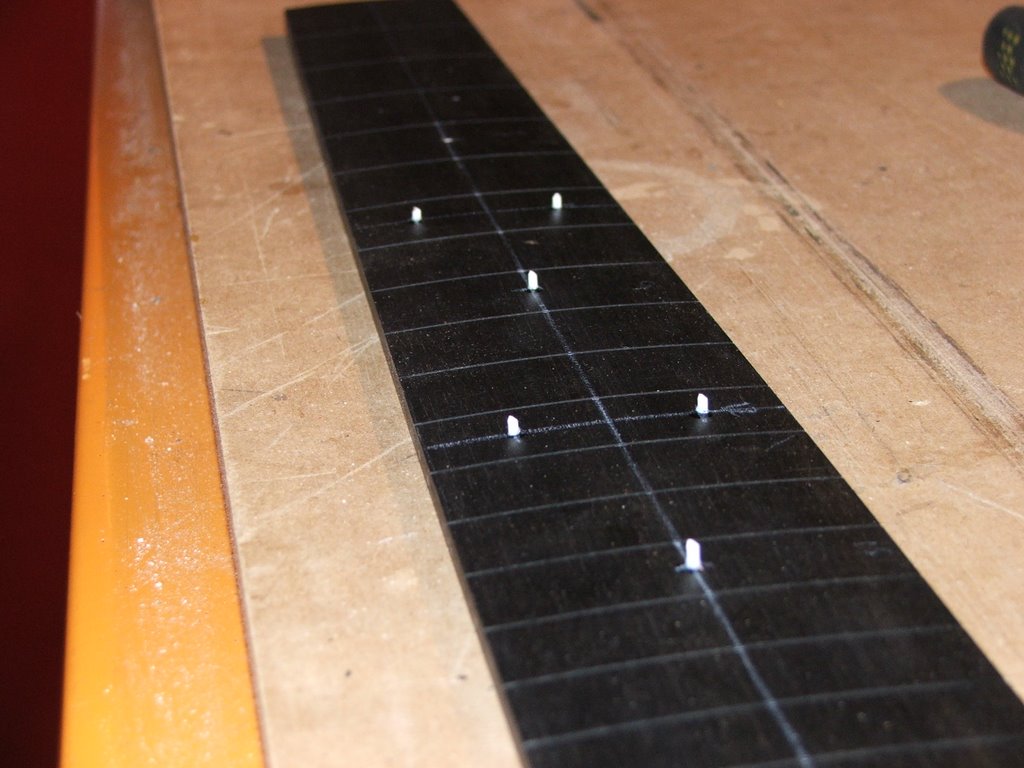
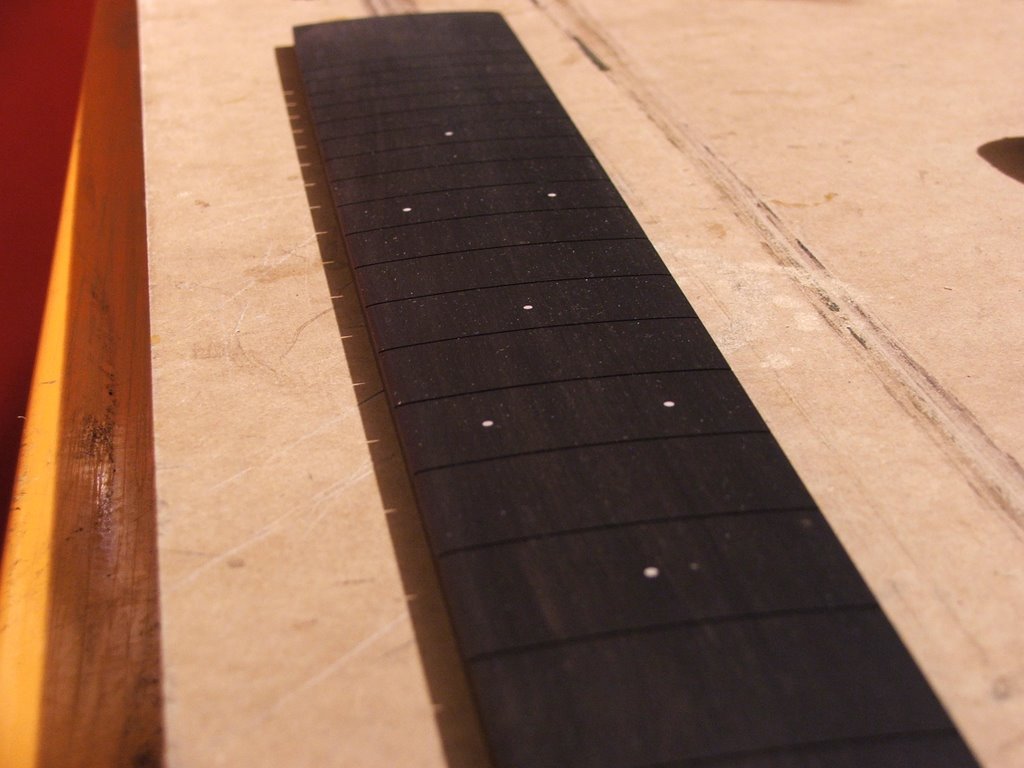
I finally decided to give up on the square shaped pearl inlay and reverted to an idea that I thought of a couple of weeks ago and then saw mentioned on the Kit Guitar Forum. I used the material that was supplied for the side dots and using the same process I put them into the fretboard to make the markers. They are small and subtle. I think they’ll look okay.


I also started putting in the first twelve frets – The first strike of the hammer and the fret wire lay down and ripped up a little bit of the fretboard. It’s not bad, it’s going to be another thing that I will know all about but perhaps you wouldn’t notice.


I had to call it quits in respect for the neighbors trying to sleep. All that banging on the shed floor might not have been good for the relationship.

Time taken : 2 hours
Tools used : Sand paper, cutters, superglue, craft knife, soft hammer.
AU$'s spent : Nil