Saturday, September 09, 2006

Buy Buy Buy

My little plan of having some inlay on the headstock has taken a slight detour. Making your own inlay from blank pearl is really hard - unless (I guess) you have all the equipment, which I do not. I spent a fair bit of time today trying to file, cut, trim and Dremel out some shapes that I have had in mind.

I have all but given up. I have ordered a couple of mother of pearl letters from Luthier Supply which will be my fall back plan. I am going to continue to try and make my own design but, not all is lost.

I've also settled also on the KTM-9 and placed the order - the freight is more than the cost of the product. U also ordered some black superglue because I can't find it anywhere here in Australia. Now I just have to source the Enduro grain filler. All I seem to be doing lately is spend money.

Odd as it may seem - I spent time tonight researching kits. Can you believe I am day dreaming about the second build already.


I think it's starting to come together well although I am a little worried about how much movement there is the neck joint. Too tired now, I'll worry about it tomorrow afternoon.


Time taken : An hour or so wasted on the useless inlay
Tools used : files, sandpaper, craft knives, dremel
AU$'s spent : $18.36 MOP letters and freight; $126.94 KTM-9, black superglue and freight.

Thursday, September 07, 2006

Flipping and Flopping

I don't own any spray equipment, even if I did I wouldn't know how to use it. I look at rattle cans of Mirotone but they cost $22.95 a can and there isn't really a lot of talk for the product around. I went back to the beginning tonight and discovered I can import KTM-9, just not the recommended epoxy pore filler.

Then there is the waterbased stuff on StewMac.

All week I've been researching finishes, now I am trying to find a substitute filler that I can get on the local market.

Time taken : Nil
Tools used : Nil
AU$'s spent : $9.50 - I bought more sand paper

Tuesday, September 05, 2006

Advice from one that knows

Just when I am about to tear my hair out over finding a local product, I have a ray of sunshine. Last night I simply fired off and email to a luthier that lives and works in Western Australia, Scott Wise. Scott took the time to enquire into the types of wood I was using and then supplied me with a few different options that I can source locally.

One really cool thing I found whilst looking at Scott's site is that he donates one of his guitars each year to the Bridgetown Blues Festival which is (I'd say) our biggest festival, supporting local acts that WA offers.

Thankyou Scott - you have saved me a lot of time and grief.

Time taken : Nil
Tools used : Nil
AU$'s spent : Nil

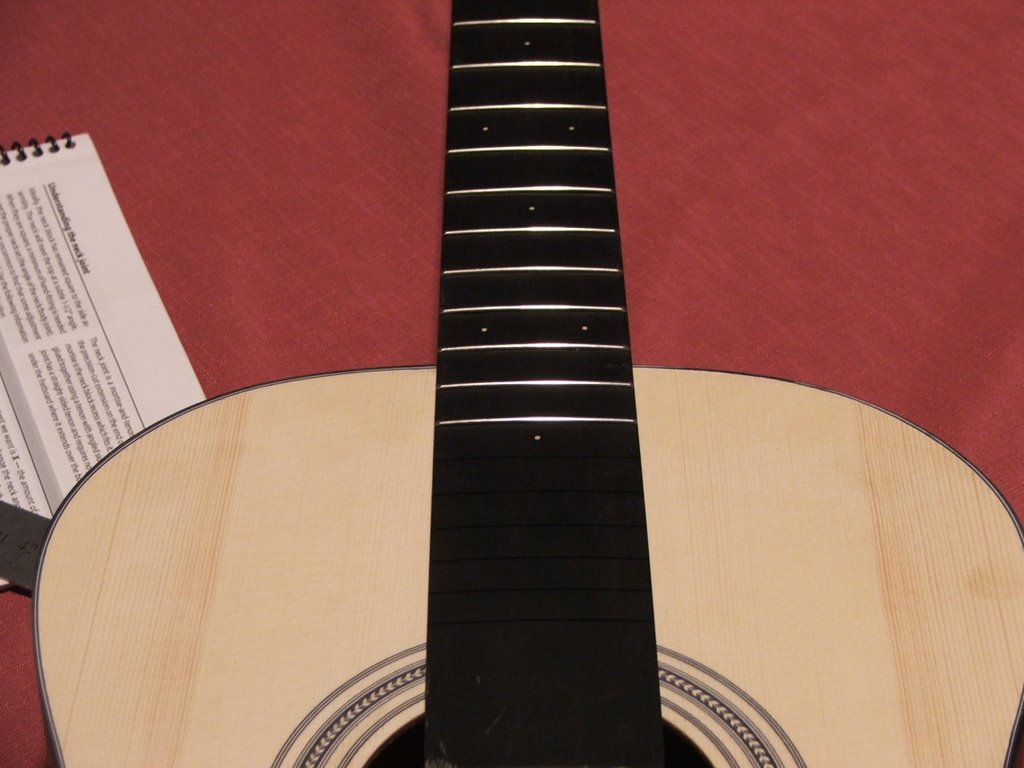
Fingerboard attached

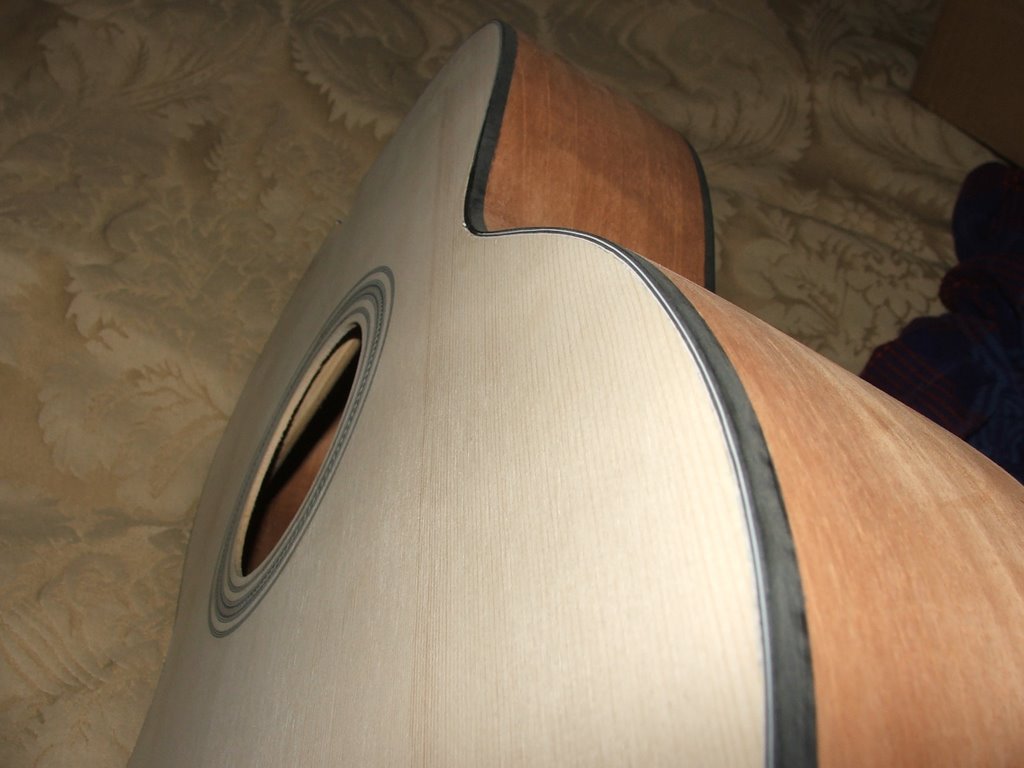
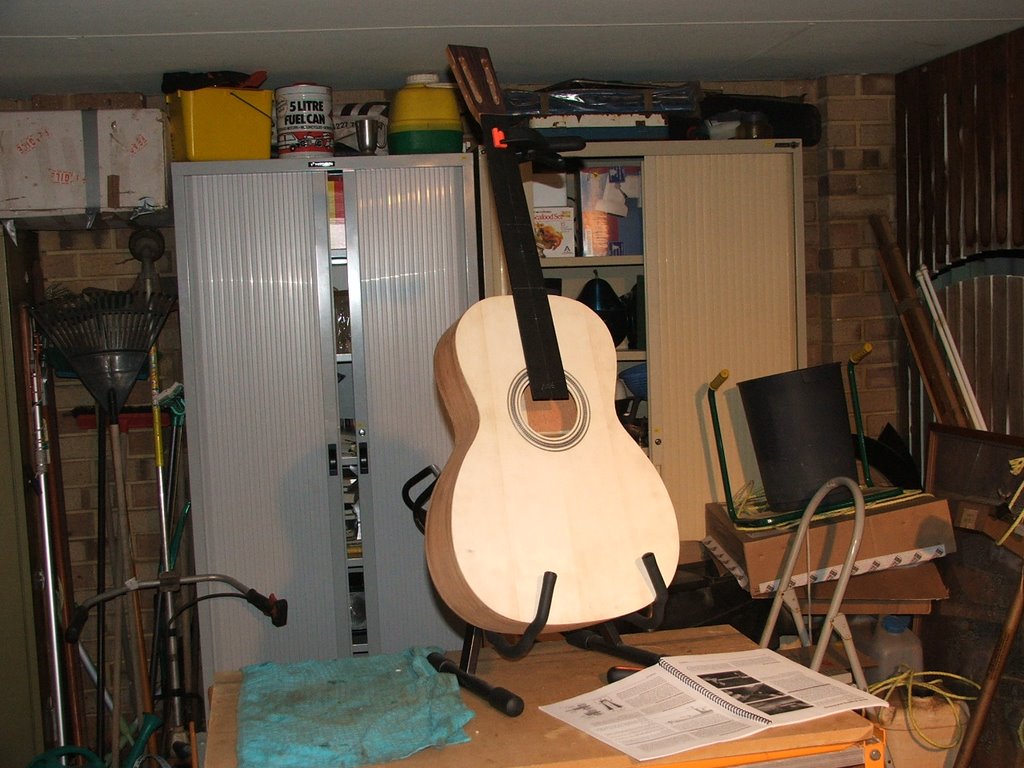
Most of the sanding of the body has been completed. I can't say it's finished because that would mean that I have to start with the finish... and I still have no idea which product or methods I am going to use.

One thing I am happy is that the initial sectioned appearance remained on the soundboard. I like the subtle effect that the lines cause - It looks like wood. Does that make sense?


I still have to dampen the grain and sand further but I am getting there. I might also bring the binding back further with still a finer grade of paper... I don't know yet.


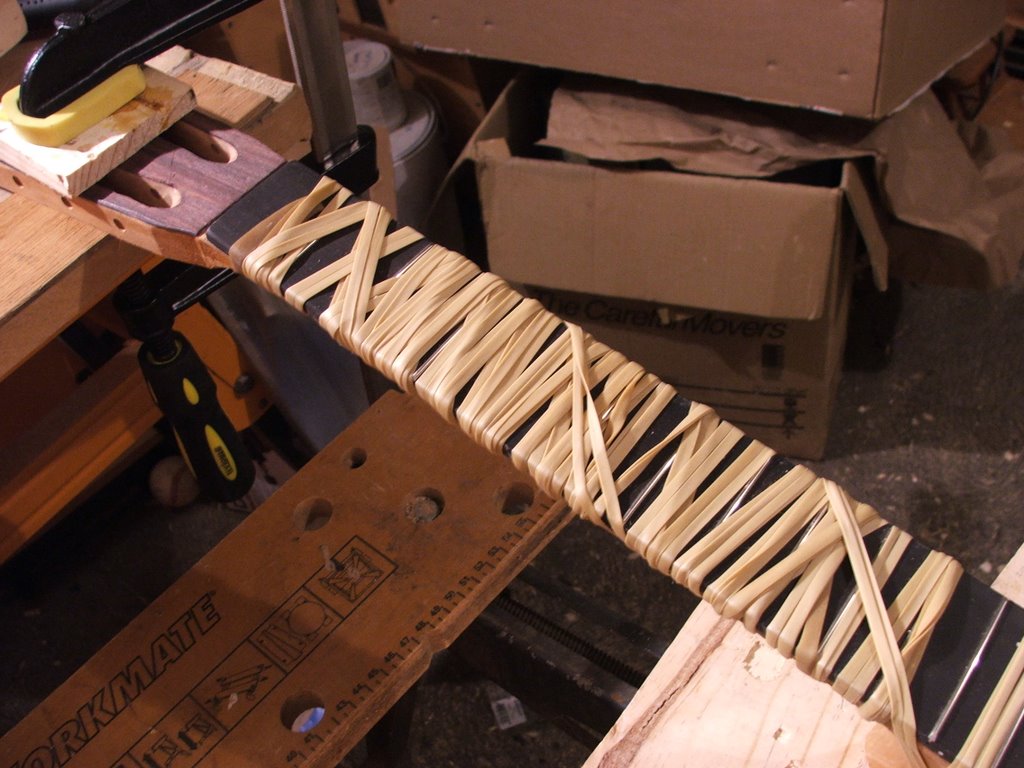
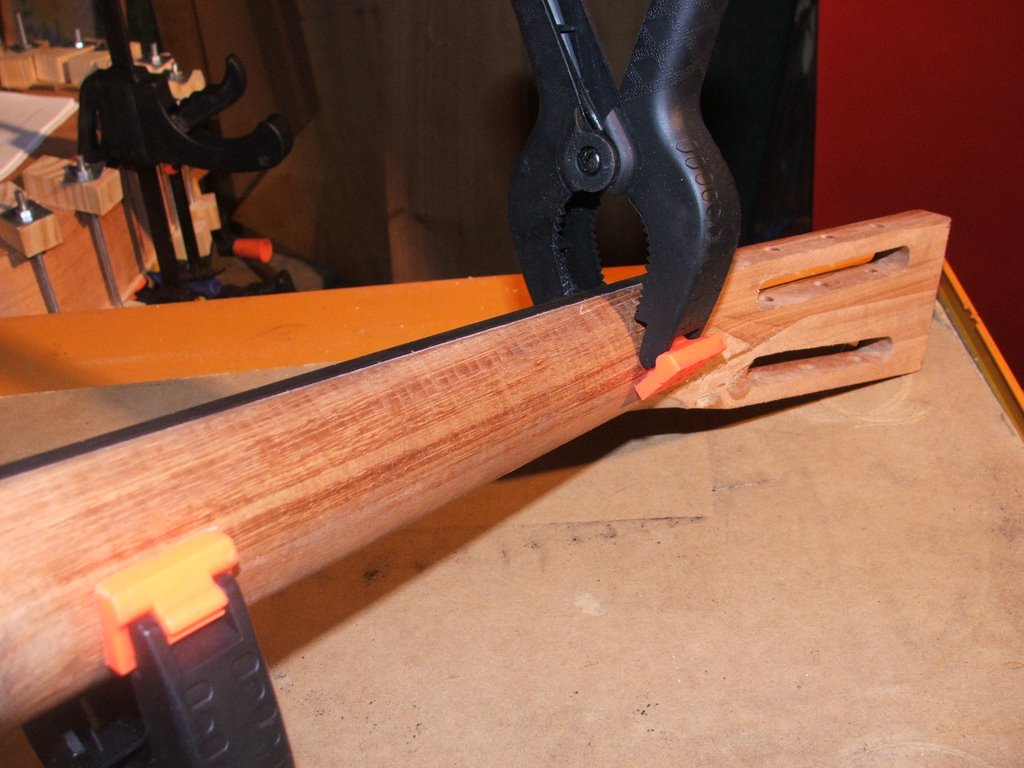
Tonight I glued the fingerboard onto the guitar neck. I'm back to those sleepness nights of wondering and waiting to find out how it'll look when I take off the clamps... in this case the elastic bands."


The blue strip that you can see is a thin piece of masking tape that I hope will stop the glue spilling into the truss rod channel.


My suggestion for others would be start winding the elastic band at the block end and make sure you wind the band as far down as you can. It's not difficult.

Time taken : 1 hour
Tools used : glue, sand paper, electric sander, clamps, scrap wood
AU$'s spent : Nil

Monday, September 04, 2006

Questionable Skills

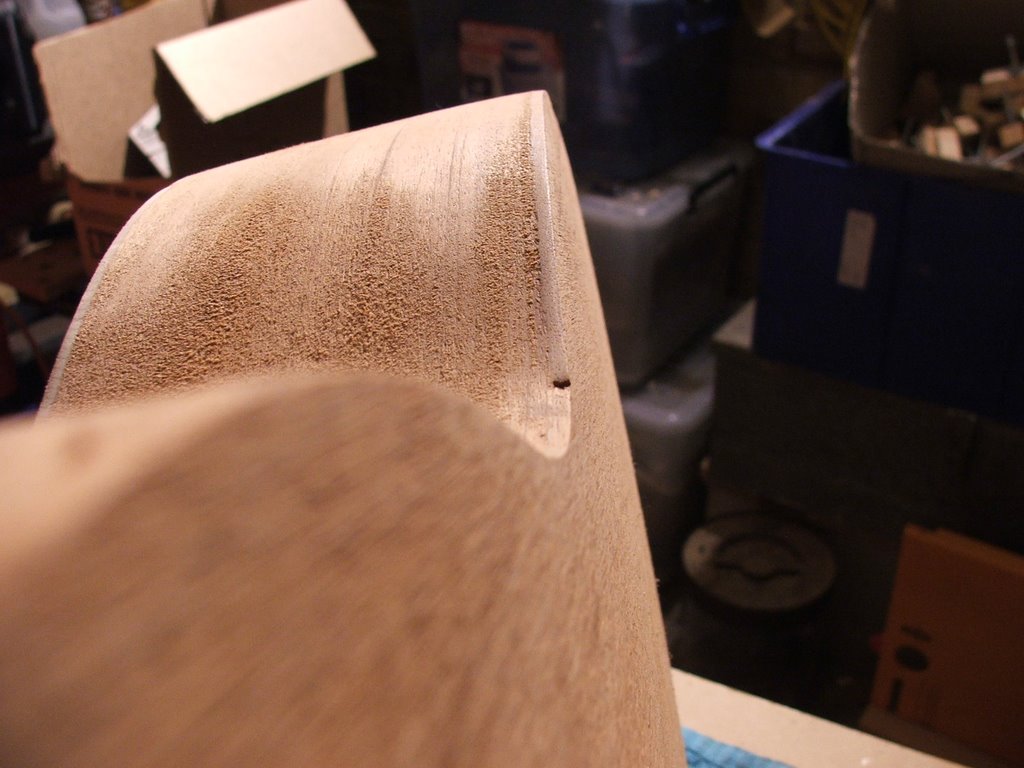
My general wood working skills (or lack of them) are starting to come to the floor. I've all but sanded the back and sides and I must say that I am generally happy. Besides a couple of remaining marks, which I think were pressure points from clamps, and a few spots where I mucked up the bindings, it doesn't seem to look to bad. I would never have reached the same finish without the electric sander.

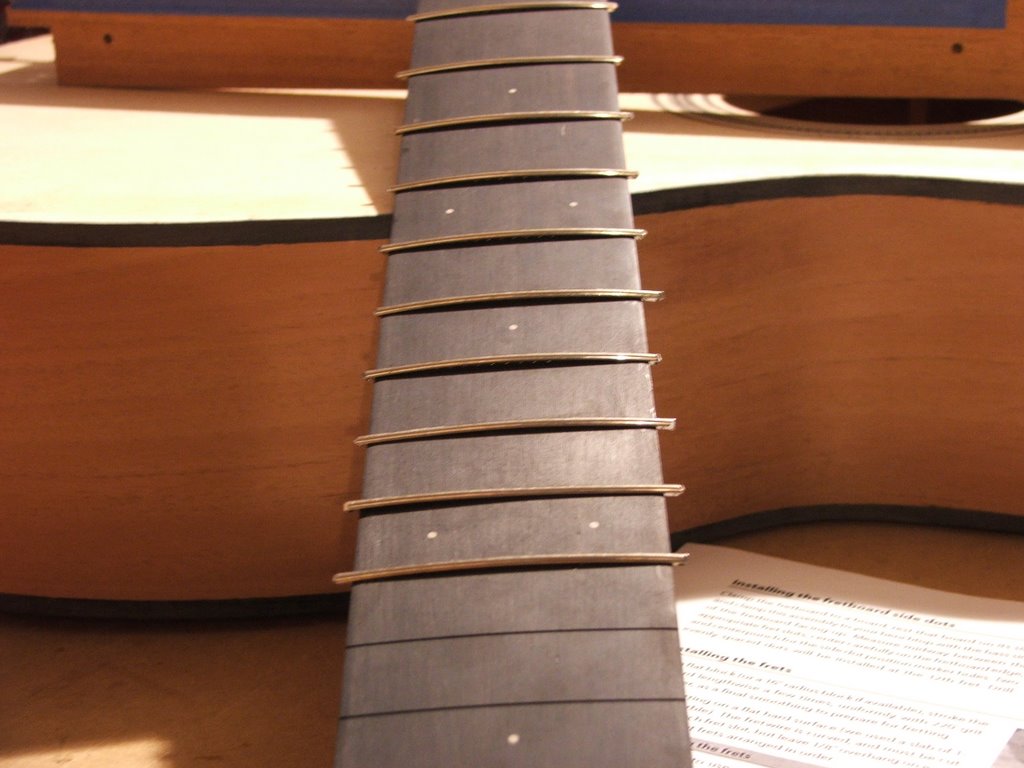
Tonight I finished hammering in the first 14 frets and then I trimmed up the edges and then tried to gently file back the edges. It's fair to say that I botched this up. I dragged the file edge a few times, leaving great big gauges out of the sides... a single stroke and there is a mark that I will not be able to remove. I will hide it - but it will always be there.

I used the sanding board to tidy up the edges and it worked well but gee those frets chew through the sand paper - I've renewed the sand paper and will finish it off tomorrow night.

Time taken : 1.5 hours
Tools used : sandpaper, electric sander, files, clamps, hammer, contact cement
AU$'s spent : Nil

Sunday, September 03, 2006

Sanding and Fretboard work

Fathers Day today, so I didn’t spend too much time in the workshop. Having said that, I achieved a fair bit this evening.

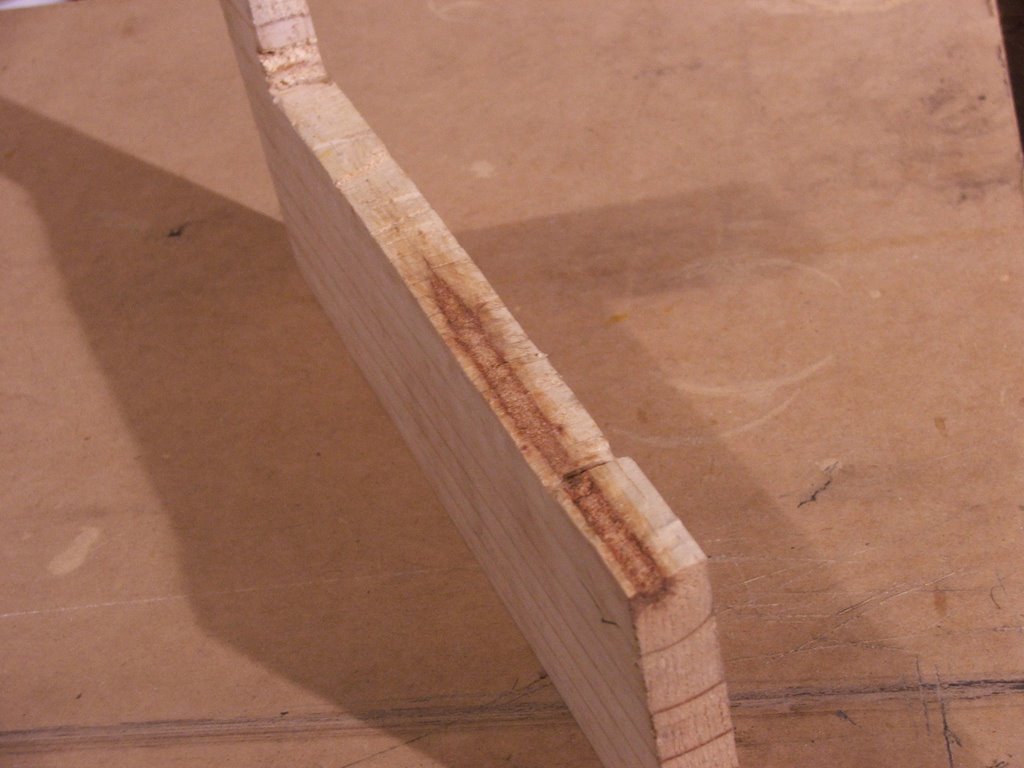
I started the sanding of the guitar body. That idea of covering the soundboard doesn’t last too long, I found that it came away fairly quickly, no matter how gentle I was. I don’t think it’ll be too bad with the mahogany but I will have to think this through further if I make a rosewood back and sides in the future.

Sanding back the body has started to highlight the flaws. There is a little spot on the back where cement dripped and it does not seem that it is going to come out with sanding. I think I have already mentioned that I have very little patience when it comes to sanding. I think tomorrow I will start the process again, this time with the electric sander – does that make me lazy?

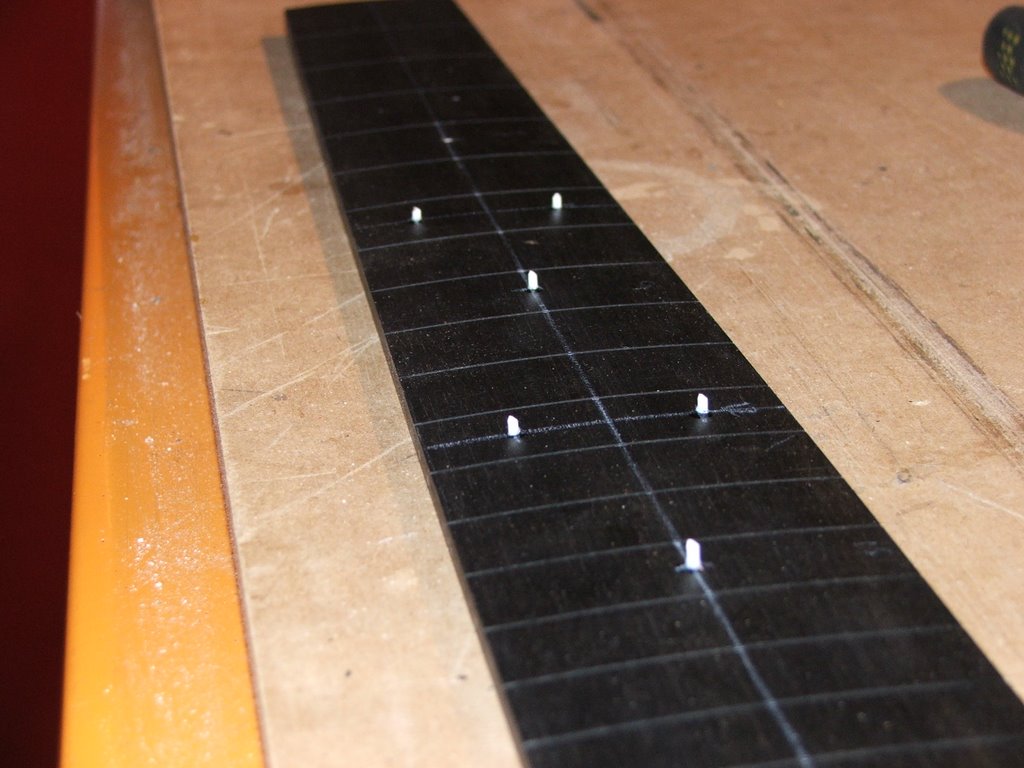
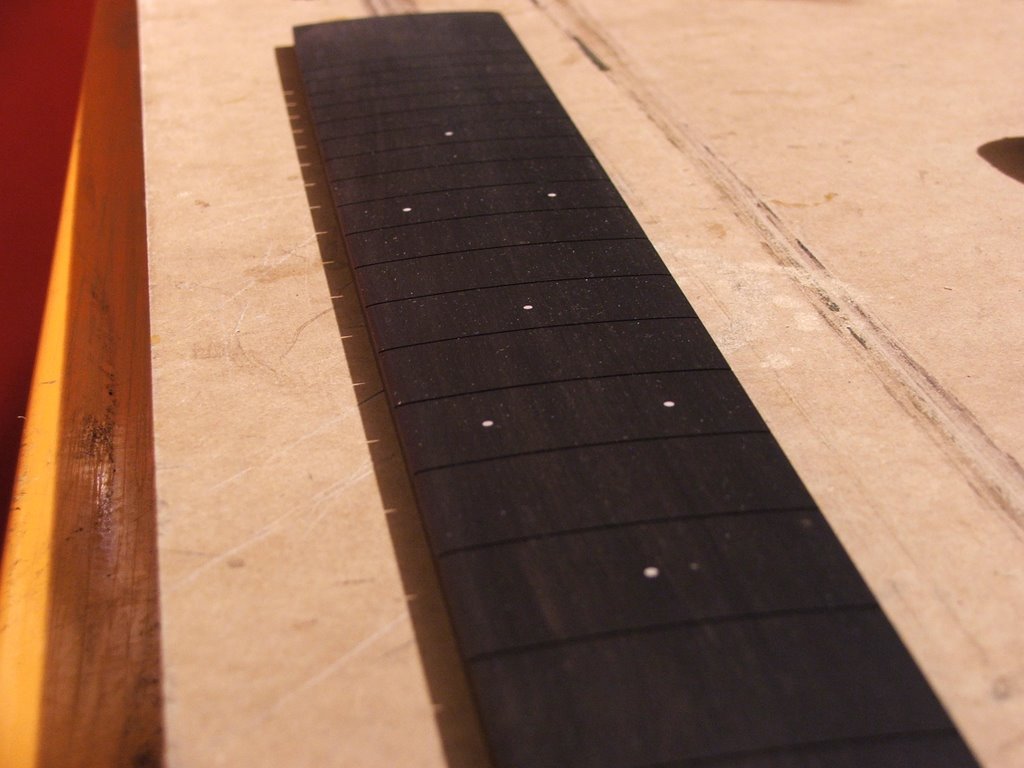
I finally decided to give up on the square shaped pearl inlay and reverted to an idea that I thought of a couple of weeks ago and then saw mentioned on the Kit Guitar Forum. I used the material that was supplied for the side dots and using the same process I put them into the fretboard to make the markers. They are small and subtle. I think they’ll look okay.


I also started putting in the first twelve frets – The first strike of the hammer and the fret wire lay down and ripped up a little bit of the fretboard. It’s not bad, it’s going to be another thing that I will know all about but perhaps you wouldn’t notice.


I had to call it quits in respect for the neighbors trying to sleep. All that banging on the shed floor might not have been good for the relationship.

Time taken : 2 hours
Tools used : Sand paper, cutters, superglue, craft knife, soft hammer.
AU$'s spent : Nil

Thursday, August 31, 2006

Off Topic: Corporate Kindness

Regular readers will know that I have spent a fair bit of time (and money) in my local Bunnings store of late. Tonight I took my two daughters to Bunnings for a Fathers Day craft workshop.

Now I have no corporate experience, I know little about running a business and I am not old enough to remember "the good ol' days" (I don't think) but this is something that I don't think you'll find in a business text book anywhere these days. When was the last time that you saw a large company, openly showing what I have dubbed Corporate Kindness.... apparently, it used to be common place and slid past the accountants under the title, good will.

Tonight I made two tool boxes with my daughters. One is for a grandfather, the other is for their mother (?). I am unable to explain how impressed I am with the staff and their efforts. Not only did the company supply the hardware, the paint and the three staff members, they also arranged dinner, drinks, mini golf and at least one gift for everyone that attended.

All that was expected of us was to have a good time and take home a happy memory - and if possible, a completed toolbox.

Rare to say the least. Bravo I say.

Time taken : Nil
Tools used : Nil
AU$'s spent : Nil

Happy Again

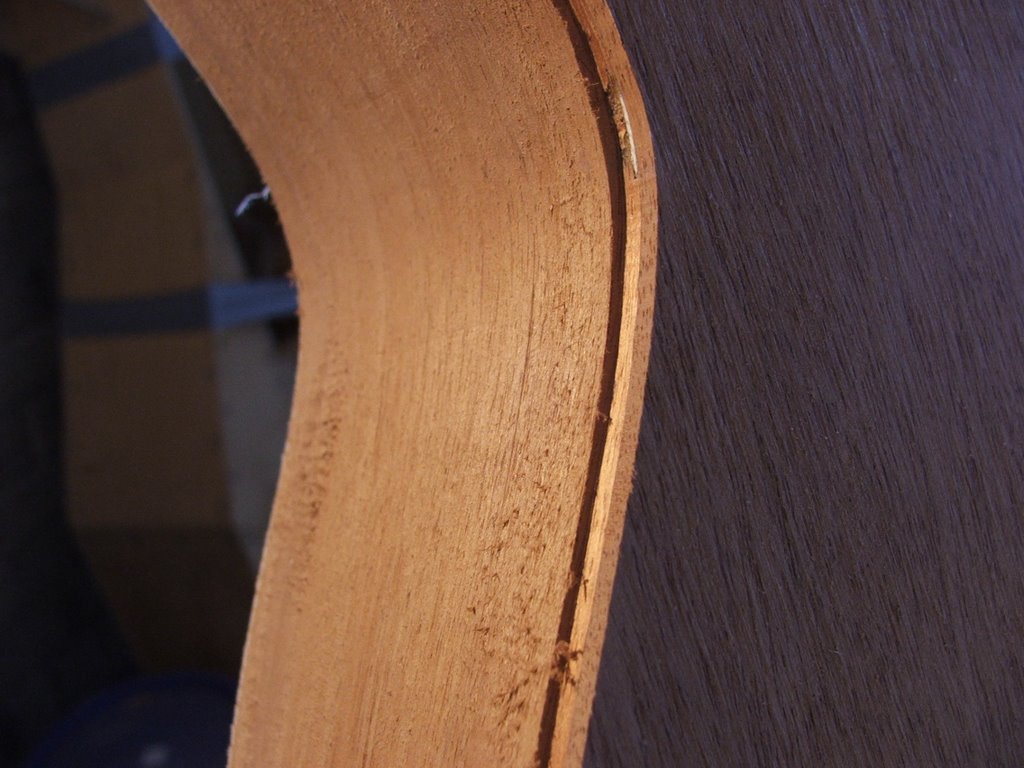
I really don't know what you were all so worried about. I always knew that those bindings would work out okay. They are not great but I am impressed that they are not as bad as I was expecting. I found as I scraped back, the white/black/white bindings suddenly appeared. I did not get all the black smudges off the sound board but they have certainly improved and I expect that they will disappear during sanding.


For some reason the binding did not take in two places at the neck block so I have reglued them. Perhaps there was left over glue from glueing on the blocks.


The answer to last nights quiz? I forgot to glue in the binding along the tail block, the end wedge. The end result is not a tight as it should be but it is okay.


Time taken : 1.5 hours
Tools used : scraper, craft knife, Weldon 16
AU$'s spent : Nil

Wednesday, August 30, 2006

Off Topic : People can play

Thanks to Earl, I've revisted this link.

Now, I am not really a fan of screaming or distorted guitar work however this guy has a lot of skill. A great demonstration of a few techniques, I won't ever get around to mastering. I survive on the belief that this kid has rote learnt this number and that he can't strum out three chords.

I started surfing YouTube looking for other players or what not that took my fancy. I really liked this guy, if you've ever tried to play a uke, you'll understand that this is a great effort

Time taken : Nil
Tools used : Nil
AU$'s spent : Nil

Guess What I Forgot

I'm offering a dust pan of saw dust for the first person that can identify what I have done wrong, what I have left out.

I spend most of my day thinking about the guitar (sorry boss) and then I just race ahead as soon as I get home. I have to remember to stop reading ahead with the instruction manual.

Spent an hour in the shed, trying to cover my blue. Can you guess what it was?

Time taken : 1 hour
Tools used : craft knife, Dremel, superglue, Weldon 16, chisel
AU$'s spent : Nil

In Two minds

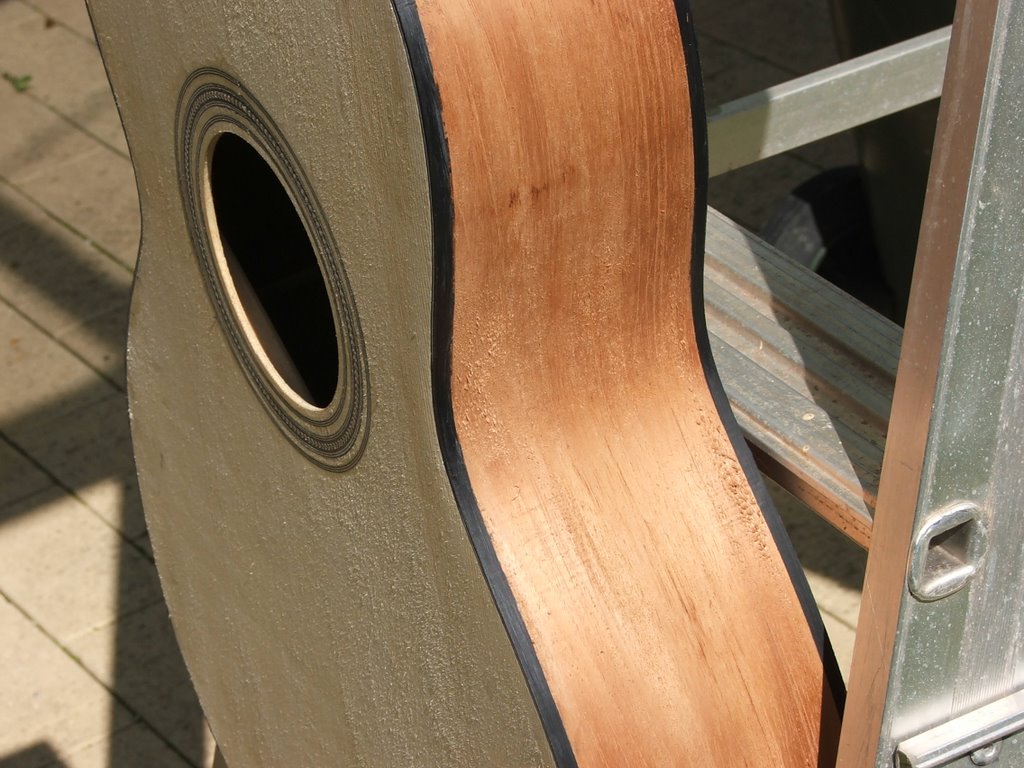
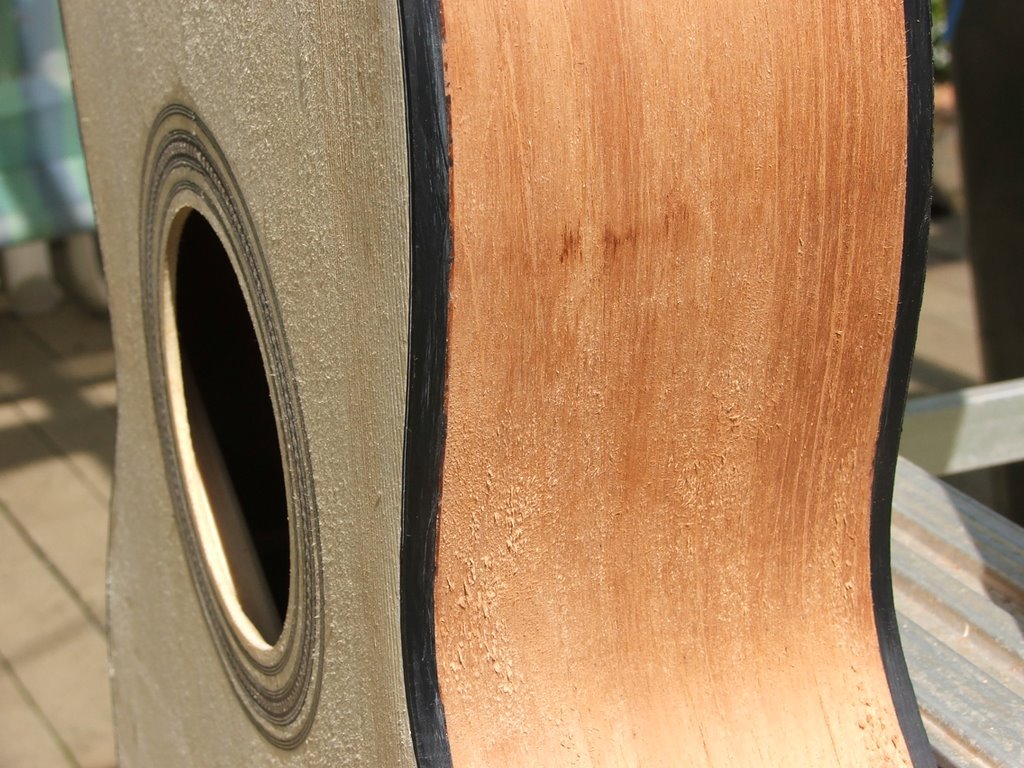
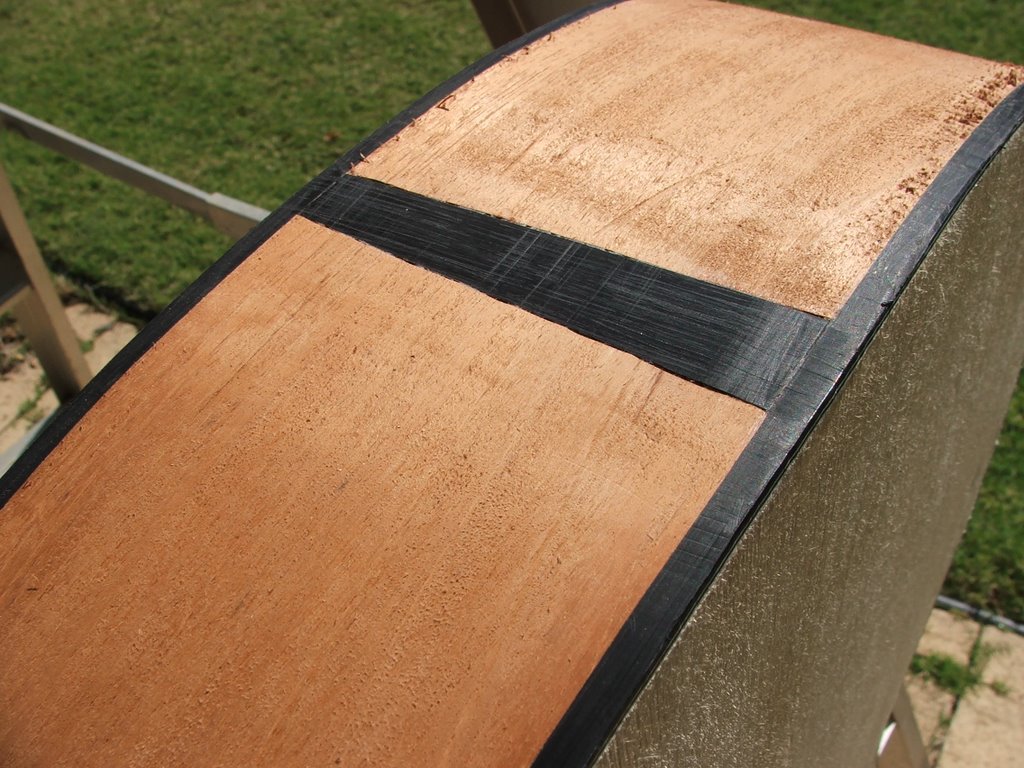
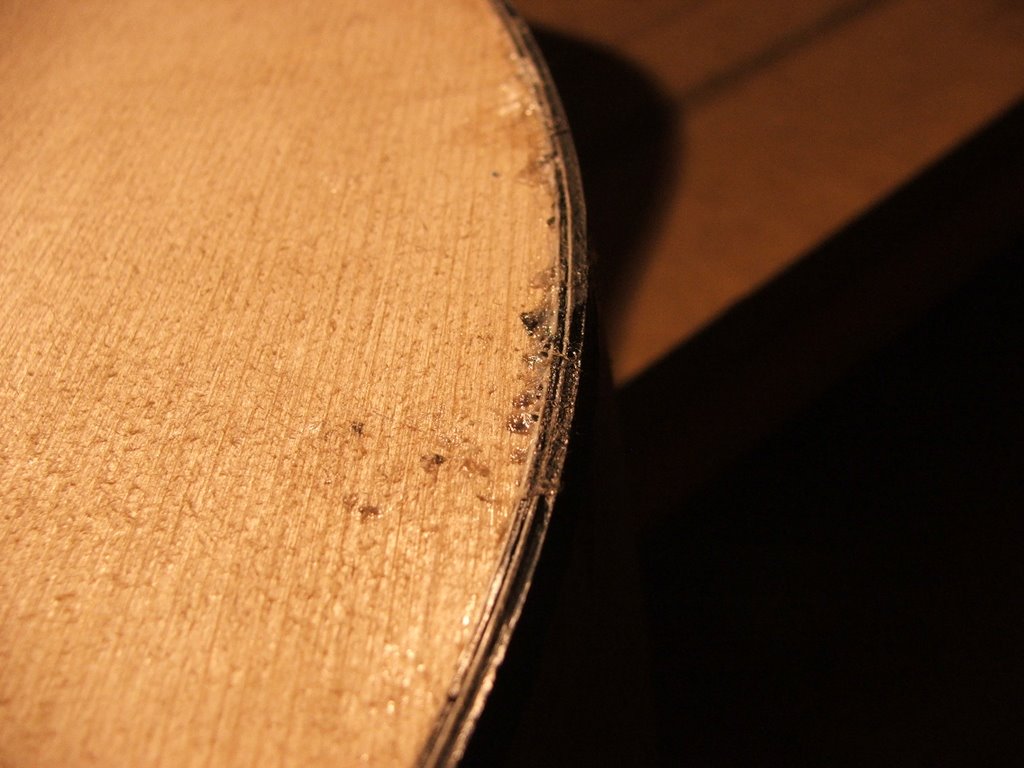
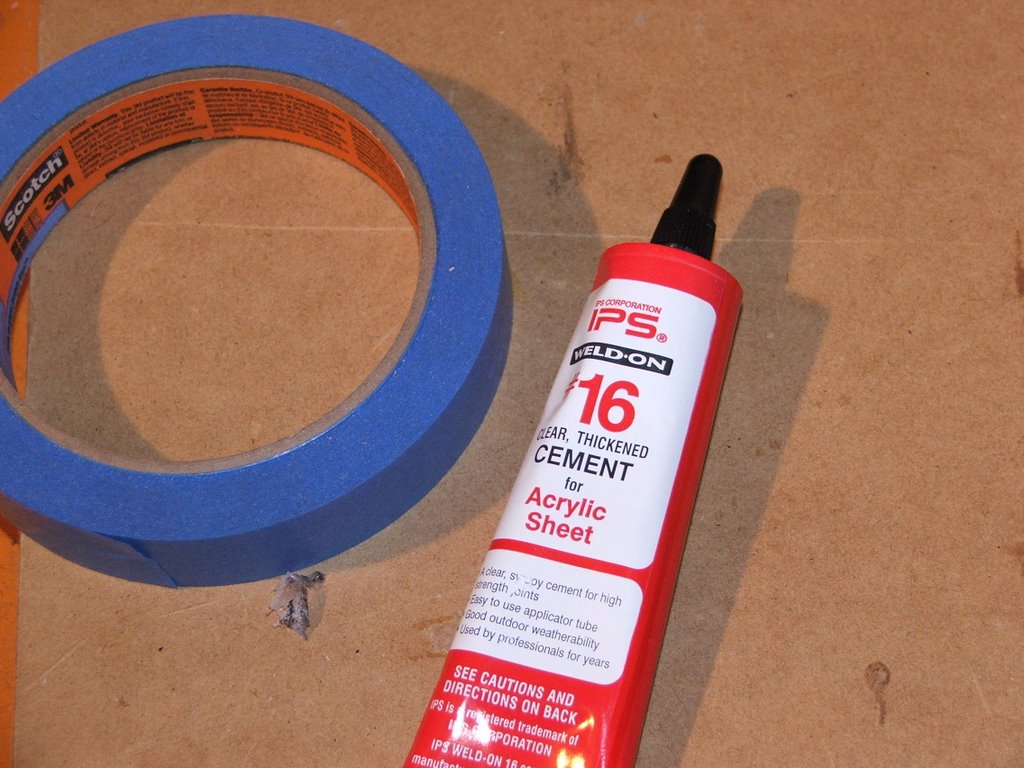
Well... Let me say, it's not pretty. I am feeling a little flat but it is certainly not as bad as I was expecting. The Weldon 16 is a seriously effective product. The bindings have literally melted together and filled gaps between the binding and the wood.

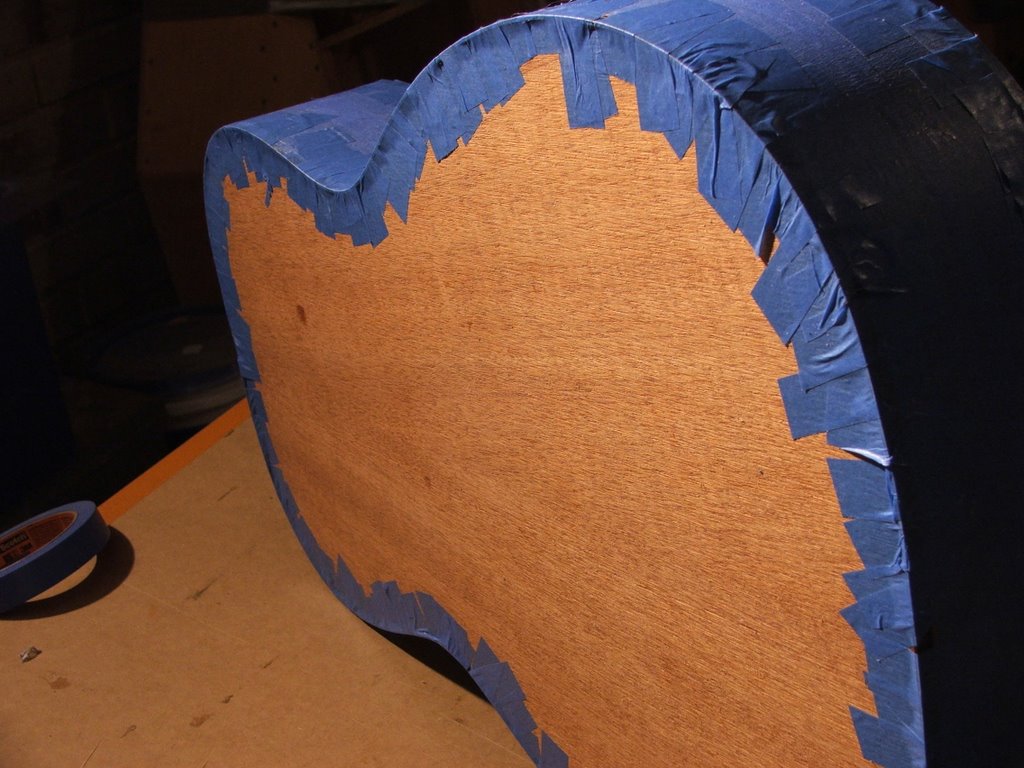
The scotch guard masking tape that I used seems to have done the job very well, applying enough pressure over night but at the same time, it peeled off without too much drama at all.

Below is a picture of one of the ugliest places, the adhesive is obviously too thick in this place. Not to mentioned the black smudges on the sound board.


I these following photos are closer to the the kind of result I should have got all the way around.


Time taken : 20 minutes
Tools used : hairdryer
AU$'s spent : Nil

Tuesday, August 29, 2006

Binding the Edges - Not Happy

Not happy!

I went to Mulford Plastics today and picked up two tubes of Weldon 16. They had it displayed on the front counter - like they were waiting for me to walk in and ask for it.


I zipped home after work, woofed down dinner and headed to the shed to decorate my body.

Now I have a 7 year old daughter and I've tried to plat or braid her waist length hair a million times, and failed to get a decent appearance on each attempt. Although I put a few different things in place, getting the white/black/white binding into place, in the right order, without crossing over etc is hard and it gets harder towards the end as the binding has been wound up for... well at least five weeks. My suggestion to those that follow is firstly get a binding that is already laminated or at least, unwind it when you open your kit so it has less spring in it when you go to work with it

I got cement everywhere and I mean everywhere - I am so glad that I followed Bill Cory's tip and covered the sides with tape before I got started. I got enough cement on the lid to upset me - the stuff running down the side would have sent me over the edge. I do think that I was using too much glue, I just lay down a decent bead and worked from there... any less and I do not think that I would have got coverage.

The other thing being that the Weldon 16 eats away at the plastic, I got the black on my fingers... I got the black on my sound board. I've spent weeks looking after that wood, it's now covered with cement and molten black plastic.


I will be much more comfortable if/when I manage to get that tape off and it has all stuck firmly.

Tonight - I am not happy!

Time taken :
Tools used : Masking tape, Weldon 16 cement
AU$'s spent : $11.00

Sunday, August 27, 2006

How to finish?

I've started researching finishes but I am not getting very far. I found 851 Guitar Lacquer from Durobond however I emailed them and discovered that although the lacquer itself was reasonably priced at AU$36.30 a litre however, TNT would charge AU$105.00 to move the same litre over to Perth. Unreasonable to say the least.

Time taken : Nil
Tools used : Nil
AU$'s spent : Nil

Routing out the binding channels

Today I conquered one of my remaining fears about guitar kit making, I routed out the binding channels. That just leaves fretting, inlays, shaping, finishing, setup left to worry about.

I ended up using the StewMac Precision Router Set which made my first routing experience quite simple. After about twenty practice runs, I was finally happy with the depth and width of the cut and off I went. No worries. I heard a couple of pops or bumps a couple of times but there was no tear outs or any damage.


The back however was a totally different issue. Making the five degree wedge was only as difficult as it was for the sanding board. Getting the wedge onto the router and still having room to set the bit without hitting the edge guide was near impossible – I don’t get it.


At the time I was listening to the radio and the Eagles losing caused me to go a little postal. I sat back stewing and starting thinking “5 degrees is next to nothing over that distance…. No one will notice…. It’s the back” I routed my back without the wedge – I’ll let you know the result end result but it doesn't look too bad now.


No all I have to do is find a glue to stick those bindings on with. That in itself it going to prove difficult – four pieces of plastic, wet with glue and lining them up and getting a finish that I can accept.

I couldn't get the weldon-16 cement that StewMac use because they can not export it. I've been doing research at my hardware store and bought some glues which I am doing small trials on. I have decided to follow Bill Cory's idea of covering the sides with low adhesive masking tape.

I've gone to the forum to find a substitute cement or glue for the bindings

Time taken : 2 hours
Tools used : Dremel, StewMac Router set, jigsaw, sand paper, scrap wood
AU$'s spent : $24.00 - masking tape, $7.35 - Kwik Grip sovlent based cement, $14.00 Titan Bond epoxy resin

Tuesday, August 22, 2006

What a poser !

I have become a poser. I spent a couple of hours in the shed this evening, thought about half an hour was spent standing back looking at my guitar. I got closer to finishing the edges off, getting ready for routing and then as a treat, I put the neck on, clamped the fret board in place just so I could have a look (and feel) what my guitar will finally look like.


Who would have thought a couple of months ago that I would be at this stage? Not me, that's for sure. If you are sitting back, reading this and wondering "could I, should I?" Then go for it - I can not explain the feeling, the first time you put it together and hold it like a guitar - Imagine what it will be like the first strum.

I have however remembered why I was never a big fan of wood work at school. I have very little patience, sanding wood for extended periods. I tend to lose interest very quickly and say to myself "that's enough" - That will not be acceptable.

When I took the chisel to the edges, I went too hard right in the curve of the waist and had a little bit of what I now know to be "tear out". I don't think it's too bad and I should be able to cover it with the binding.


I heard back from Perry, he has quoted $100.00 to inlay the 7 pieces into the fret board. I am still a little hung up on doing all this myself. I am going to give it a couple of days thought. Might have a play with the Dremel router when it arrives.

Time taken :1.5 Hours
Tools used : Chisel, sandpaper, craft knife
AU$'s spent : Nil

Monday, August 21, 2006

Cole Clark Braces

I've spent a hundred hours + reading about making guitars. It appears that most makers have followed the standard cross brace method that I followed. Tonight I revisisted Cole Clark and took particular interest the way that he does his bracing and kerfing.

My soundbox is closed

I am over the moon. Tonight I pulled off all the clamps and held in my hands the closed sound box. When I held it up to the light there was not a single spec of light coming through. It feels strong and when I lay the back on a smooth surface it rocks both length ways and from side to side... it's even curved like it was designed to be.


If you look hard, you can see where the kids wrote on the back, but you have to go looking for it.

Tonight I cleared out the top of the soundboard where the neck will attach and then I started to trim down the edges. This job, I suggest you do in phases because I found myself getting cocky with the chisel and really digging in. It would not take too much to drive the chisel right into the sides.

I also finish off my side dots. This was most likely the easiest thing that I have done to date. It may have been harder if I didn't have the drill press but the results are instant and easy to get correct.

Perry Orsmby returned my email. Unfortunately he does not have inlay classes but he has offered to provide a quote as to what it will cost to do it for me. I am a little undecided on this one. Perhaps I should leave them out, after all maybe everything should be done by my hands.

Time taken : 1.5 hours
Tools used : shooting board, craft knife, chisel
AU$'s spent : Nil

Sunday, August 20, 2006

Inlay is not for beginners

Having spent a good part of the afternoon and evening, throwing craft knives, chisels, and the Dremel across the workshop, I have formed the opinion that inlay work is really hard. Why StewMac would put square shaped fret inlays for beginners to put onto a curved fret board, I have no idea. Obviously round dots, the same shape as a drill bit would have been better.

I have come to the conclusion that I do not have the time, skill or equipment to competently (or close to it) inlay these markers. I'd prefer to have no markers than feel a bump or dip each time I move over the 5th fret.

Greg, one of the guys that checks in on me, pointed me towards Perth luthier Perry Ormsby. I see that he has guitar making classes and that he is quite experienced at inlay work. I've emailed Perry, asking if he holds inlay classes. Might be the best way I can learn this particular skill. Alternatively, I will leave out the fret board inlay steps and just try my hand at the headstock. I can live with an imperfect headstock It'll be like a personal touch.

So, I've moved ahead regardless. I finished shooting the fret board. It is close to being exactly the same width as the neck itself.


And lastly I put in the side dots. When did they stop marking the 3rd fret? I did it without thinking, then I looked at my other guitars – apparently I am the only maker that does it.
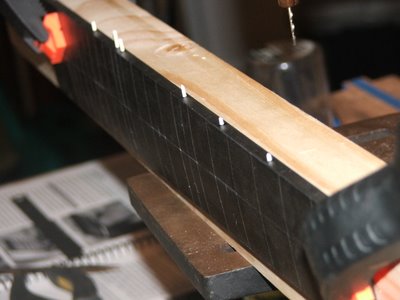


Somewhere in the middle of having inlay brain snaps, special moments with the kids and almost gluing my fingers to the fret board, I must have had a female moment... I cured all my problems with a quick, sharpe burst of rtherapyheropy. I've put my routing worries to rest and bought the StewMac precision router set up and a simple (cheaper) set of tuners... Initially I had planned on the snakewood tuners but, the cost is getting away from me at the moment. I refuse to start adding it up until I have the finished product... but I know it's going to be scary.

Time taken : 2 hours
Tools used : superglue, sandpaper (shooting board), all the inlay stuff (arrrhh), rounded clippers, craft knife, drill press, clamps.
AU$'s spent : $127.79 StewMac Precision Router Set, $40.84 Nickel Grover 18:1 Sta-Tite Slotted Peghead Guitar Machines, $36.82 postage.
CRACK!!! - F*#@ - Oh thank God

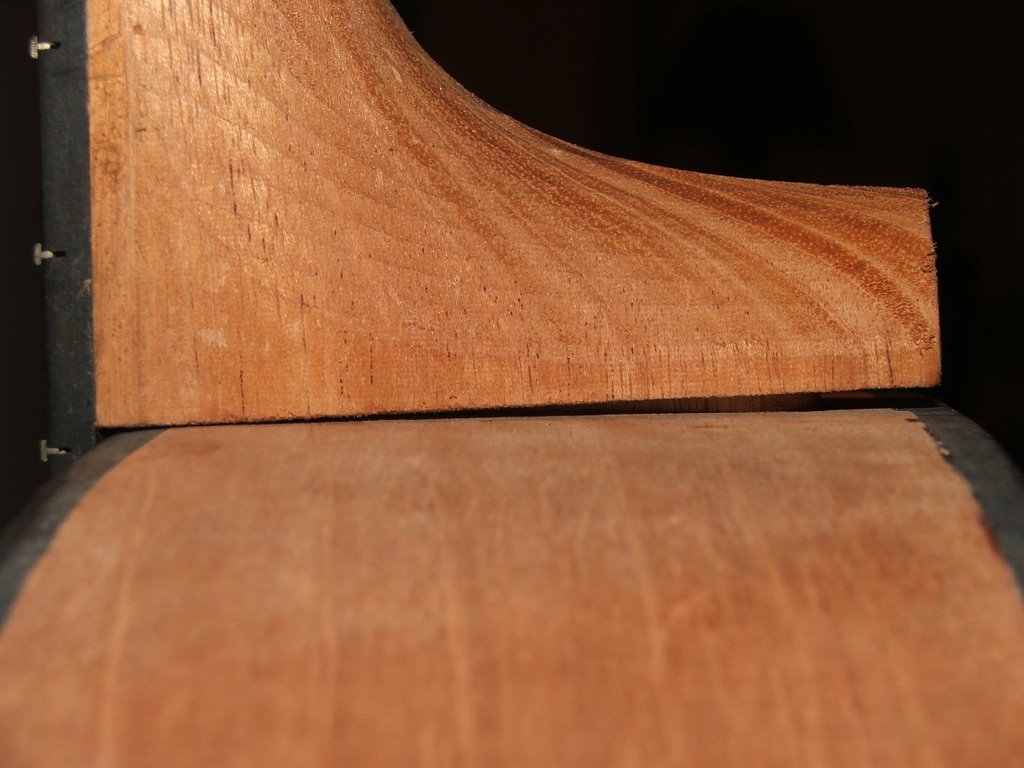
Well the back is on... Just.


I was doing a last little bit of adjusting and preparing, whilst I was finger tightening a clamp, I heard this great big cracking sound, a sound that I knew immediately was wood - cracking, and bad.

I swore, closed my eyes and turned my back on the guitar.

When I looked back again - the relief was huge. The waste clamp had snapped. The piece of pine that I used to make it had a knot running through it and this is where the clamp eventually let go. No damage done, just a few years off my life.


Time taken : 1 hour
Tools used : glue, clamps, scrap pine (new waste clamp) pencil, ruler
AU$'s spent : Nil

A family moment

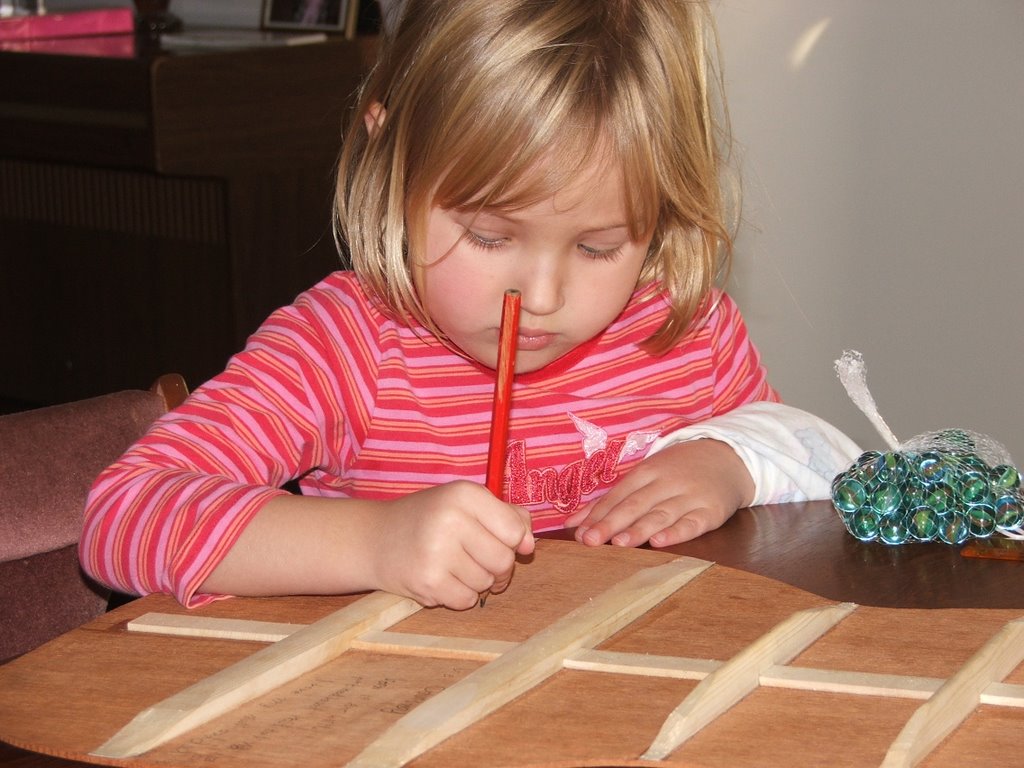
With all trimming the sides and kerfing done and after a few dry clamping runs, I have reached the point where I will close the box - put the back on. I thought that it would be nice to have my two daughters write on the back. I'll remember it's there a long time after they have grown up - gets back to one of my reasons for making my own guitar in the first place.

Courtney (7 years old) wrote a message like a short biography, mentioning where she was born and when. Brooke (4) simply wrote her name.


I've also started working at putting the inlay into the fret board. I cut up small squares of the pearl inlay I bought last week and started inlaying it into a piece of pine. I am a little concerned that I will develop a technique that will only suit soft woods. I am back to craft knife, scraping, slowly slowly does it.

Time taken : 2 hours
Tools used : clamps, pencil, craft knife,
AU$'s spent : Nil