Monday, October 09, 2006

Spray Handles

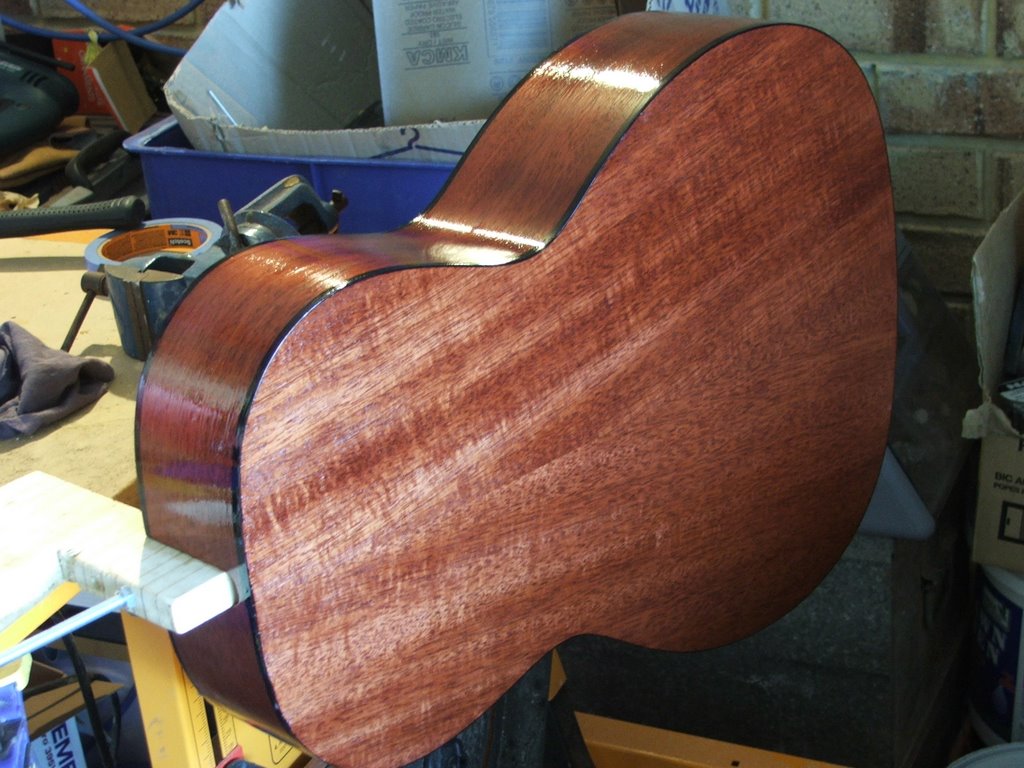
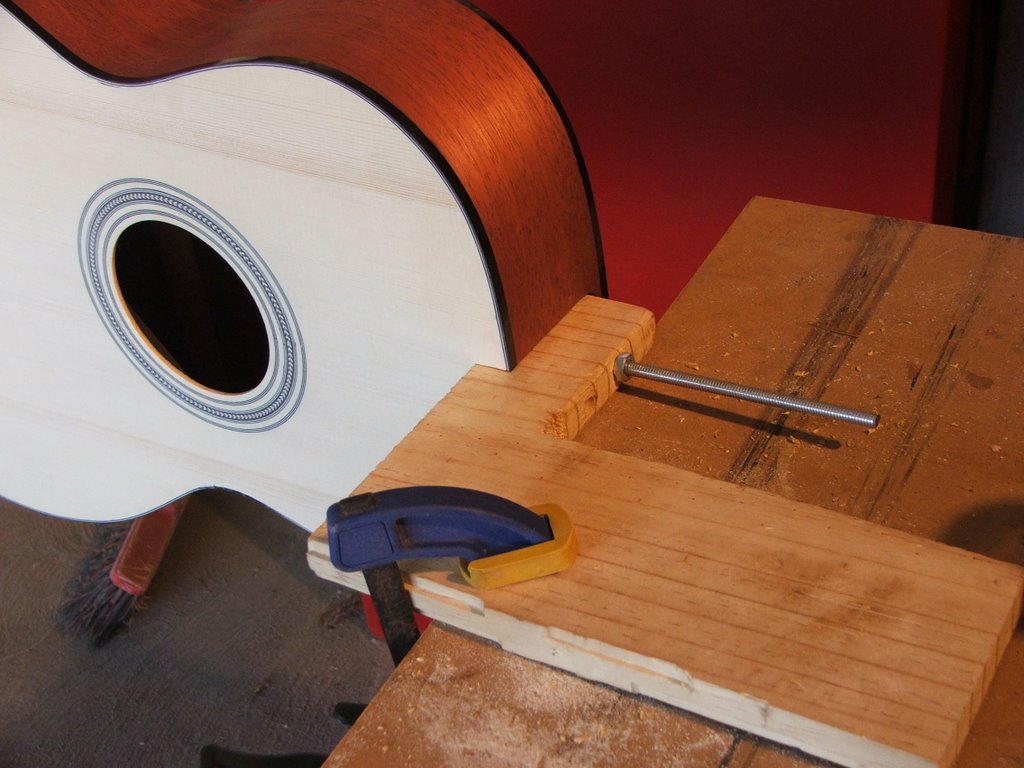
In answer to Greg's question, I have used the broken waste clamp as a spray handle. I used one of the 8 inch rods from the clamps I had made to glue down the top and bottom to attached the clamp to the neck block. It has worked out well, I have a small clamp that rotates as well, this enables me to turn the body as I apply the finish. The neck I have simply attached to a length of wood.


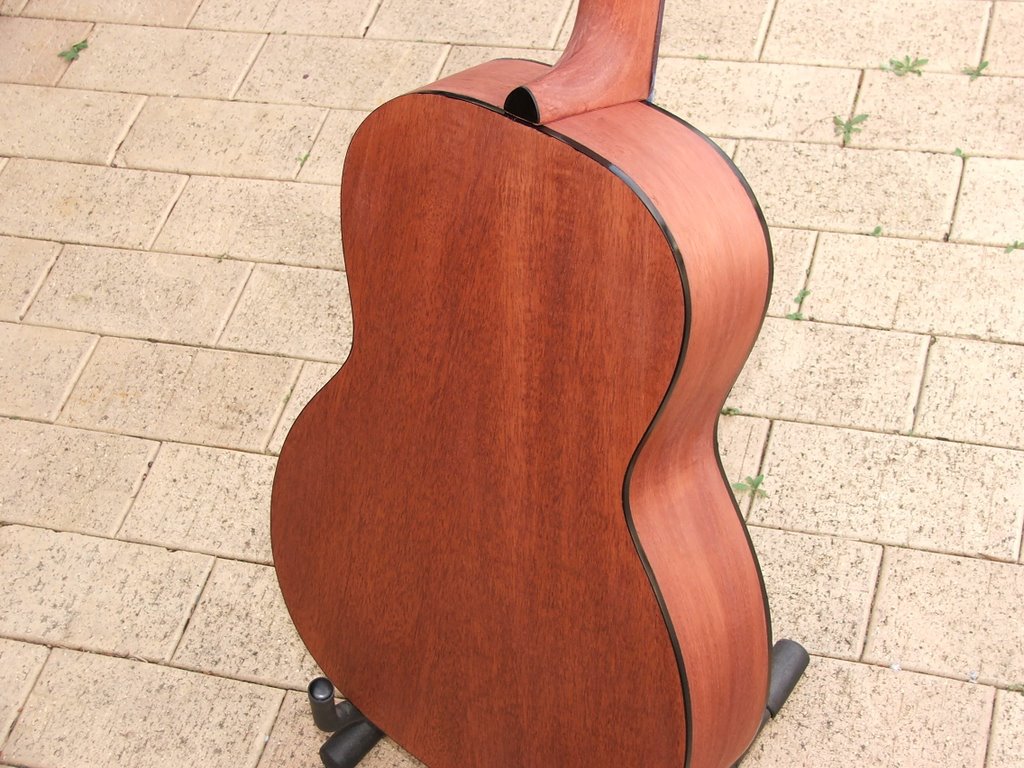
I have scuffed back the first coat of lacquer and applied another two layers on top since. It seems to be all coming along nicely. Touch wood

Time taken : 30 minutes
Tools used : brushes, KTM-9, sandpaper
AU$'s spent : Nil

Friday, October 06, 2006

The Finish Goes On

Perhaps it won't be the best finish put on by an novice, but I have decided to press ahead and just start with the KTM-9 finish - and I am brushing it on.


Obviously the blog will slow down for a while now as it would be a bit pointless to tell you all about each coat and the days of drying in between

Time taken : 30 minutes
Tools used : brush, KTM-9
AU$'s spent : Nil

Tuesday, October 03, 2006

I'm an idiot

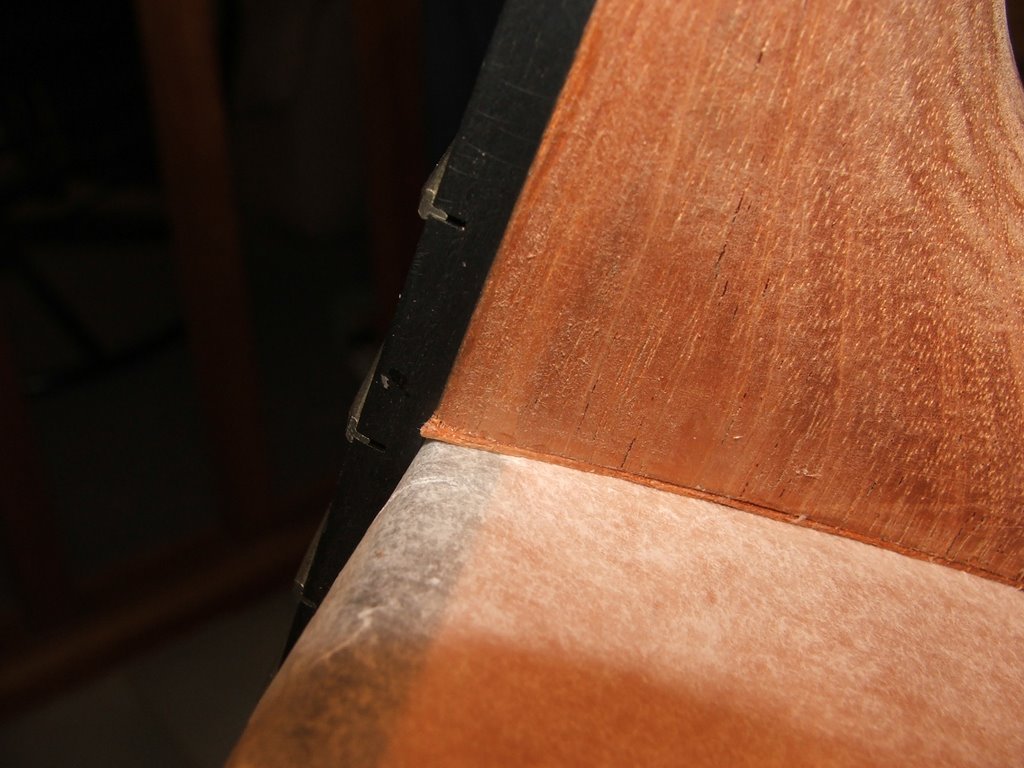
I read the instruction manual, I read the bit where it said "mask the sound board" and in a lot of respects I did. I masked of about three edges all the way around, heaps. It worked fine for the first three applications of the stain and then tonight I had a totally brain melt down and for some reason I thought it would support the guitar by placing a couple of stain covered fingers in the middle of the sound board.

I am an idiot.

This idiot has also been think about setting the neck again... considering how much sanding I have done to the neck block area etc. Did not dare look at it tonight. Left the workshop fairly angry tonight.

Time taken : 10 minutes
Tools used : stain, rag, stupidity
AU$'s spent : nil

Moving right along

I got stuck into all that white wood filler with the sand paper and took it all back to bare wood again. The only places that the filler remains is where I made horrible (but little) mistakes, places where there was a gap between the wood and the binding for example.

Then I put back on the first coat of stain.

You really notice how your technique improves the second time around. You can practice and practice on scrap wood but there is something different about putting wood stain onto your guitar... it seems a lot more "fluid"

The wood putty coloured up okay - it was just a brighter pink.

Might get the second coat of stain on before bed tonight. Honestly, If I could have, if the build was flawless, I would not stain the mahogany. When I wet the wood to raise the grain, that is the way I would like the wood to look the whole time. I can however acknowledge that the stain will hide some of those little marks and knocks that I have pick up along the way.

Time taken : 2 hours
Tools used : sandpaper, electric sander, stain
AU$'s spent : nil

Monday, October 02, 2006

Back to Square One

I remember a couple of weeks ago, when I was setting the neck, and getting it all wrong. I was getting close to putting the whole thing into the chipper. Tonight I am ready to put myself in.

I was feeling really comfortable with the way the finishing was progressing. I still felt that there was a little too much red, but already the colour (Australians spell colour correctly) was growing on me.


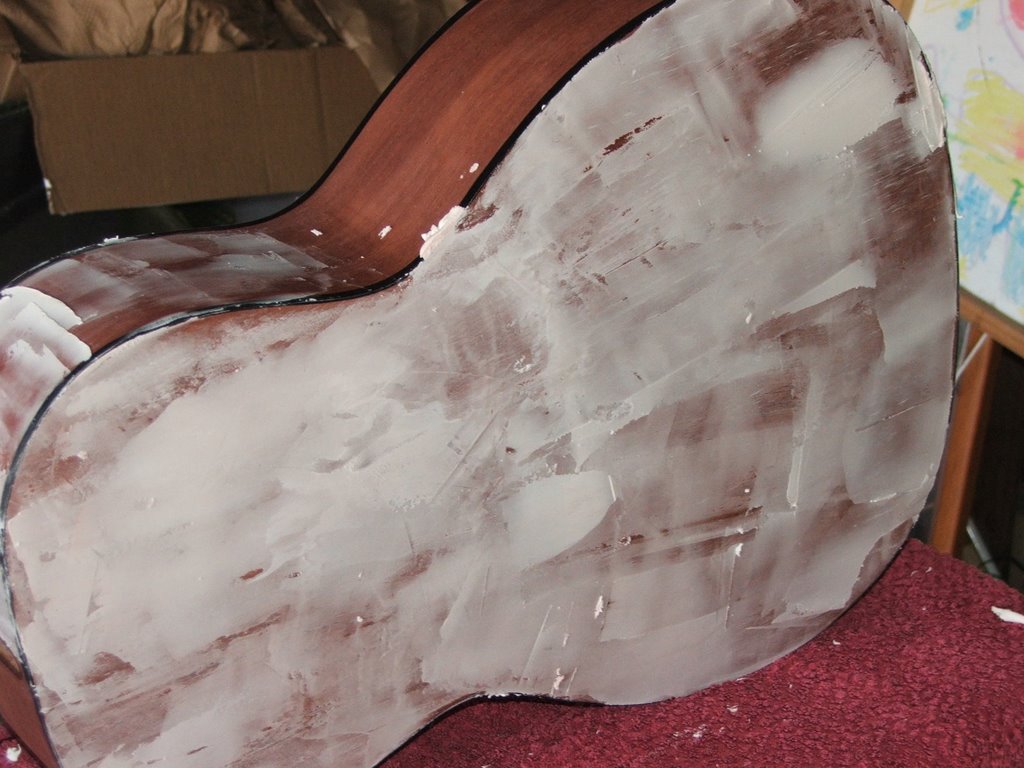
Then, I moved on to the pore filling and this is where I have totally mucked up – this is where the master wood workers would have been good to have around.

Now, I’ve never used pore/wood filler before. I’ve heard and read that on most occasions they are easy to sand back and the instructions on the product I used simply said something like “spread with a plastic scraper”. I went in thinking that I couldn’t really overdose on the filler. I thought that if I used too much I could simply sand it back.

To compound this – Neutral is not – It is white – and it looks really bad on mahogany.


As soon as I started sanding it back, I started wearing off the stain on the edges. I could see that I was going to leave the surface

My only option now is to rub it all back and start again. Great – No doubt next I’ll sand right though. Did I ever mention that I love sanding?

Time taken : 1.5 hours
Tools used : plastic spatula, wood filler, sand paper
AU$'s spent : Nil

Sunday, October 01, 2006

A second coat

Tonight I put on a second coat of the stain in an attempt to darken the redness - there was almost a pinkish tinge that I wanted to darken over. Gee I wish I could have pressed pause when I put on the second coat. When it was wet, the stain had a kind of honeycomb appearance about it... and then it faded away as it dried.

Just to remind me that I don't know what I am doing, the second coat has highlighted glue marks that I couldn't see before - nothing major, just annoying.

Time taken : 10 minutes
Tools used : Stain, rag, glove
AU$'s spent : nil

Saturday, September 30, 2006

The Stain Goes On

Okay - Which one of you forgot to mention that stains dissolve rubber glove? What is the point in wearing them when the rubber breaks down in the first five minutes. My finger tips are now nicely stained as well.

Although striking, I am not really happy with the result. I put the stain on really thin and even though it looked okay when it was wet, it is drying too light in some places and it appears patchy.

I am concerned that a second application may make it too dark.


Time taken : half an hour
Tools used : masking tape, stain, thinner, rag, glass jar, rubber gloves
AU$'s spent : nil

Wednesday, September 27, 2006

Creating the nut


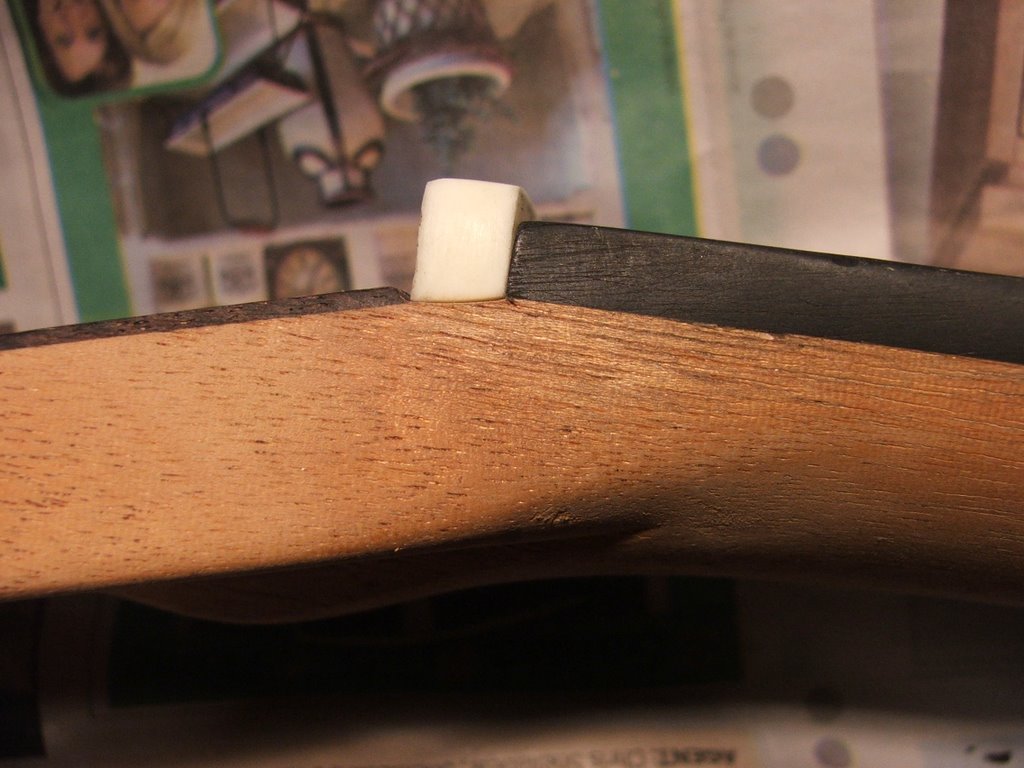
I spent last night shaping the nut and getting it into place. I had not idea how I was going to make the 15 degree angle, using the old school protractor. I ended up using a flat piece of scrap with sand paper on it and another block underneath to raise the scrap to the angle of the neck. I then used my highly calibrated eye to hold the nut straight up and down whilst rubbing in the angle.

That ended up being quite rough so I cut slithers of sand paper and finished the nut by pulling the sandpaper between the neck and the nut.


Time taken : 2 hours
Tools used : sand paper, scrap wood, chisel, pencil
AU$'s spent : nil

Sunday, September 24, 2006

I don't like sanding - but I like the results

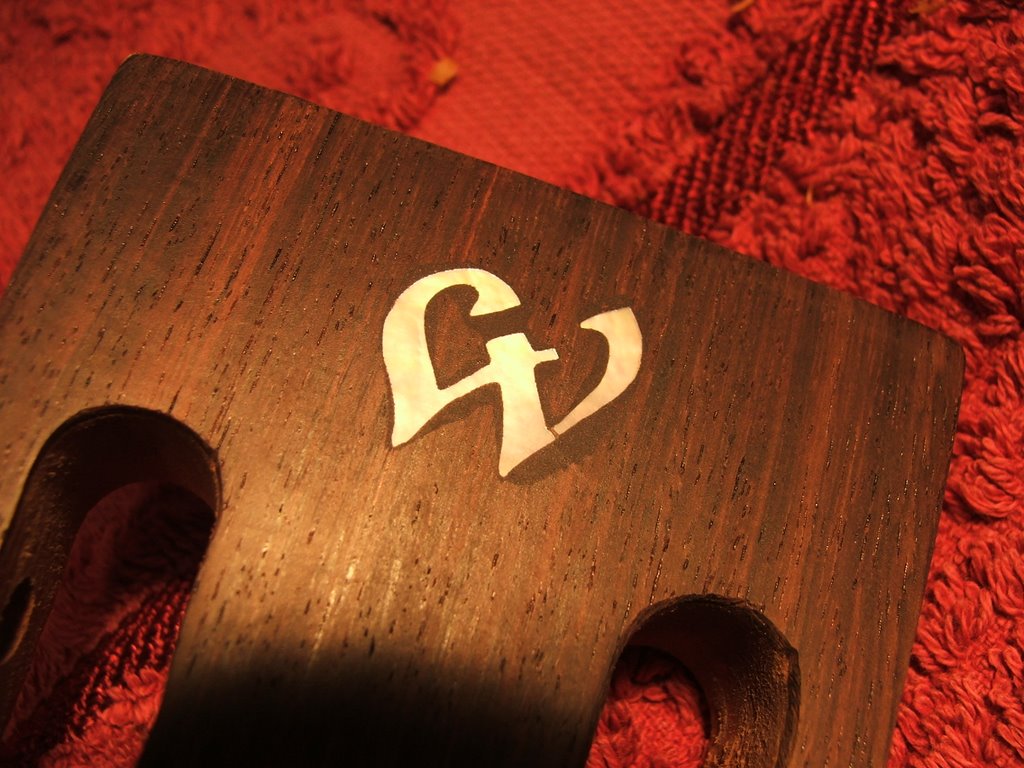
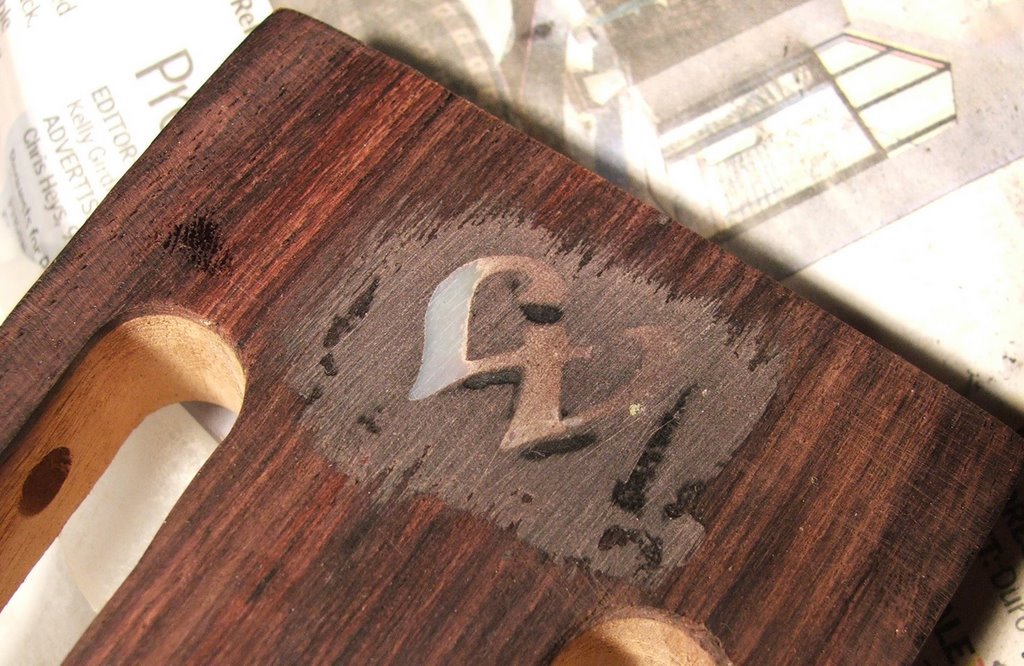
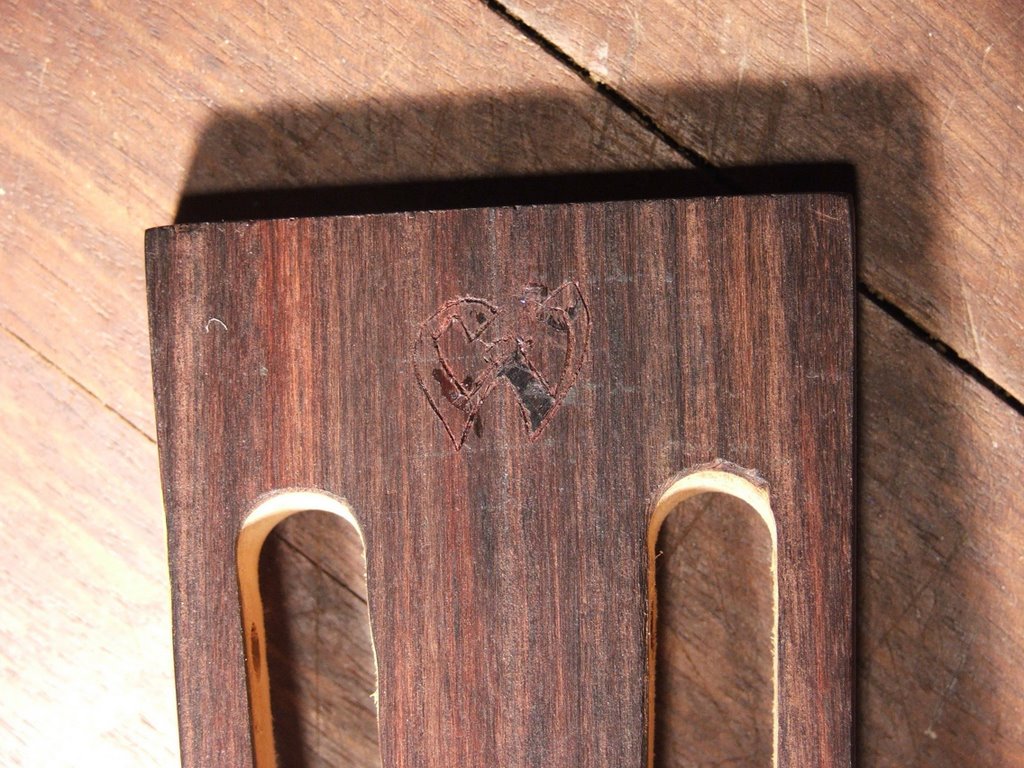
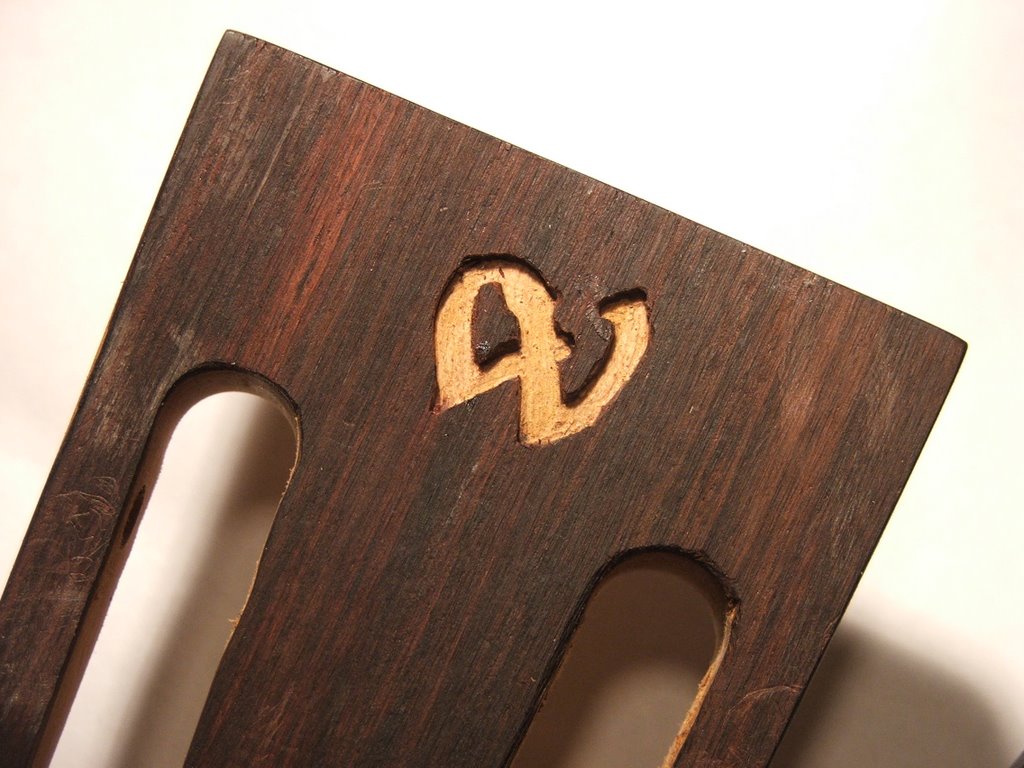
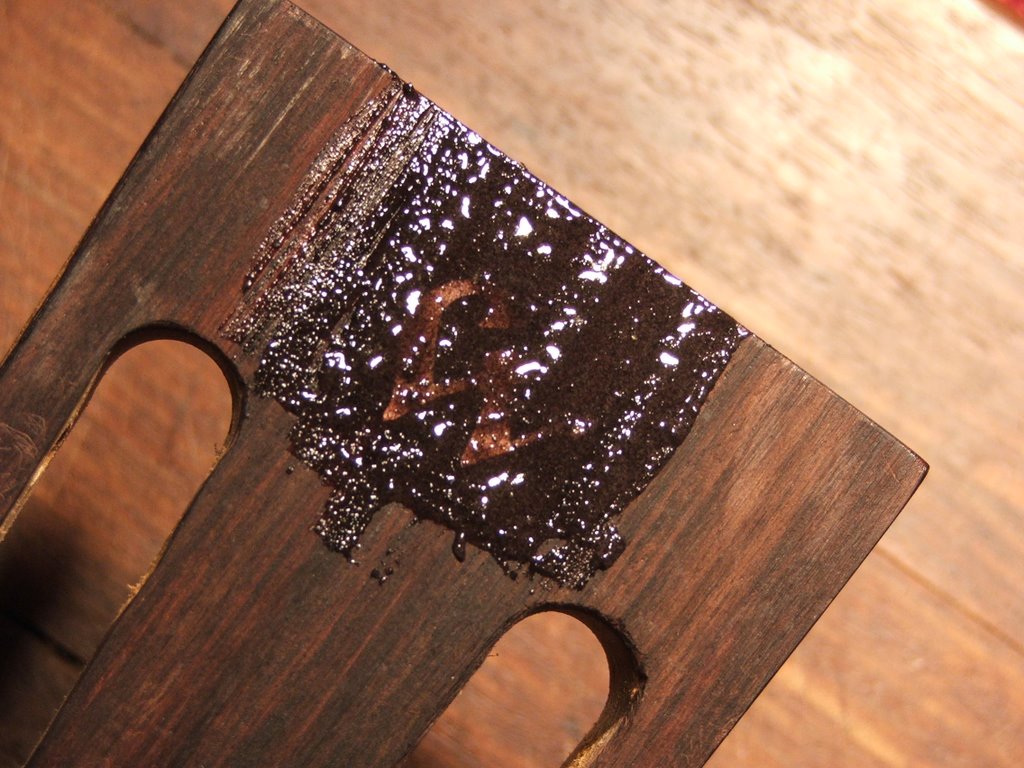
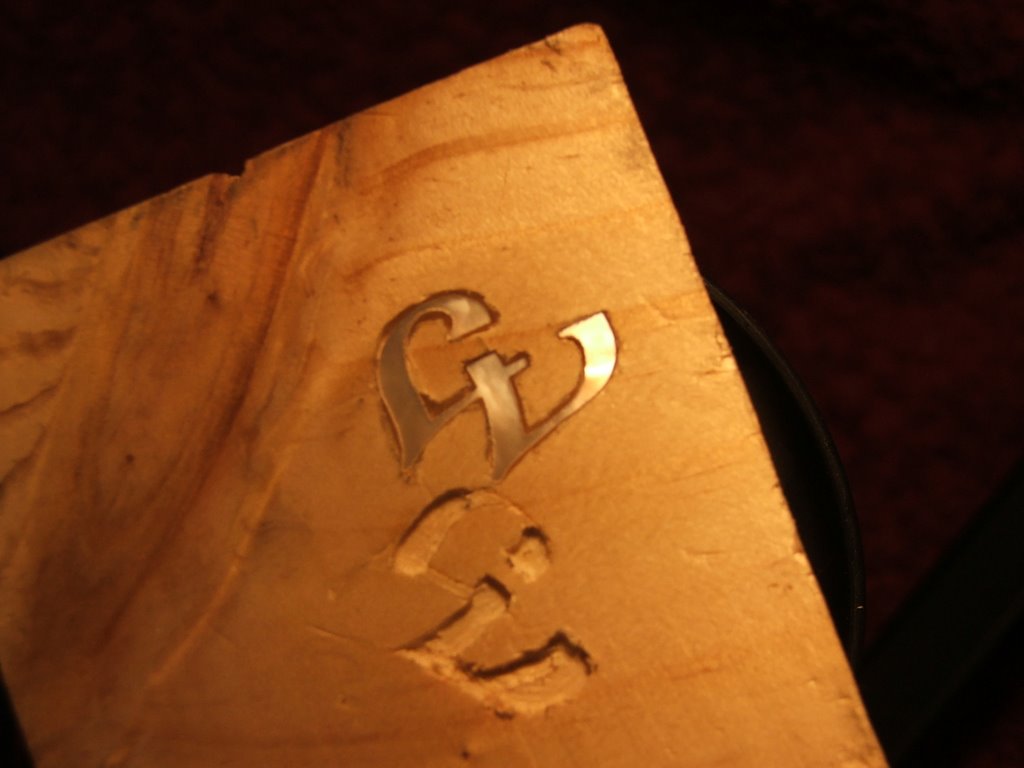
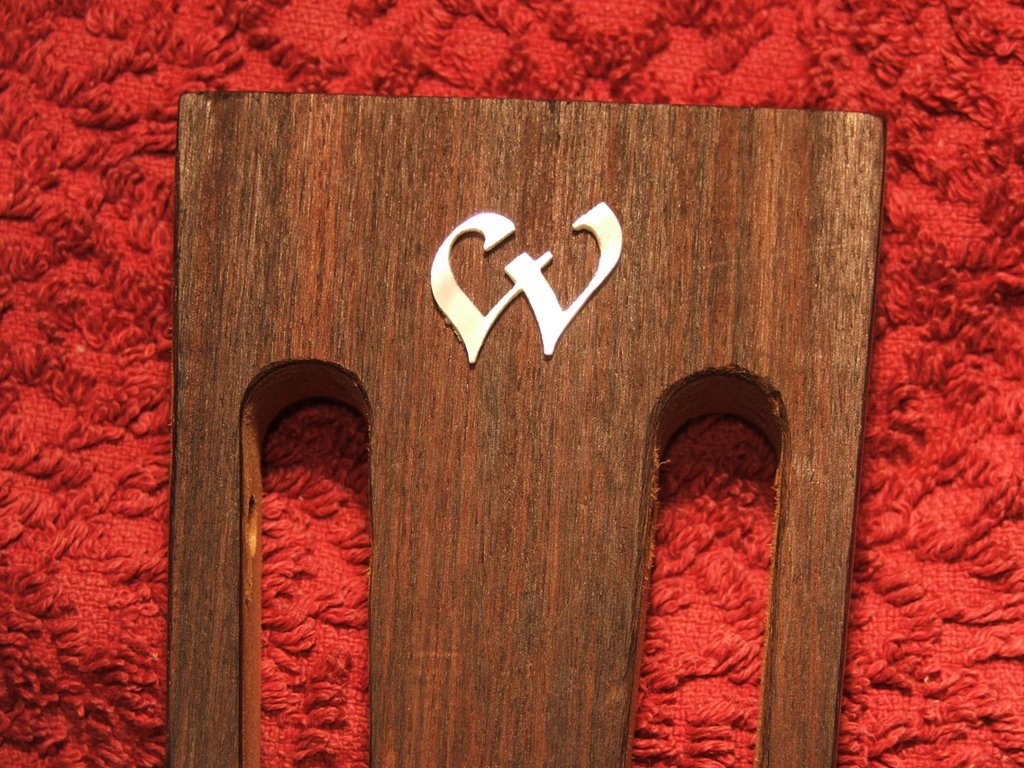
The inlay is done and I am fairly happy with my first ever effort. It would have worked out so much better had I of not dropped and shattered the pearl and if I had of glued it down before adding the epoxy. Notes for next time.


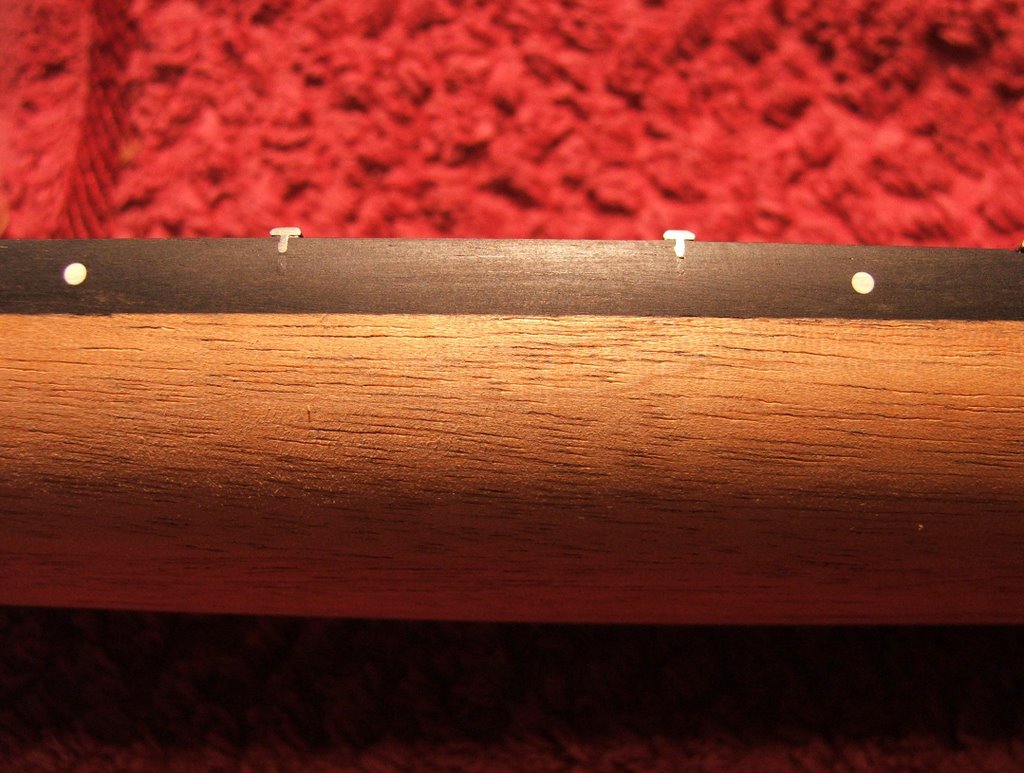
Now these photos give you an up close, warts and all view of the result. To the naked eye at arms length, it is not really visible at all. I recommend a simple inlay to everyone making a guitar. It is not as difficult as I have most likely made it sound and even huge mistakes like mine come up okay. If I was to do it again, I would firstly, forget all about trying to make my own design and then remember to respect how delicate that pearl stuff is. Next time, I am going to get some dentist drill bits to put into the Dremel. I think the smaller the piece the better. I was trying to go very slow but still managed to botch it up because the cutting edge of the bit was not as deep as the groove required. I was actually cutting a few mm (or smaller) past the line, underneath, but from above I could still see the line.


The frets also came up quite well and I think that most of the cover up work is done.


I am getting closer and closer to that finishing stage.

Time taken : .5 hours
Tools used : sandpaper, electric sander
AU$'s spent : Nil

Saturday, September 23, 2006

Filling the Frets

This morning I started to sand back the epoxy of the inlay. I didn't finish it off totally, I'll get to that tomorrow as I have some time for a big out doors sanding session. I am starting to think it will come out okay.


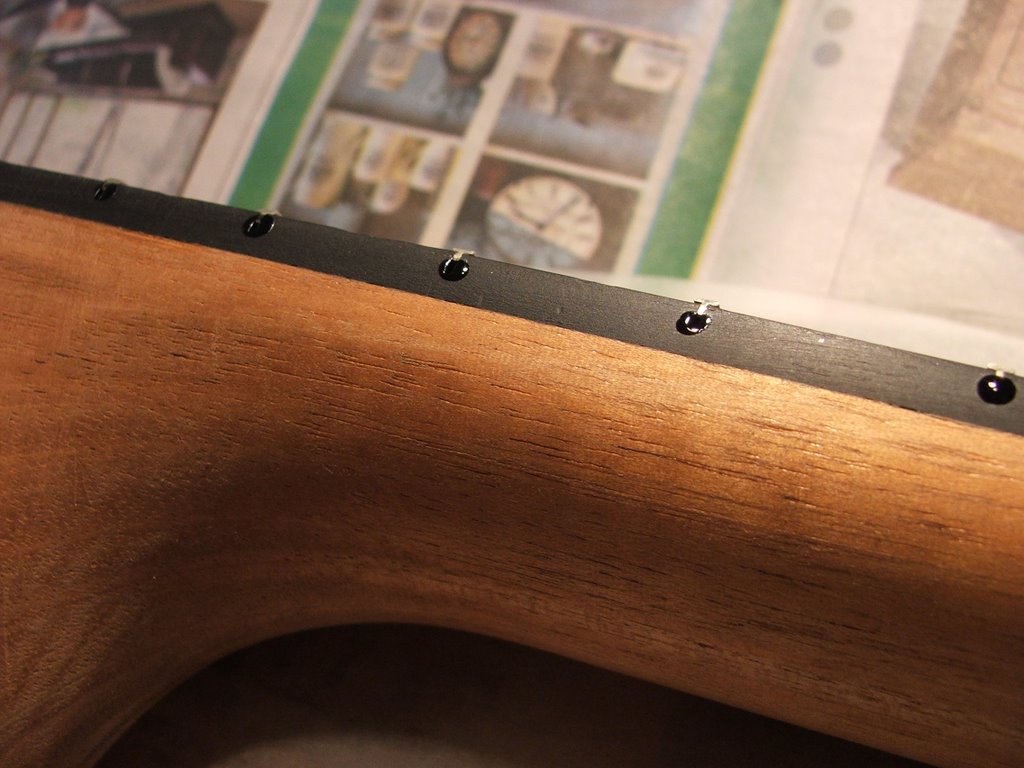
Tonight I filled the gaps under the frets. The first time I tried using the black superglue but being about as thick as water, it just rolled down into the slot and left the gap there.

I had put aside a whole heap of fretboard dust from when I was "shooting the board" I mixed that into the clear epoxy and being thicker that appears to have worked quite well.


My ambition may have out weighed my ability. While I had the fret board coloured epoxy out, I thought to myself, "Why don't I hide some of those file marks on the sides" Time will tell.

Time taken : 1 hour
Tools used : black super glue, epoxy, toothpick, pin, sandpaper.
AU$'s spent : Nil

Thursday, September 21, 2006

Inlay Goes On

What have I done? Only time will tell. I may have just ruined the appearance of my guitar, then again it may come out okay. I've added a few more photos of this step, just to give a better idea of what I did.

I started out by super gluing the pearl in place and then used a craft knife to trace around the outside, leaving me with an outline.

It was during this process that I dropped the inlay on the ground and it shattered into two.... and my blood pressure started to climb.


Then it all went totally pair shaped. The edges of the pearl were not square and although I spent ages, taking my time, working the edges out, I still managed to stuff it up, taking away wood in the wrong places.


Needless to say, my blood was beginning to boil.


Not being able to take a backwards step, I was left with only one option. I got the sandpaper out and rubbed down scraps left over from the overlay and then mixed some clear expoxy and tinted it with the dust.


The plan is that when I rub it back tomorrow, it'll be perfect and you'll never be able to notice that the job was completed by a mere amateur.

Ten minutes after the last photo I thought to myself, "I should have glued that down, I hope the expoxy holds it in place"

Time taken : 2.5 hours
Tools used : craft knife, super glue, epoxy, sandpaper
AU$'s spent : Nil
Tuesday, September 19, 2006

Should I Inlay?

Today the mail arrived and there was the box containing the mother of pearl inlays I had order last week. Luckily, I ordered three letter "W"'s because one of them had a hairline fracture in the face. It was not a mail issue as there was no damage to the box.


I sat down and started trying to inlay the pearl into a piece of scrap pine (much softer than mahogany) with the Dremel and let me tell you, I am no more confidant than I was last week.


I really don't know if I should go ahead and try this out - worried... but then again I've been there before on this project.

I think it would look good if I manage to get it in there somewhat neatly.


Time taken : Nil
Tools used : Dremel, scrap wood, craft knife, pencil
AU$'s spent : Nil

Monday, September 18, 2006

Anymore To Spend?

This might be a little presumptuous of me to say this but I think that I might have spent the last dollar needed to build this guitar... I am certainly not planning on spending any more. Could this be true? I have deliberately not added up the cost - in fear of what the answer will be.

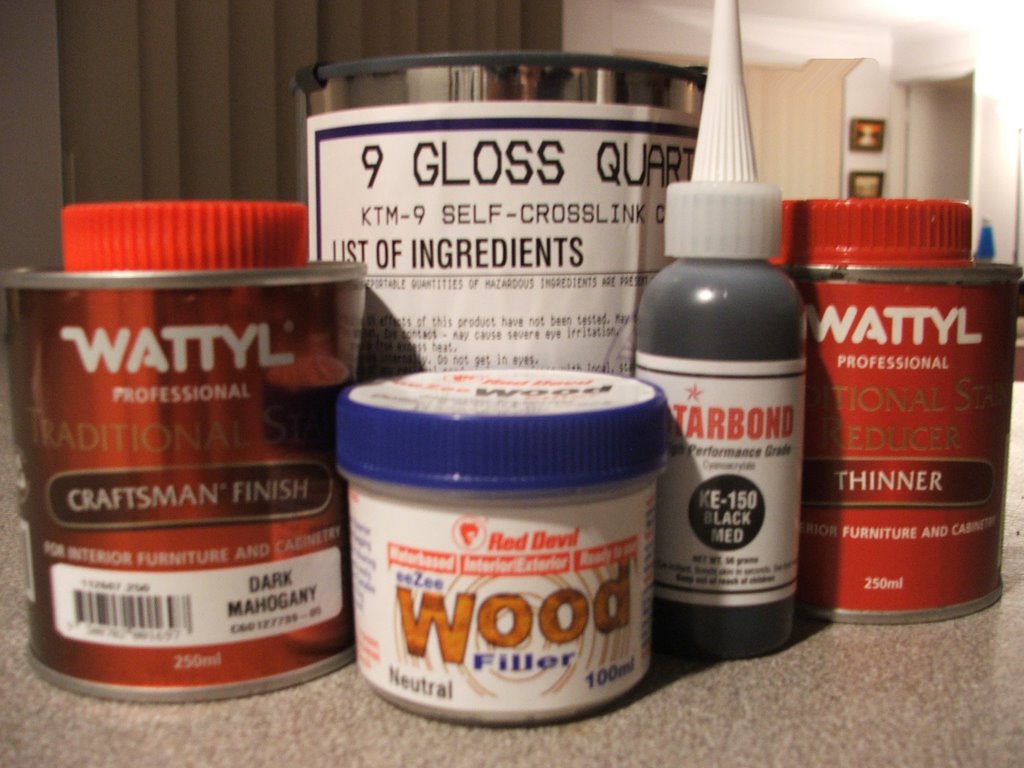
I've grabbed a mahogany stain and a reducer to make it lighter as possible. The folk at Compliant Spray Systems never got back to me so I just bit the bullet and scooped a local product off the shelf, I'll try the neutral Red Devil wood filler.


In other news I set the last frets into the board last night. I had a reminder of my skill level. I whacked my finger with the hammer, jamming in on a fret. I am now sporting a really great blood blister - couldn't even play a guitar tonight if I wanted to.

Time taken : Nil
Tools used : Nil
AU$'s spent : Wattyl Mahogany stain $15.43, Wattyl reducer $9.53, Red Devil Wood Filler $8.10

Sunday, September 17, 2006

I Don't Get It

I'm back on track. Those shims seemed to have worked fairly well, I think that after final sanding and the once the finish is on, the hole mess will be hidden well enough.

However I am left with a burning question. How did it go so wrong? The shims I made were from the same piece of wood, they were the same thickness. I glued one on either side so in theory, the whole neck should be raised and basically the neck set should remain the same.

I was amazed when I checked the side to side and saddle height after taking the wax paper out. The measurements are now even and I am fairly happy with them. I'd like to bring the neck a tiny bit more forward but maybe I should just be happy with what I have at the moment.

Time taken : Nil
Tools used : Nil
AU$'s spent : Nil
Saturday, September 16, 2006

Making Things Right

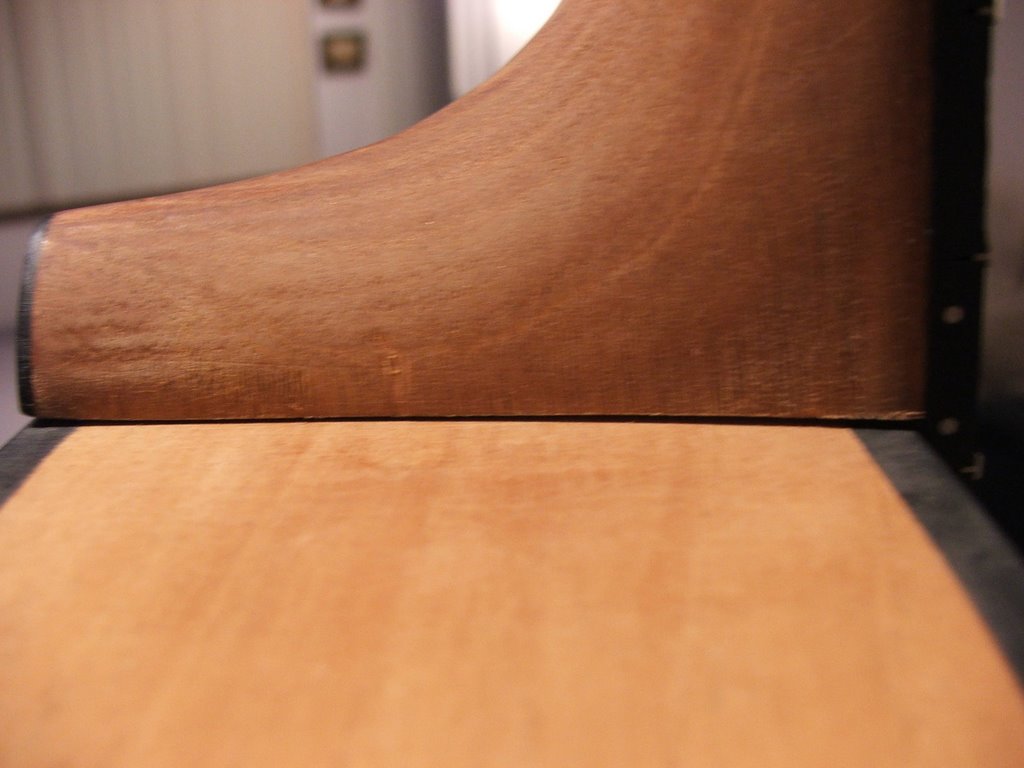
I've been thinking and worked out that the only way I could start to fix the problem is by shimming the cheeks on the neck and thereby putting some space in between the neck and the block again - no matter how slight that would space will be.

In the Stewmac bolt on kit, you also receive the mahongany that would have been required for the shims for the dovetail, this is the wood I used. Basically I traced the profile of cheeks and then made a shim about 5mm wide - the width of the shim. I glued them in place, leaving a slight overhang to sand back and blend in the neck, and using wax paper I used the body of the guitar and pressure on the bolts for clamping.


Hope it works.

Time taken : 20 minutes
Tools used : glue, craft knife
AU$'s spent : nil

Thursday, September 14, 2006

Driving Me Crazy

I am tearing my hair out! I get the side to side right, then I muck that up trying to get the tilt right. I bought the sides down so much that I ended up with a hump in middle of the heal on the neck... level that and then the side to side AND the tilt were out.... almost back at square one. At this rate, I am not going to have a neck left after another twenty nights of shaving it away. I am getting very angry. The edges of the neck are not even touching the sides. I've been pushing down on the neck so much that I have pressed flat smooth places on to the sides. I will not settle for a high action - I hate high actions.

I'm wild - I am sure that the bottom of the tenon is now touching on mortise within the neck block (Is that the right way around?) and any further adjustments I make will just make the joint looser, messier and even harder to set.


Notice how the 12th fret is now lower than the edge of the body.

Frustrated, angry, confused and doubting my ability. I give up tonight.

Time taken : 2.5 Hours
Tools used : same as last night
AU$'s spent : Nil (but I'd pay to have that neck perfect).

Wednesday, September 13, 2006

Neck Is Just About Set

I spent my time tonight slowly etching away, adjusting the neck, trying to get it set right. I think I have it fairly close. I’ve reached that point where I think, should I go any further? I’ll leave it and take another look with a set of fresh eyes tomorrow.

I must say, I expected that the neck joint would have been tighter, but this seems to be a common complaint – I had a few millimeters of sideways movement, allowing twist. I found that the measurements would change without taking any wood off.

Next time around, I don’t think I do too much sanding before setting the next, except obviously the areas that affect the measurements. – I’ve whacked my guitar a few dozen times with my straight edge tonight.

Still either way, in the corner of the room, there is a construction that definitively looks like a guitar.

Time taken : 3 hours
Tools used : chisel, sand paper, craft knifes, straight edge, rulers
AU$'s spent : Nil

Tuesday, September 12, 2006

An Aussie Alternative

Wow. I've heard of this Enduro product for pore filling before finishing. The folk from Compliant Spray Systems have quoted me $65-$85 in freight to get it Down Under. Is that US dollars or AUD?... gee I hope is Peso. The product itself only cost US$16 odd dollars to buy.

I think there has to be a suitable local product - can anyone help?

Time taken : Nil - Not yet
Tools used : Nil
AU$'s spent : Nil

Monday, September 11, 2006

Slowly Does It

I watched the video a couple of times, read the book over and over and then started to chisel out the "cheeks" on the end of the neck heel. I've tried and tried to sharpen chisels but I am really bad at it. I ended up reverting to my craft knife kit, making the cuts smaller and therefore the mistakes less.


Tomorrow I will start shaving and sanding back the sides to get the centre line and then take some wood off the top on each side to try and bring the neck angle forward.

Wish me luck?

Time taken : 2 hours
Tools used :
AU$'s spent :

Sunday, September 10, 2006

Scared

Okay so I am now scared. It has suddenly occurred to me that I can live without inlay or wonky binding, I will learn to love that small nick I took out of the fretboard when I dropped a chisel, I may even put up with a bad finish if that should happen. I have worked out that this next step, setting the neck, will be the one I can ill afford to muck up – every time I go to play the guitar I will feel a bad action. I am scared.

Time taken : Nil
Tools used : Nil
AU$'s spent : NIl