Monday, November 20, 2006

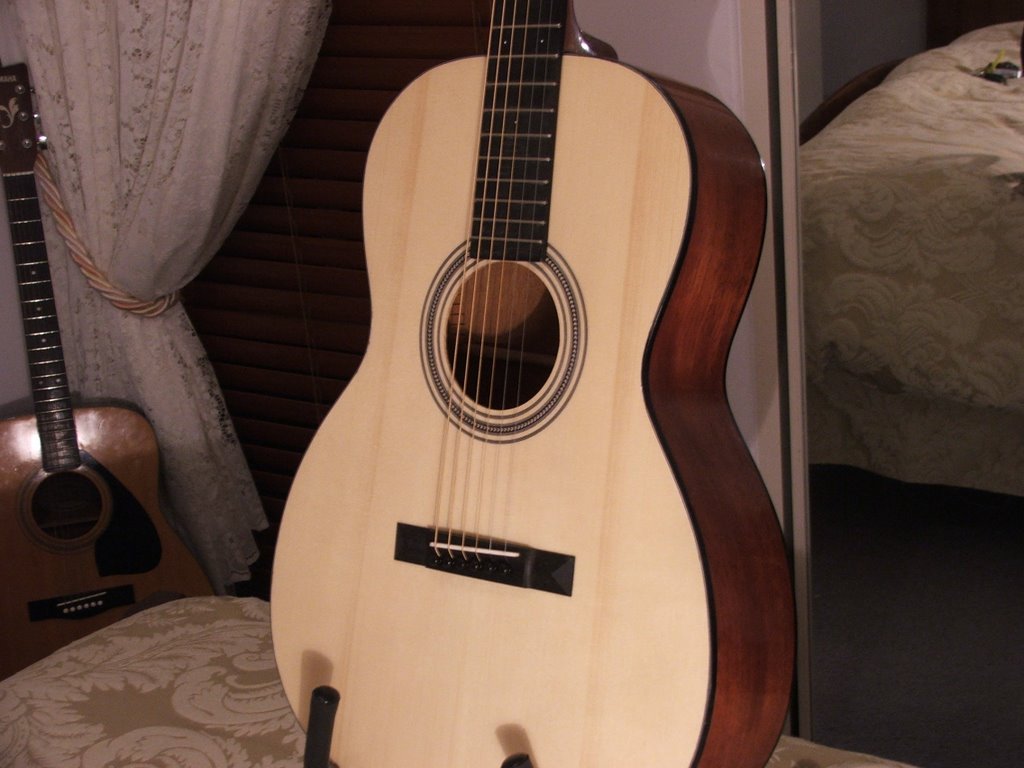
It's a guitar

I've done it. I've played it. I've heard it. I am happy.

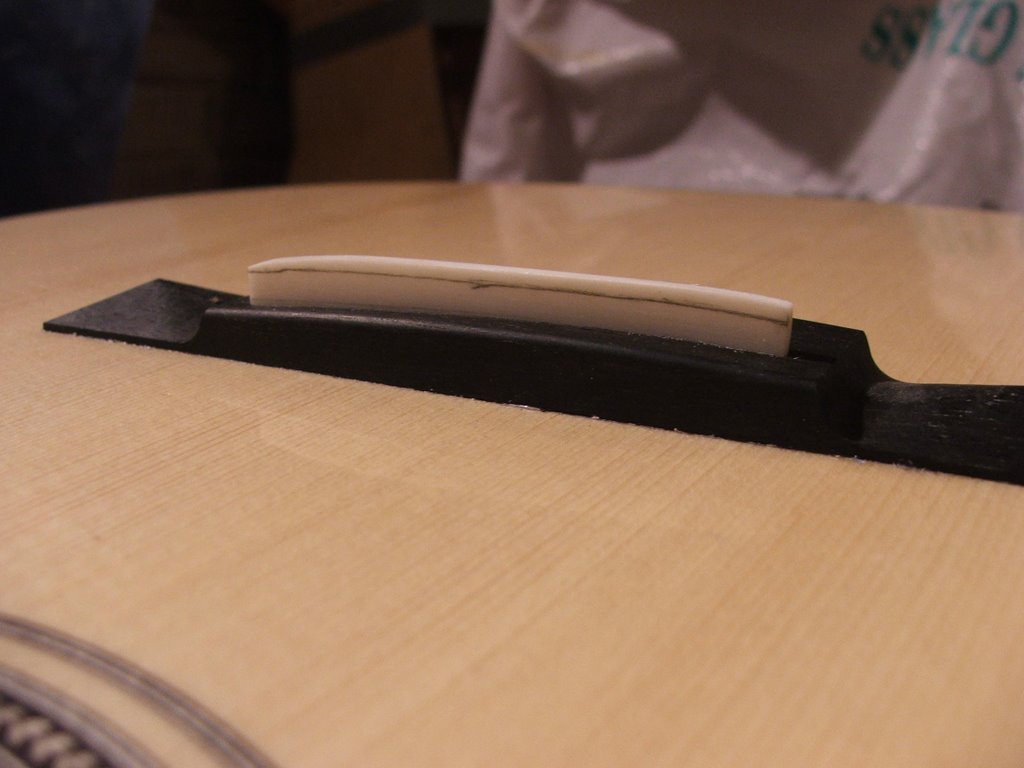
I've been flying tonight. I got home from work and took the clamps of the bridge, I drilled the bridge pin holes and then used a tapered file to seat the pins.

Then I roughed out the saddle and put on the E strings... and then I put on the other four strings... threw a capo on the second fret and roughed out the spaces between the strings.... tuned it up about 3/4 pitch and started to play.


I love it. It sounds just as good as my Yamaha right now. The action is just as good as my Yamaha right now. I am amazed how simple it was to play even through the strings were sitting on rough height saddles and nut.


Somehow I need to get to sleep. I would play all night but I sanded off the end of my fingers whilst rubbing down the saddle.

Time taken : 3 hours
Tools used : clamps, drill, sandpaper, clamps, vice, rulers, files, pencil.
AU$'s spent : $9.95 set of strings

Sunday, November 19, 2006

Wow

This is amazing.

Time taken :
Tools used :
AU$'s spent :

Mixed Emotions

Today I did the sanding and polishing of the neck, added on the tuning machines and fitted the bridge.

For some reason, and I have no idea why, the KTM-9 blistered on the headstock. The finish is useless in one small spot. It is a cosmetic issue really but you can see it easily and it sucks up the "wow factor" when you look at the guitar. I think I can spot fix it later but I am going to push forward for now. I need to hear this guitar.

I stripped back the finish on the soundboard and glue on the bridge. The process was a little daunting but I think that I have it in the right position without too much trouble at all.

Time taken : 2 hours
Tools used : sand paper, polish, drill, buffer, rules tape, paint stripper.
AU$'s spent : Nil

Thursday, November 16, 2006

Off comes the masking tape

Tired of waiting. I've had the neck out in the sunlight (warmth) a fair bit and all looked hard so I took the masking tape off the fretboard tonight. Not exactly disappointed but I am sure I could have achieved better results with a better technique.

My only problem is establishing the angle were the finish ends and the fretboard surface starts.

I tried using a sanding block to rub back the edge of the masking tape but the fret edges were causing difficulties. I ended up sliding a razor blade along the fretboard surface. The final product is not that bad however I can really see were the masking tape fell lower than the fretboard even though it was only a couple of millimeters here and there.

Before I try that again, I will be seeking ideas how people mask, and more importantly, remove the masking tape.

Time taken : I hour
Tools used : scalpel
AU$'s spent : Nil

Wednesday, November 15, 2006

Tick Tock, Tick Tock

I am tired of waiting for the KTM-9 to dry. I wanna keep going.

On Sunday I went down to Bunnings and explained to a staff member my needs in making a caul or three in order to clamp (and drill) the bridge into place. I was suggested to try Selleys Knead It. The product is basically a putty that you work in your hand, making it softer as you go, it will then from to any shape you want. Once left to set, it sets rock hard.


So, I protected the bridge with plastic wrap and went to work, making three cauls. I am impressed with the results. Clean and very hard

Time taken : 30 minutes
Tools used : Selleys Knead It
AU$'s spent : $14.95

Thursday, November 09, 2006

Still fence sitting

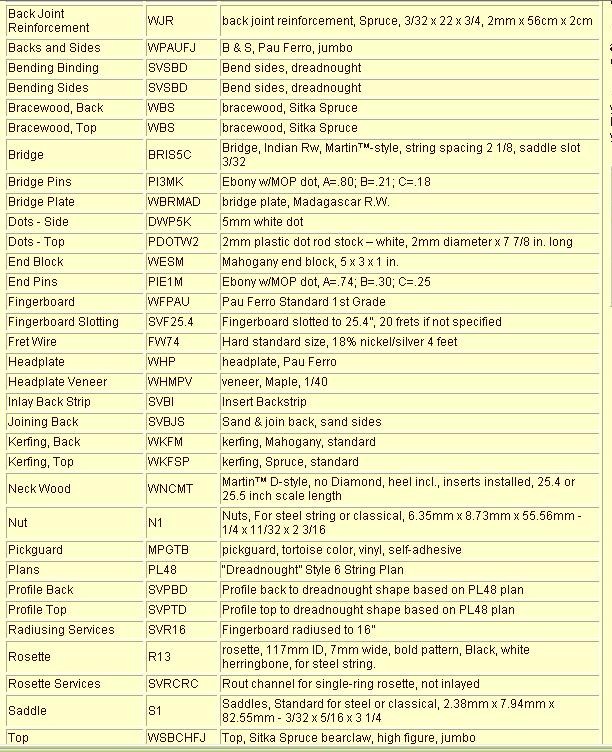
I just can't commit. There is no doubt that I want to make a dreadnaught next but after playing around with the LMI Kit Wizard, the end price (for what I want) is AUD$722.53... and that isn't really an "all the fruit" package.

Now compare that with the StewMac Mahogany Dreadnaught at AUD$467.21 (plus cost of tuners)

Should I have another practive or just start making what I want and hope that I forget about the AUD$255.32 difference?

Is 3/4 of a thousand dollars too much to pay for a hobby? I have December off work and wanted to have the wood acclimatised and ready to go by then.

Time taken :
Tools used :
AU$'s spent :

Sunday, November 05, 2006

What am I doing?

Should I be researching my next guitar before I have even finished this one? I haven't picked up a guitar (to play) in about 100 days, what would I do with another one? What am I going to do with myself over the next couple of weeks, whilst I wait for the finish to cure... I could have started on my next one...

What if this one turns out sounding like an elastic band stretched over a wet cardboard box?

Do I really need to spend all that money of building something flash or should I just try another basic kit.

Planning - Phase II

LMI's Kit Wizard has become my own little dream factory. I've changed a dozen things a thousand times. Hours of unproductive fun. I wish they had more pictures of the woods and bindings etc, a true novice like myself can not picture the final product.

This is what I am leaning towards at the moment... Either that or a straight out Drednought kit from StewMac.


Click on the picutre and then expand - so you can read it.

What are your thoughts? Have I forgotten anything (other than the trus rod)?

Saturday, November 04, 2006

Photos as requested

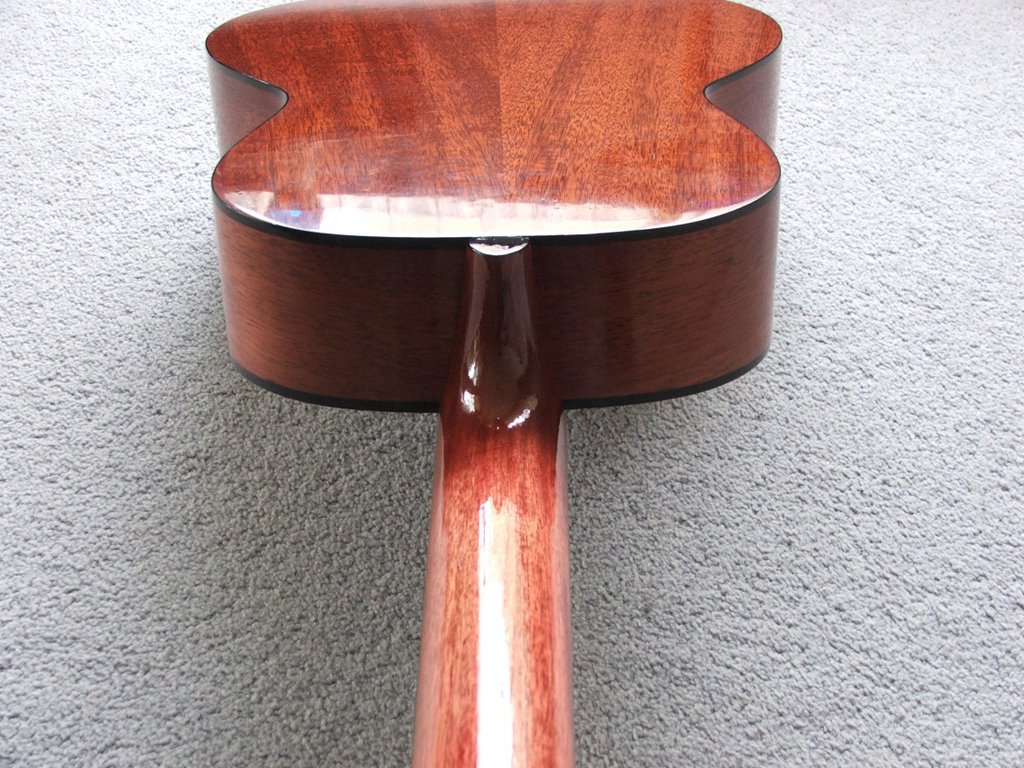
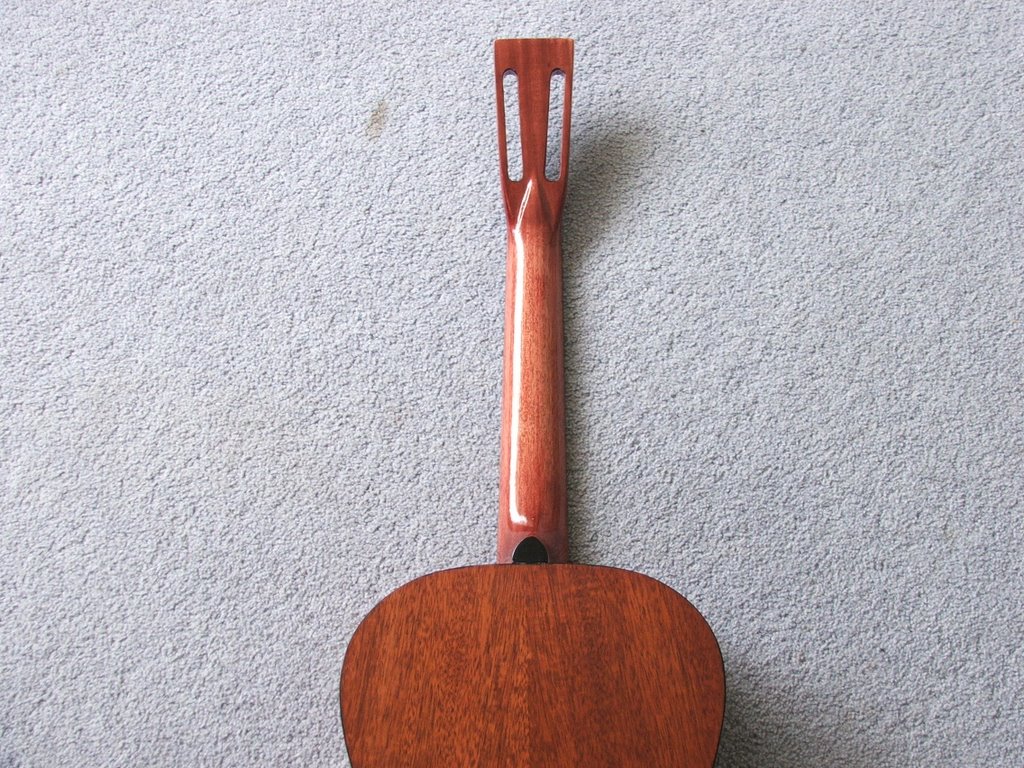
Keeping in mind that I have not rubbed back and polished the neck at all, and the body needs a little more attention. This is the way she is looking at this time.


I am itching to keep going but I NOW think there is merit in letting KTM-9 harden over the following weeks... just like it explains in the instructions.

Time taken :
Tools used :
AU$'s spent

Friday, November 03, 2006

Finish Finished

Or at least I hope so. Four days of finishing have past. In total I have 16 coats. Thats four coats a day, a light 360 grit sand back, then start again. It looks good but this time I will wait at least two weeks before I start taking of the tape.

Any way, I have put the KTM-9 up on the shelf until I am ready to finish the next one. I reckon you could finish three guitars with a quart of KTM-9. I have no hesitation in using this product or recommending it to other first time builders. I know I have nothing to compare it with by I am getting a finish that I would never have expected.

Time taken : another hour in total
Tools used : KTM-9
AU$'s spent : Nil

Wednesday, November 01, 2006

Second Finish

Yesterday I put on four thin coats of KTM-9 and then this afternoon, I gave it a very light rub back - to bare wood again. I added in a tiny bit of the stain to the effected area, hiding it well. Then tonight I applied another four coats.

Seems to be coming along okay.

Time taken : 1 hour in total
Tools used : Paint brush KTM-9 360 grit paper
AU$'s spent : Nil

Monday, October 30, 2006

Day 92

That's right! I've been on this buid for getting close to a third of the year. And, I think I've been making fairly good time. Don't ever think that you'll wizz you way through the first build. I have no doubt that my second (and following ones) will be quicker as I will have a number of different processes going at the same time instead of following the pages in the manual

I'm feeling good about the buil again. Today I put on the two coats of stain again. Tomorrow I will start putting on the KTM-9 again. To think, I had planned to have this all done by mid November.

Still I am glad that I took the time and effort to restart the neck. I think it is better this time around. Practice makes presentable

Time taken : 1 hour
Tools used : sandpaper, stain, rags
AU$'s spent : Nil

Sunday, October 29, 2006

Neck Setting - Again

Well I think I might be back on track. It’s not pretty but I have sanded back the neck and started again. That silly Martin diamond – I almost sanded the whole thing off. Then I went crazy making new shims and resetting the neck again. This time I (finger) tightly bolted the neck on before I took any measurements. I also tidied up a few of those blemishes that I have been frowning at since I started finishing the neck.

I took to my beautiful finish with paint stripper so that I will one day have a gluing surface under the fret board.

It’s late now but so I have stopped, tomorrow I might sand a little fret board relief into the top, like Kenneth Michael suggests.

Time taken : 4 hours
Tools used : sandpaper, craft knife, steel rules, superglue, mahogany
AU$'s spent : Nil

Friday, October 27, 2006

I give up.

Because I like to play with things I positioned the bridge today, taped it down and checked my neckset. It's out. The gap is about twice as much as I remember. What's going on? Angry Angry Angry

Time taken : Nil
Tools used : Nil
AU$'s spent : Nil

Thursday, October 26, 2006

More reading ahead

I've been sitting here thinking. I will have to strip it and start again. I might go back to reading about Tru-Oil and the like. Then again, I am now thinking that I did not leave the finish to cure long enough before leveling and final sanding.


Time taken :
Tools used :
AU$'s spent :

I don't want to talk about it

but I will.

Once again I am reminded that I am a novice, a fool and a cocky idiot. As mentioned yesterday, I was on a high turning out this sort of result on the body...


So today, I start on the neck. Somehow, and I still have no idea how, I managed to sand through the KTM-9, it must have been so very thin. How did I manage to get through a dozen or so coats? I rubbed back the body fairly vigorously, trying to get out all of the shine, trying to make it as flat as possible and I think that I ended up with a great result. So today, I just took off mindlessly, following the same steps and then I look down and I see... light coloured mahogany.

THEN! I say to myself, "Self, you could hide that with a tiny bit of stain on a cotton wool tip, only you will know Self." - Drongo - Alcohol based stain EATS plastic KTM-9.

THEN! I notice that there are two spots on the fretboard edge that appear to have once been air bubbles under the KTM-9. I don't know, they weren't there/visable before.

THEN! I think "Let's try and buff that tiny spot out" so I start, following the same steps as I did on the body and... with a slip of the hand, I let the chuck of a high speed spinning drill drag along the neck, leaving two great big scratches.

THEN! I pull off the masking tape. No matter how slow, gentle or controlled I tried to be, I pulled the KTM away as well. Let me tell you - It is thick. I don't get it.

I have sort of calmed down - I can not find my memory card at the moment (honest) but I promise I will show you all the mistakes ASAP. That neck will have to be stripped back and done again... one day.

At the moment, I am thinking about moving on and coming back to it.... after I've heard the guitar - I CAN NOT WAIT. I can't foresee any steps from here on in that will prevent me from going back and re-finishing the neck.

Time taken : 1 hour
Tools used : drill, buff, wood polishing compound, sandpaper,
AU$'s spent : Nil
Wednesday, October 25, 2006

Gee. I'm good

Now I am not saying that I am a pro but I am really impressed with my result. I rubbed the body back to nearly flat with 360 grit paper and then wet-n-dry at 1200 grit and then again at 2000 grit.

By that stage I thought that I was almost back to bare wood, it looked too my eye there did not appear to be any KTM-9 left and I started to worry.

Then I took to the body with a polishing compound and buff on the electric drill and up it came. Lovely flat shine. I'll show you the photos once I've completed the body and the neck. Stay tuned.

Time taken : 2 hours
Tools used : Electric Drill, cloth buff, polishing compound
AU$'s spent : $18.95 polishing compound, $28.00 cloth buff, $8.00 sand paper

Saturday, October 21, 2006

Getting closer to the finish finish

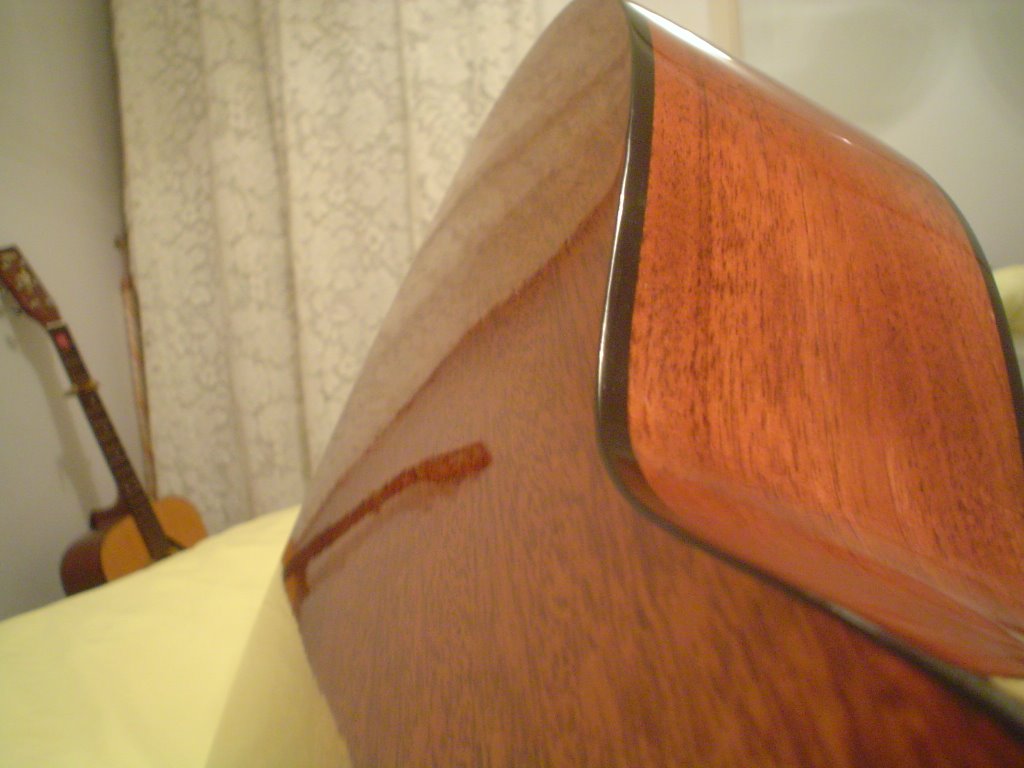
Craig has asked for an update about the finishing process so I thought I would post a few progressive photos. I am starting to get the hang on brushing on the KTM-9. I am confident that the thinking of less is best is the way to go. I was trying to get thick and well covering layers of lacquer on each time but I have found that the bubbles or drips that go along with the thicker coats are harder to deal with once they have dried.

I also found that the KTM tacks off rather quickly and touching the area again can result in disaster. The latest coats have been thin, light and imperfect but I no longer have drips or air bubbles.

I have now applied about ten or twelve coats now and rubbed back the higher points with 340 paper about every 3 or 4 coats. I’ve also noted that the sand paper doesn’t seem to last very long – which was surprising. I am most likely using the wrong type of paper.

The photos below I took today and I am thinking that tonight, I will sand the surfaces back until there is no shine left of the surface. Please keep in mind that with these photos I have tried to take images which show the flaws in the finish. I have turned the piece so that all the brush marks and thin parts are visible.

In general I am happy with my first effort at finishing. Those that have seen the guitar have all commented on how good the product looks. Maybe next time (planning is underway) I will spray but I think that brushing KTM-9 is suitable for the home builder to brush on.


Time taken :
Tools used :
AU$'s spent :

Tuesday, October 17, 2006

Closer to the end

Another few coats of KTM-9 went on tonight but a majority of the evening has been taken up because I finally gathered the courage to add up the total $AUD I have spent whilst making this guitar. It is an interesting amount. I will report as to the cost, tools used and number of hours soon.

Time taken :
Tools used :
AU$'s spent :

Monday, October 16, 2006

Finishing Woes

I am getting frustrated, basically because I have no idea what I am doing. I have all but lost count of how many coats of KTM-9 I have brushed on, I'll say seven. The first few went on really well, smooth and with next to no brush marks.

It may be because the surface is less absorptive now but no matter how I let the body "rest", I am getting bubbles where the finish pools, following gravity. I have tried brushing thinner but I find that as I brush the coat thinner, the lacquer gets tacky and then the brush marks increase and/or I get small pieces of lacquer rolling up into tiny gel like balls.

When I try to take back the hardened bubbles, I end up bursting through and it leaves a concaved surface.

I am sure this all has more to do with operator error as opposed to it being an issue with the product. I scuffed back with 340 grit after the first three coats. I think I might start moving up through the higher number grade papers tomorrow.

If any of the readers out there have brushed on KTM-9 before, I love to know what steps you took and how you finished it all off. Please leave a comment.

Time taken : About 2 hours, it doesn't take long for each coat.
Tools used : brush, KTM-9, sand paper
AU$'s spent : Nil