
Now these photos give you an up close, warts and all view of the result. To the naked eye at arms length, it is not really visible at all. I recommend a simple inlay to everyone making a guitar. It is not as difficult as I have most likely made it sound and even huge mistakes like mine come up okay. If I was to do it again, I would firstly, forget all about trying to make my own design and then remember to respect how delicate that pearl stuff is. Next time, I am going to get some dentist drill bits to put into the Dremel. I think the smaller the piece the better. I was trying to go very slow but still managed to botch it up because the cutting edge of the bit was not as deep as the groove required. I was actually cutting a few mm (or smaller) past the line, underneath, but from above I could still see the line.

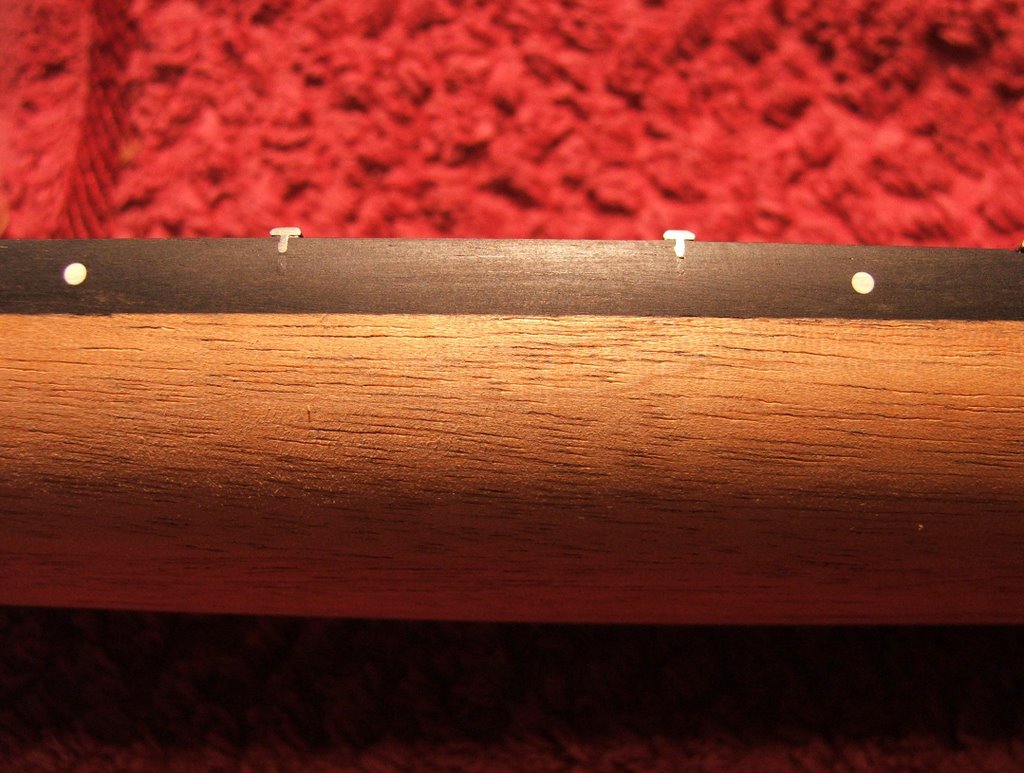
The frets also came up quite well and I think that most of the cover up work is done.
I am getting closer and closer to that finishing stage.
Time taken : .5 hours
Tools used : sandpaper, electric sander
AU$'s spent : Nil
No comments:
Post a Comment