
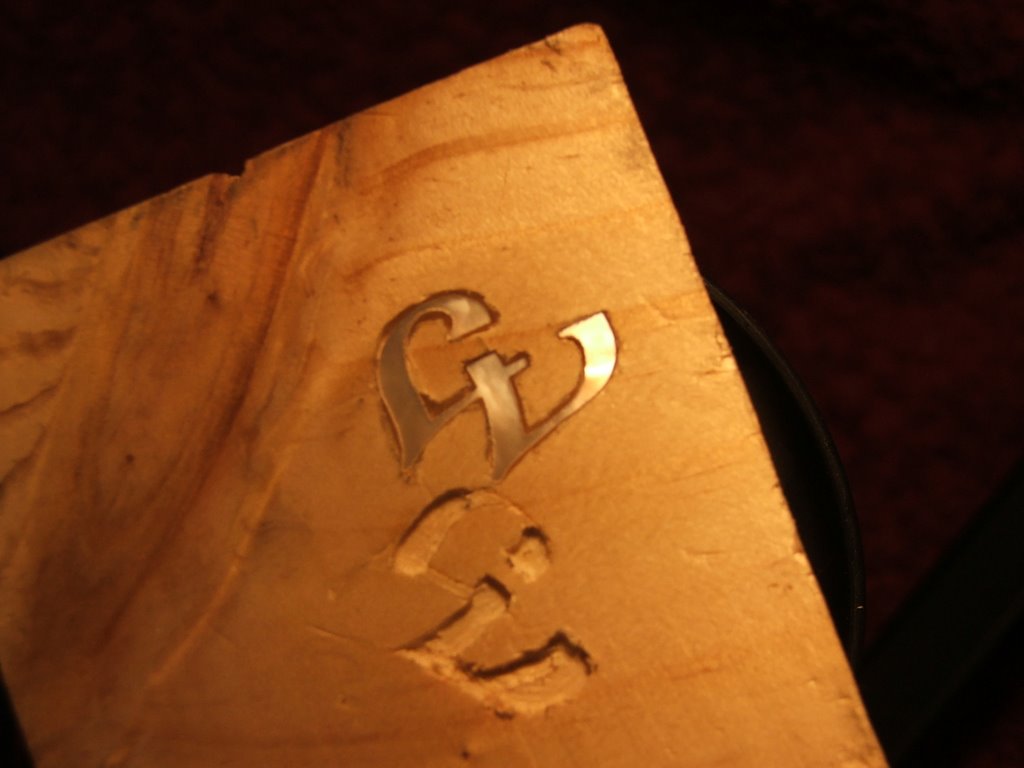
I sat down and started trying to inlay the pearl into a piece of scrap pine (much softer than mahogany) with the Dremel and let me tell you, I am no more confidant than I was last week.
I really don't know if I should go ahead and try this out - worried... but then again I've been there before on this project.
I think it would look good if I manage to get it in there somewhat neatly.
Time taken : Nil
Tools used : Dremel, scrap wood, craft knife, pencil
AU$'s spent : Nil
1 comment:
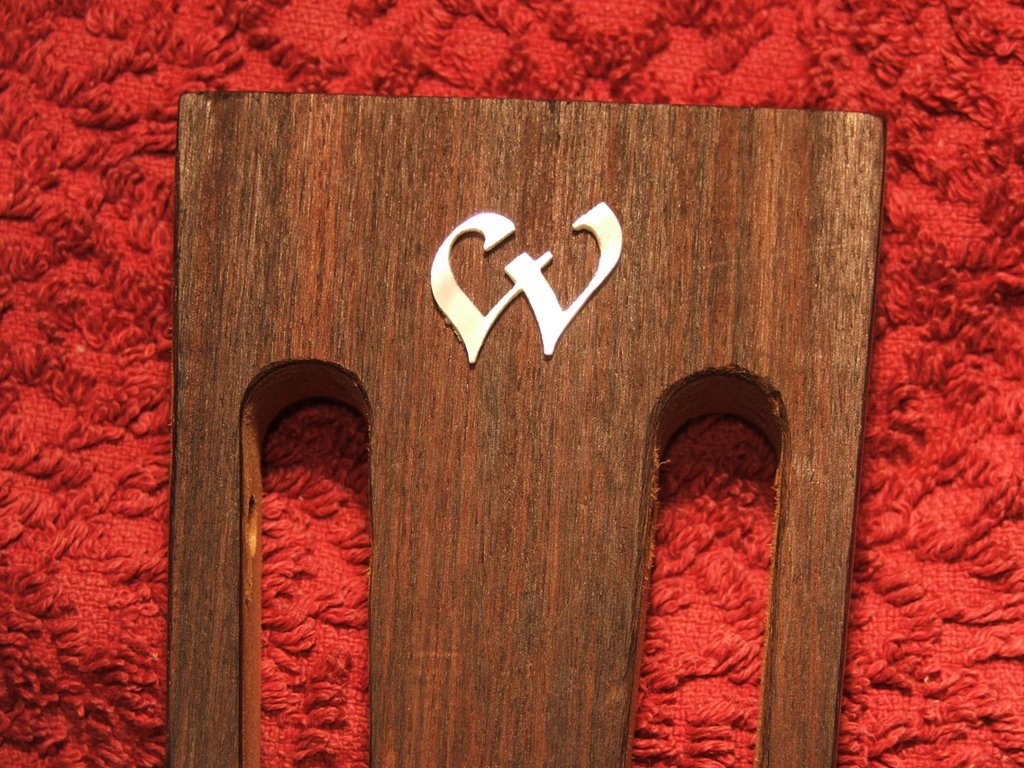
Give it a try! I have been playing around with some inlay, and it looks real nice when finished. I use a dremel tool with some of the small bits sold by Stewart Macdonald. The key seems to be scribing a good outline of the pearl piece onto the wood, then routing out the cavity.
Just a word about the broken piece, don't throw it away if its broken in two. When you get the piece glued into the cavity and get some laquer on it, you will probably not be able to see the break.
Post a Comment