It looks a hole heap better when you don't know exactly where the mistakes are.
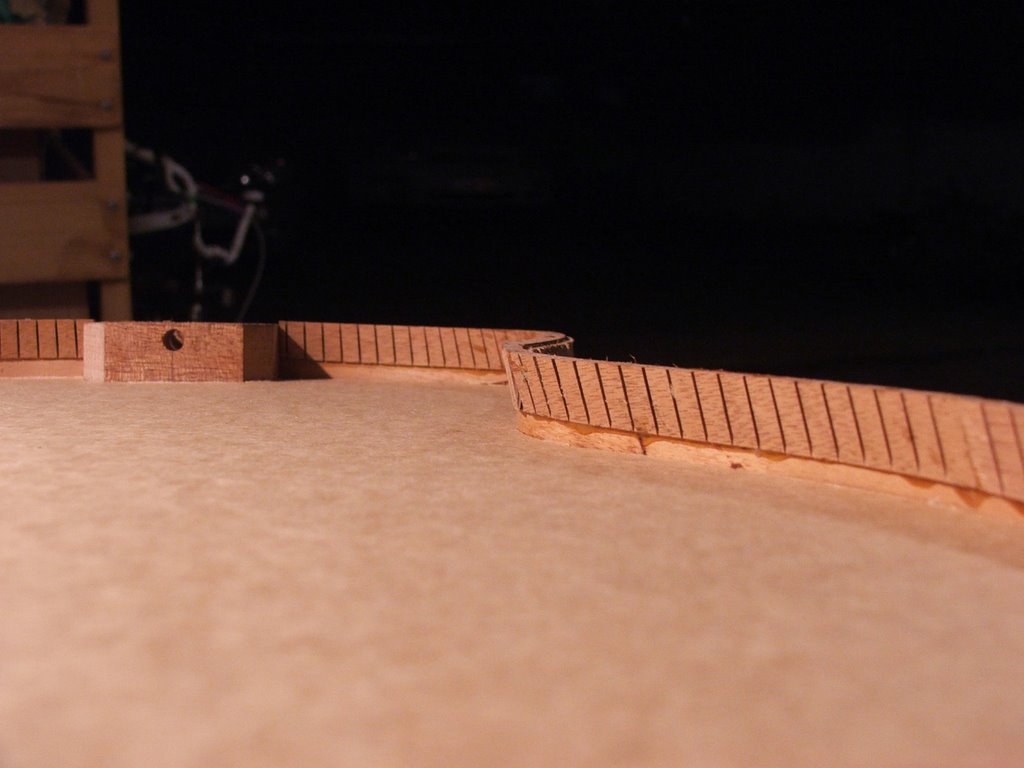
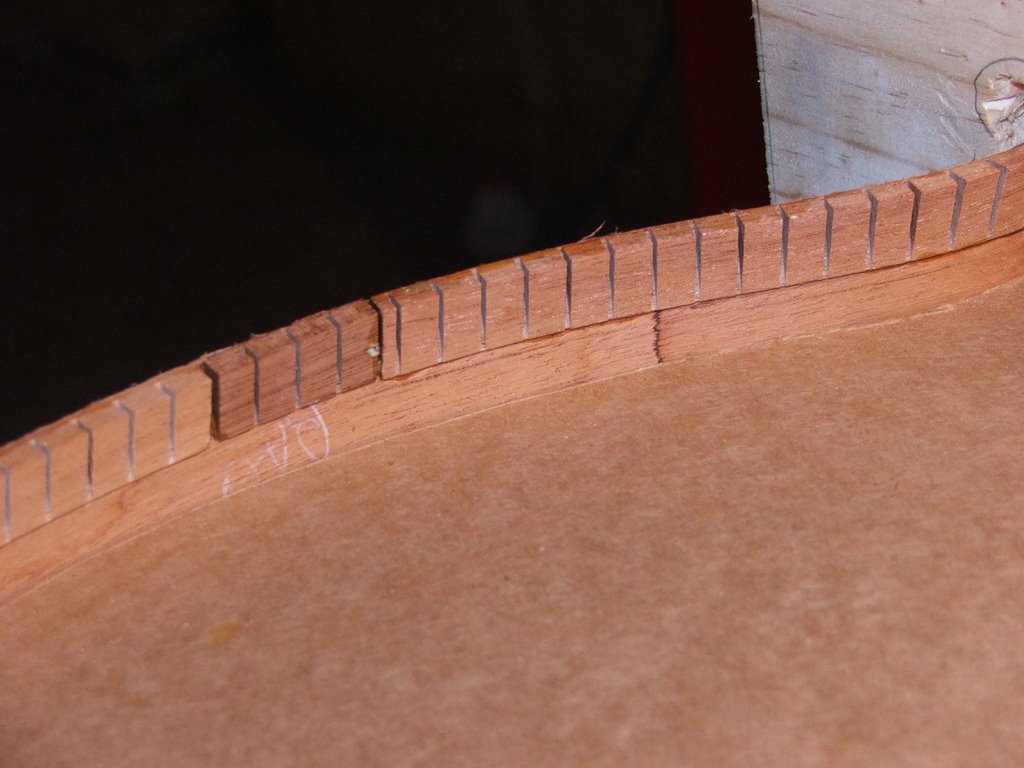
Tonight I started putting the top braces together. I was on fire for a little while and then my hands remembered that I am not very experienced at working with wood. The join that I made in the two cross braces was perfect, most of it was done with sandpaper on a board that was right thickness. Then I started making the the reliefs into the cross braces - these are not pretty.

In other news, I am a little confused. I sorted out the issue that StewMac have an error in their manual where they list the items that should be in the kit. The photos for the top and back braces are around the wrong way and they don't tell you that you have to cut one of the braces, to make the three pieces around the sound hole.
The one I can not work out in why I have two curved braces that have "glue this side" written on them in red ink. I've sent StewMac and email asking for clarification - I'm not starting to glue the braces until I find out what they are.
Time taken : 2.5 hours
Tools used : glue, pegs, ruler, pencil, spring clamps, Japanese saw, chisel, craft knife, sand paper, wood files.
AU$'s spent : Nil
No comments:
Post a Comment